“Making of Paragalis – part 1 ” by Marcus Dublin
2. After that I created a white floor “box” underneath the grid and move it a few units below the model. Having the floor in the scene allows for shadows to be baked into the underbelly of the mesh. The closer the floor is to the mesh the darker the shadows and vice versa for lighter shadows. “Special Note” ordinarily it’s good to have some nice shadows underneath the mesh to create depth but it’s not appropriate to have the shadows appear completely black either. The same could be said for any and all intersecting geometry.

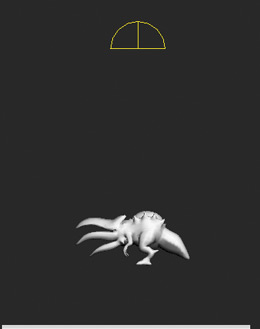
3. Then I went ahead and added a skylight to my scene and raised it above my mesh.
4. Then I hit the “F10” key to bring up the “Render Scene” dialog box. I then selected “Light tracer” under the “Advanced Lighting” tab. As a side note there are a number of cool things you can do under “General Settings” and “Adaptive Under sampling” for some nice bake variants! With that said I highly recommend investigating what each setting does.

5. The next thing I did was hit “0” on the keyboard to bring up the “Render to Texture” dialog box. From here I pretty much followed the same steps as in normal map workflow with the exception of picking “Lighting Map” from the “Add texture Elements” dialog box instead of Normals Map.

6. With my cage still intact from the normal map session, I went ahead and did the actual light map render. You can see the results of the bake from the image below.
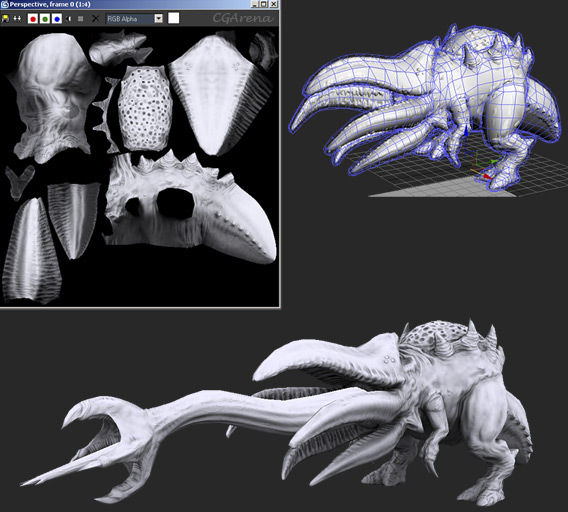
“Special Note” You can also create a light map based off on the low poly geometry instead of the high poly source simply by leaving the “Projection Mapping” / Enabled box unchecked. The reason you may want to do this is to create another light map connecting the shadows to multiple elements.Case and point would be the creature’s tongue and body. If you look closely at the image above you can see that the tongue feels disconnected to where the rear of the tongue connects to the body. In this case I generated a second light map, which I later blended with the baked light map. You’ll be able to see the results of this in the next step.
Well that’s it from the baking side of things; this is pretty much my work flow for generating both the normal and light maps within 3ds max.
(c) Marcus Dublin , www.marcusdublin.com
Making of Paragalis – part 1
Popular Tutorials
-
 Free set of photo references for our members
Posted on Nov 15, 2010
Free set of photo references for our members
Posted on Nov 15, 2010
-
 Photo References
Posted on Oct 6, 2010
Photo References
Posted on Oct 6, 2010
-
 Modeling Competition
Posted on Dec 10, 2010
Modeling Competition
Posted on Dec 10, 2010
-
 Modeling a High Definition Building – part 1
Posted on Dec 9, 2010
Modeling a High Definition Building – part 1
Posted on Dec 9, 2010
-
 FREE photo reference sets for you – only for registered members
Posted on Oct 2, 2011
FREE photo reference sets for you – only for registered members
Posted on Oct 2, 2011
Try something new

Latest Comments