by Jahan Zaib

Hello everyone!
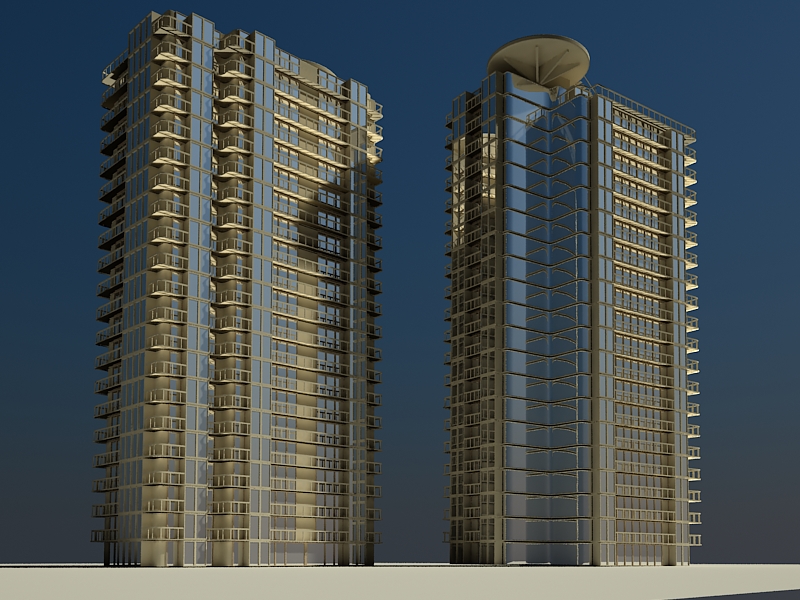
In this tutorial i will teach you how to model a high definition building in 3ds Max 9 . For this tutorial you need to have a 3dsmax 9.
And Some High Resolution Images of Buildings and Skyscrapers.. without reference images you cant get started.. first go to www.environment-textures.com
and download some high resolution images of buildings.
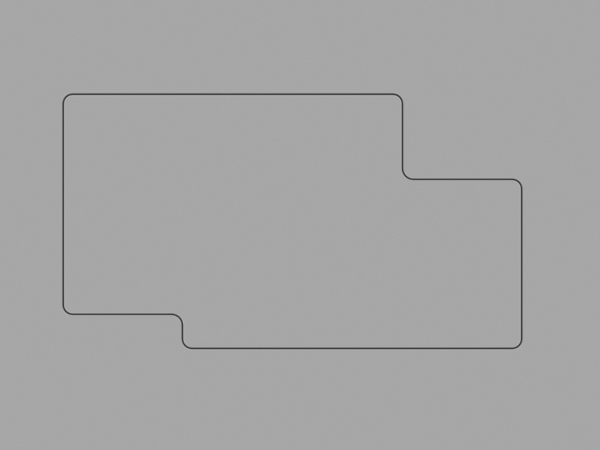
..for modeling a building first you need a basic floor plane for the building design. Let me show you the basic floor plane what i mean and how it work …
So lets start it!!!
basic floor plane …

Step 1:open 3ds max 9 or any later version .now make a plane in top view with the same dimensions as
basic floor plane Length: 480 and Width: 640 .
Step 2:Open the material editor >select any material slot and add the basic floor plane image in it.. then apply this material on this the basic floor plane .
Step 3:go in Shapes> select Line and start.
Step 4:now start making the line as shown in our basic floor plane just follow the basic floor plane lines .
Step 5:right click on the line and then convert it to Editable Poly.
Step 6:after editable poly ,lines look like as poly mesh .
Step 7:go to Polygon >select the polygone .
Step 8:Extrude it to: 48.152 .
Step 9:thats the ground floor now we will add doors and windows. but first i have to make a
copy of our ground floor this copy will be use in making of our other floors of building.
go to Edit >Clone> now choose Copy option and click ok.
Step 10:now just drag up the floor you will see the copy of ground floor and hide it by the right click
on the object and choose Hide Selection.
Step 11:delete the basic floor plane plane and rotate the view and see ground floor bottom this is open
now need to fill it it.
go to Editable Poly>Border>select the ground floor bottom edge.
Step 12:go to Edit Borders >click on Cap.
Step 13:go to Editable Poly>Edge>select the top and bottom edges.
Step 14:go to Editable Poly>Edge>click on Chamfer set (0.394 ).
Step 15:open Modifier List and select the Mesh Smooth .
Step 16:then see the result of Mesh Smooth this is looking tribal lets fix it.
Step 17:now go to the Editable Poly>Polygon>select top and bottom faces. and click on Inset (1.0)
Step 18:now apply the Mesh Smooth and check result.
Step 19:now make a new box with windows. this box will make add more details in our building ,lets see how it works.
Step 20:right click on the object then convert it to Editable Poly>Edge>select 2 edges from front. and click on Connect with 1 Segment.
select 2 faces from front. and click on Inset (1.9). and change settings as like image.
Step 21:Editable Poly>Polygon>click on Extrude (-1.644).
Step 22:clone this box 8 time and setup up as like this image.
Step 23:now lets make a window and use it for empty places in my ground floor. make a box in same size of our first window but just use one side of window for the dimensions.
Step 24:Editable Poly>Polygon>select the face and click on Inset (0.21).
Step 24:now click on Extrude (-0.18) and window is complete.
Step 25:now i need to clone this window many time and fill the empty places of ground floor as like the picture below.
Step 26:now lets make a new windows for this empty place.
Step 27:go to Editable Poly>Polygon>select the face and click on Inset (1.52).
Step 28:now click on Extrude (-1.445) and use the type: Local Normal.
Step 29:Inset just one more time (0.41) then check how’s looks.
Step 30:now i am going to make a roof for ground floor just right click on the object and select the Unhide All .you will see a shape of the building i hide it in Step 10 .
Step 31:that shape need to be scale down as like roof size, now i will make the some changes in roof. go to Editable Poly> Vertex>and change the vertex position as like pictures.
Vertex Position.
Step 32:apply the color on ground floor.
Thanks for the reading.. We have just finished the Part 01 of This Tutorial.


SO EASY. THANK YOU.
nice
tanks a lot it’s help me to more easy way to work..
SUPER , TUTORIAL REALLY HANDS OF U
very nice