“Making of Varga ” by Paul Tosca -then select the maps you will like to bake ;i will resume to normal map ( you could also bake ambient occlusion maps … this way you will sample the ao from the high rez version but i did not have too much time to compute ao maps also because they require some time to render … depending on your machine … mine was too slow at that time for this ; instead i used Batch bake mental ray with the normal mapped low poly to bake a Final Gather pass for occlusion … works a lot faster with comparable results… see later on for details) also make sure you browse for a path to save the file ,select file format,map dimensions and other details you want, also make sure you set the search method to inside envelope only since the high rez will be inside the envelope
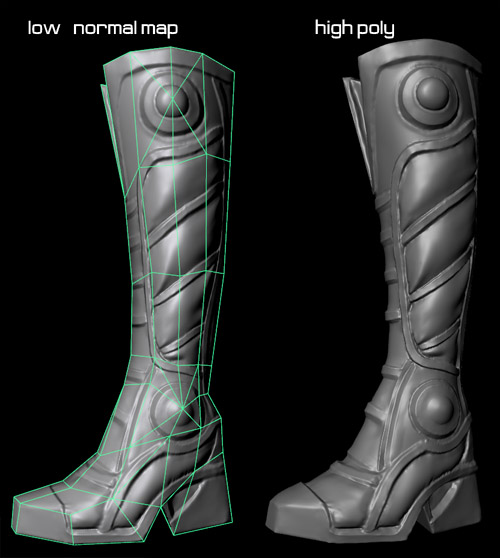
 -now you are ready to render to textures and hit the Bake button -as a note make sure to save the file before you hit the bake button because after rendering the texture maya will delete the envelope and you might need it again ( especially if you spent some time tweaking it to better enclose the high rez ) or if your map does not look ok and need to rebake make sure to undo a couple o steps until the envelope pops up in the scene again ( saving the scene is safer though 🙂 ) -if the normal map does not look ok from the first time come back again to the transfer maps dialog and readjust some settings ( but when you have an envelope that completely encloses the high its less likely problems will occur … you will have some hard time if the envelope intersects with the high rez … if you are too lazy to tweak the envelope you could set the searching method to “inside then outside” or to “closest to envelope” ; there are situations when it might work and situations when you will have problems : usually you will have problems when multiple surfaces intersects on the high rez version , lets say some straps on top of the arm … in those cases if the envelope intersects with the high geometry also then it might sample the wrong surface) The same steps you have to follow if you are using Render to texture inside 3dsmax -select low poly mesh go to rendering->render to texture -check projection mapping ( to turn it on ) -push Pick and select the high rez model -and next usually max will create a crazy envelope/cage ( autocreate process ) -select the projection modifier -go to cage section and hit Reset to reset the cage ( the cage will fit the low poly exactly ) -in the push section you can change the Amount to offset the cage like in maya trying to enclose the high poly version -same as in maya you can alter the cage by expanding the projection modifier and tweaking the individual elements until the whole high poly will be inside the cage -after all the tweaking is done you select the low poly again and in Render to texture dialog you hit render -if the map its not looking properly you might come back again and do more tweaking of the cage Next,I will show you another cheap way of computing occlusion using mental ray and final gather on the normal mapped low poly version (it will not look the same as the ambient maps computed from the high version but will be a lot faster). Lets say this is the final low poly with normal map (i will exemplify on the boot only but you can do the same for the entire character at once).
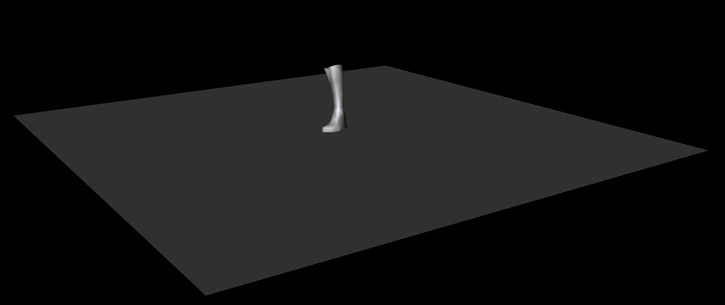
 make a big plane and place it under your model
Pages: 1 2 3 4 5 6 7 8 9 10 11 12 13 14 15 16 17 18 19 20 21 22 23 24 25 26 27 28 29 30 31


Latest Comments