“King Kong – part 2. ” by Dan LuVisi
In this next image you’ll notice a weird brush at top.
This isn’t my brush; it’s from a brush site which I honestly do not remember. But you can get brushes anywhere online, just Google Photoshop Grunge brushes. Now with these brushes, on a low enough opacity they will create nice tattered skin feeling textures, which can get the rest of his chest done pretty quickly! As you can tell in this picture
all of that work is brush work from the grunge brushes. After I lay down my grungy texture on the rest of his chest, I can then start to add more lighting to it with the leaf brush on the Dodge tool. Don’t think I just use that brush though to use dodge, I also go in full resolution, close up, 200% zoom and try to get as much tiny bumps as I can technically see. It all adds when zoomed out to submission size.
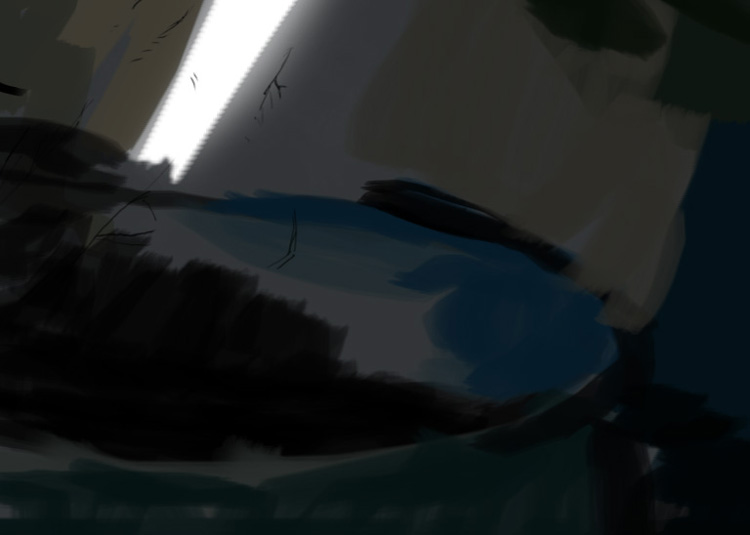
Starting on Kong’s Finger/Hand
It’s more of a finger than a hand, but just saying finger sounds funny. So here we go with the hand, for this I didn’t use any line art just painted it in. Which isn’t a bad idea or doesn’t harm the picture, I just prefer to use line art to feel a bit more secure. As you can see, basic colors were added as always to fill it in.


Latest Comments