“King Kong – part 2. ” by Dan LuVisi
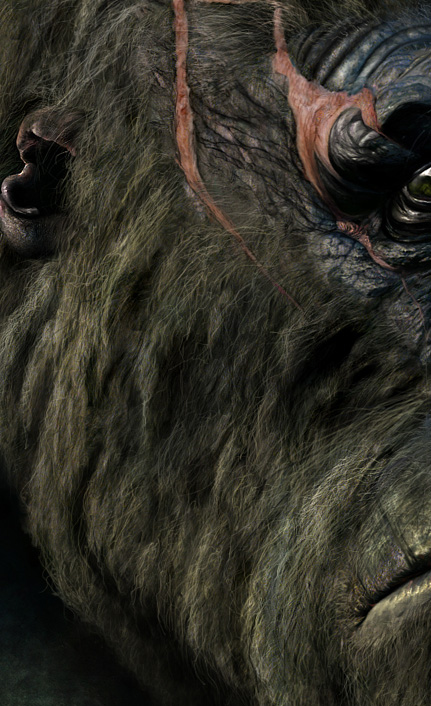
What will make that difference are the tiny hairs that I drew all over. Now this has nothing to do with copying, or merging; this is all on you and how much effort you want to put in it. Now you can either use reference or just go off basic ideas on what hair is usually like. I for one have had my share of dogs and cats alike…and for some reason they can never keep their hair nice. What will make the hair pop out more are white threads, tiny strings of white tangled up hair. Not only on his cheek, but everywhere, his base of his mouth, chin, eyebrows, sockets and nose hairs even, my favorite. While drawing the hairs though, keep in my mind that you will want to use the Size 1 brush while painting them, the smaller, the more they can pop out as ironic as that sounds. Tangle them up with other hairs; use other colors too such as yellows and beiges. To get those squiggly feeling hairs, just jiggle your pen from left to right as you make your line, soft movements will make smooth flowing hair while hard movements will make bold unrealistic hair.
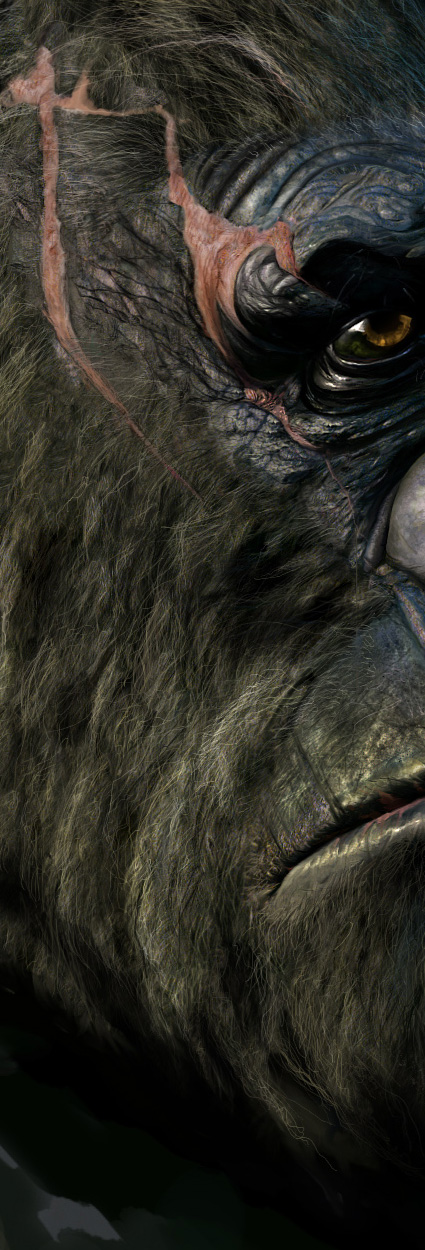
Here we will start to advance on his shadows. I use the Magic Lasso tool to select a chunk out of his cheek, by Layer Via Copy again, then I set that cut out layer to Multiply. I then go to Image<Adjustments<Hue & Saturation and drop the saturation to nearly the end. After that, I bring the opacity lower on the Multiply layer, so it blends in more with the fur instead of being a full on block of black. Once I have it to a realistic look, I’ll merge the two layers together and start to detail over that. By detailing that, I will add other threads on top of the dark patch, darker grays, soft whites and other variations so it’s not just a black hole in his cheek. Make sure the hairs also go seamlessly, and don’t just appear out of no where. You want them to connect to his “mane”; they have to be a part of his natural fur to look realistic.


Latest Comments