“Rock ‘n’ Roll” by Rodrigue Pralier
My displacement map is created, now I can export my model from Zbrush (div 1 or 2) as a OBJ.
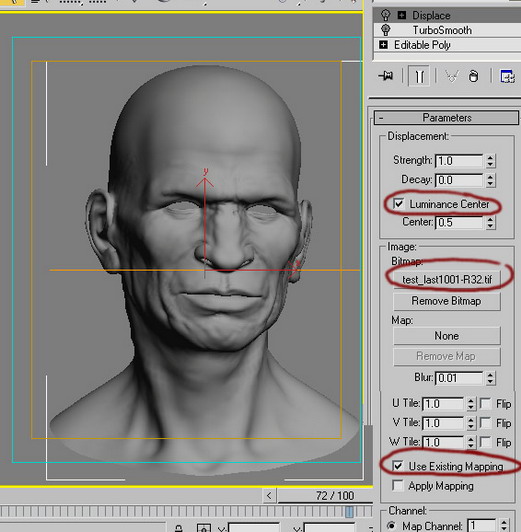
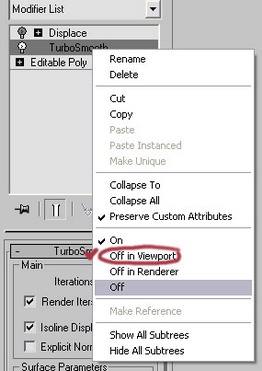
I import all my objects in 3dsmax, I convert them to poly objects, I add a TURBOSMOOTH (with 1 or 2 iterations depending of the objects) and I apply a DISPLACE (sometimes I use the displacement map also in the material as BUMP). I turn the 2 modifier OF IN VIEWPORT (right click) to keep my scene light in 3dsmax.
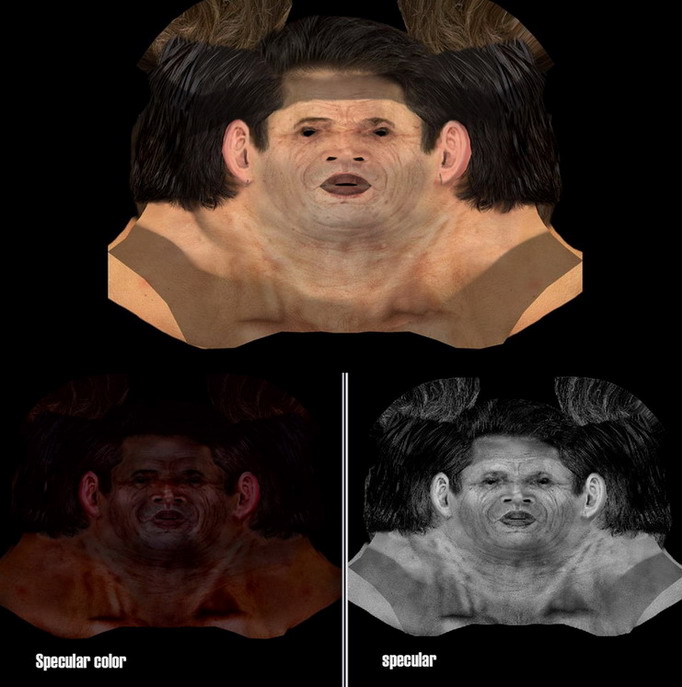
There are tons of good texturing/shading tutorials so I will not cover this part. (For this one I used a lot of camera mapping/render to texture) It’s a big piece so I will try to make another tutorial on that next time.
3Dtutorials.sk recommendation:
To maximise the realism of your character we recommend to use high quality face photo textures from the #1 texture website www.3D.sk
I have all my models in 3dsmax textured and with displacement modifier, I can start the lighting.
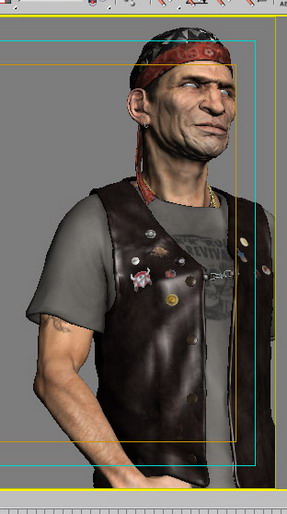
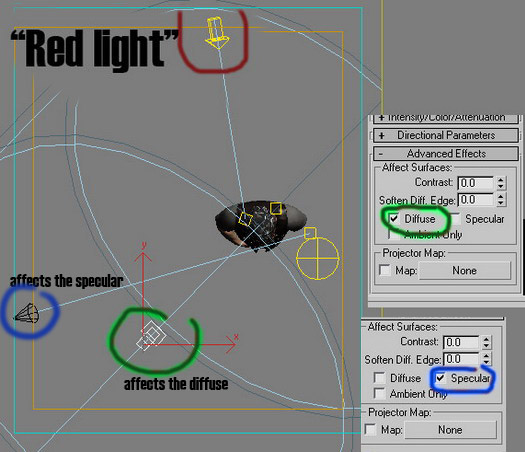
For this scene I used 4 lights. A sky light (intensity 0.3) for the ambient, a directional light that will affect just the diffuse, another one just for the specular, and what I will call “red light” for the back light. This way I can move my “spec” light to have exactly what I want.


Latest Comments