
Move the inserted vertex.
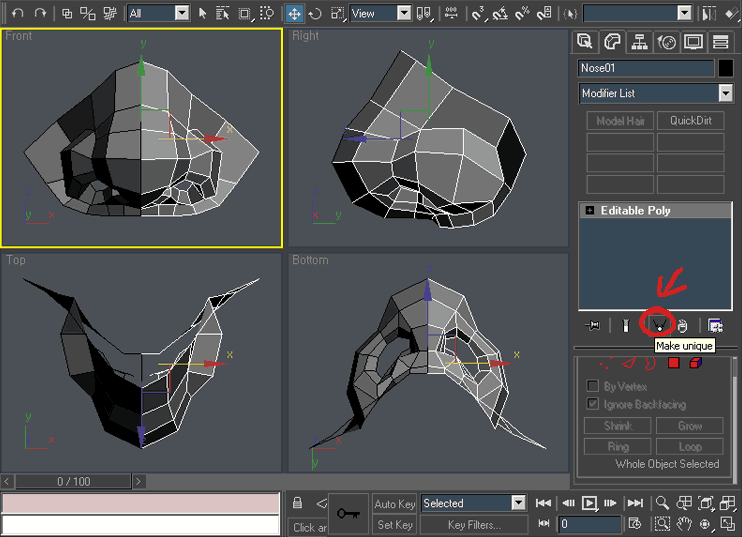
Select right object (“6”) And click on “Make Unique” icon. This way we will separate these mirror objects from each other.
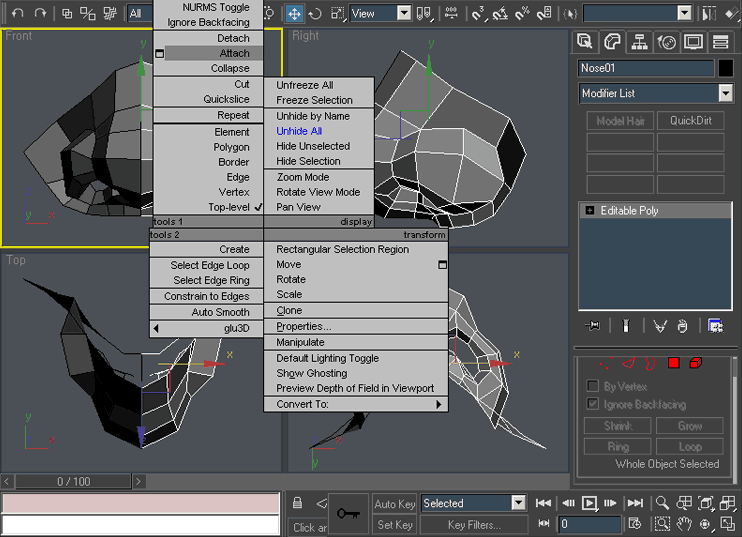
Right click, Attach and select left object.
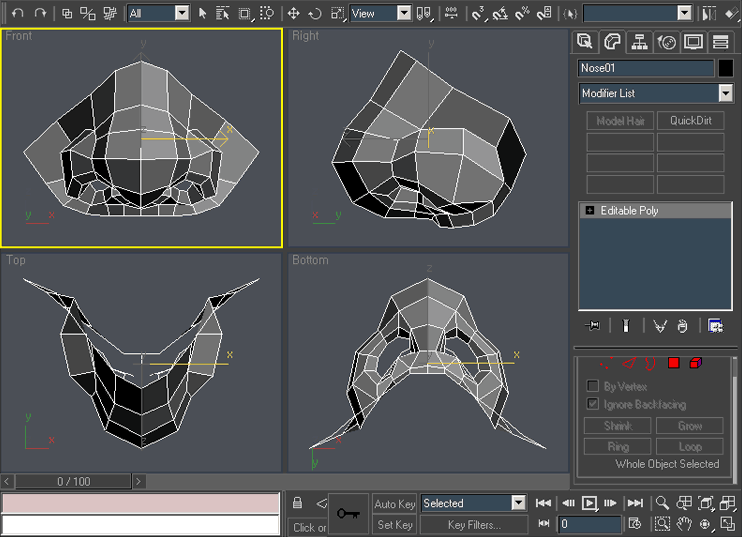
Now we have only one object.

Select all the vertices.

Right click and Weld. This should weld only vertices on the center vertical line of the object. In case it welds other vertices and the object is deformed just Undo (Ctrl-z), repeat the procedure but chose the square icon on the left side of the Weld command and play with the Weld Threshold.
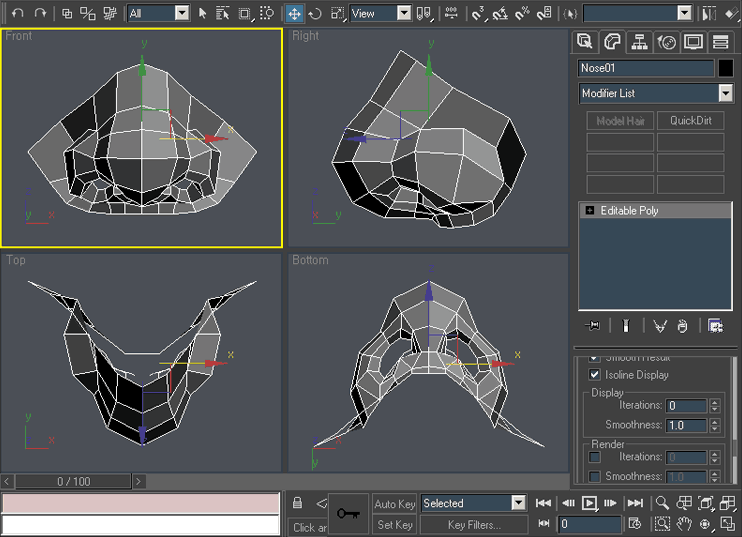
Switch to Object Mode (“6”)
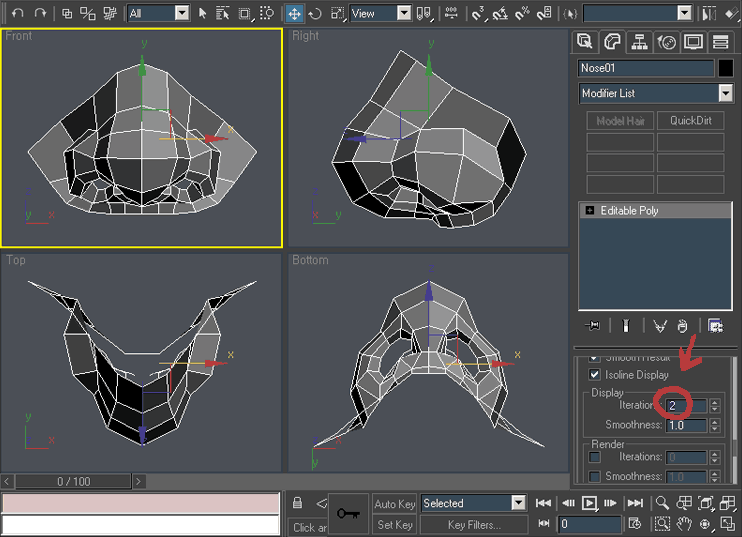
Change the Display Iterations to 2. (Field in the Right tab)
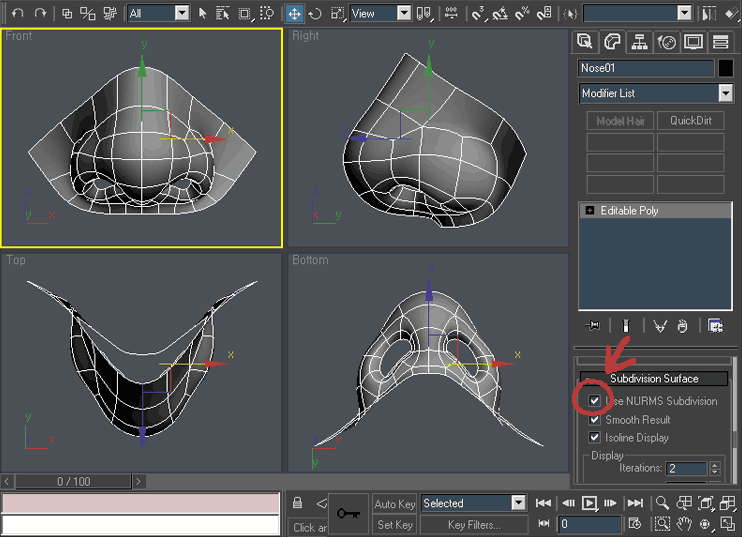
Check Use Nurms Subdivision and we are done 🙂 Play with the Iterations number so you understand the way it works.

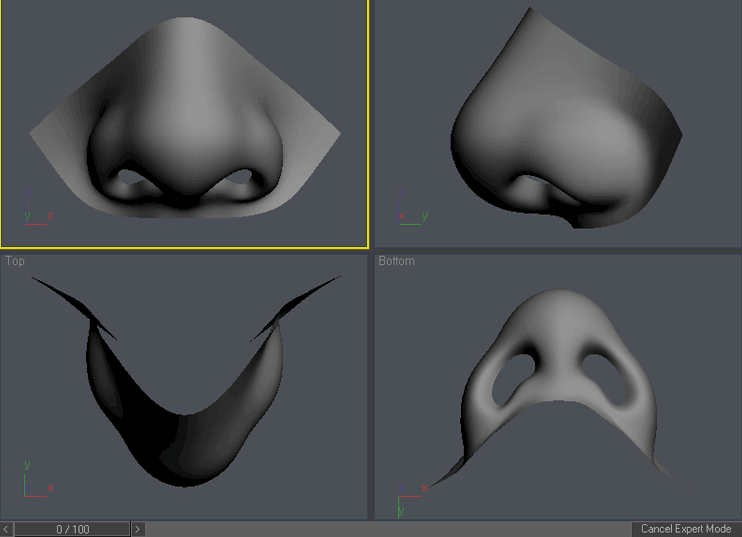
That’s the finished nose. Now you know the basics of organic modeling so try to model something more complex. Maybe human figure? 🙂 In that case be sure to get some references from www.3D.sk
Copyright 2005 jy (jyworks@hotmail.com)


Latest Comments