“Modeling Furniture” by Packt Publishing
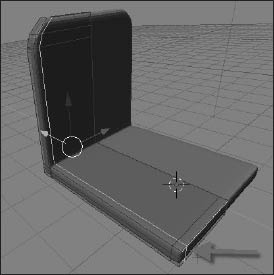
Now, we can move on to the next extrude, which must be from the selected edges identified in the following image. I’m not using any kind of measure for this example, but if you like to work only with real measurements, remember to hold the CTRL key every time a new extrude or edge is moved. This way, all transformations will use the grid lines. For this model, I’m not using vertex snap.
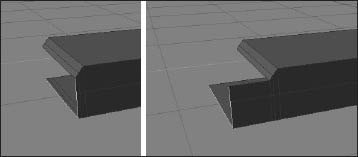
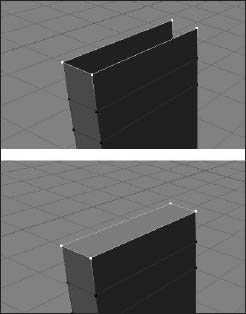
With the new faces created, select just the two edges identified in the following image. Extrude these edges until they reach the other side of the base model. Hold the CTRL key, while you extrude them, to help with the precision. If you already want to remove duplicated vertices, select all objects, and press the W key. Choose Remove doubles to erase any duplicated vertices.
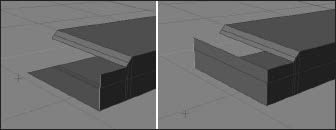
Select the edges identified in the image to keep adding more parts to the chair.
Extrude the edges three times until you have the same structure showed here.
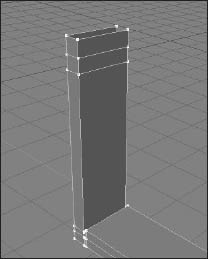
Now, we have to close the top with a face. To do that, we must select all four vertices on the top. When the vertices are selected, press the F key to create a new face.
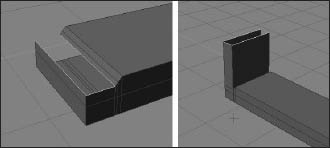
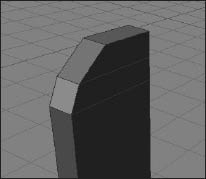
The next step is to select the small side edges to create some detail. Select just one edge, beginning from bottom to top, and move it just a bit. Repeat this operation with the other edges until we get the edges positioned as in the following image.
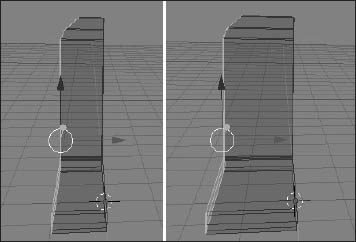
The basic shape of our chair has now been created. Now, we can make some adjustments for improving the overall proportions. Select all edges or vertices on the left side, and move them a bit to the left. This will make the model wider.
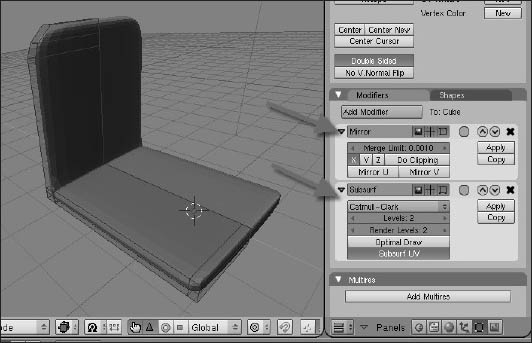
Did you notice that we have modeled only half a chair? Now we can make the other half, using the Mirror modifier. Add the modifier, and choose the right axis to make a perfect copy. If the center point for the model has been moved, you might need to edit the model to create a perfect mirrored match. Don’t worry if you have moved the model by accident – this can happen sometimes. Along with the Mirror modifier, add a Subsurf modifier, too.
With the Subsurf modifier, we realize that this model needs a new edge loop on the left side. Just press CTRL+R, and add a new loop, as in the following image.
Modeling Furniture
Popular Tutorials
-
 Free set of photo references for our members
Posted on Nov 15, 2010
Free set of photo references for our members
Posted on Nov 15, 2010
-
 Photo References
Posted on Oct 6, 2010
Photo References
Posted on Oct 6, 2010
-
 Modeling Competition
Posted on Dec 10, 2010
Modeling Competition
Posted on Dec 10, 2010
-
 Modeling a High Definition Building – part 1
Posted on Dec 9, 2010
Modeling a High Definition Building – part 1
Posted on Dec 9, 2010
-
 FREE photo reference sets for you – only for registered members
Posted on Oct 2, 2011
FREE photo reference sets for you – only for registered members
Posted on Oct 2, 2011
Try something new

Latest Comments