"Making of Trapped" by Massimo Righi
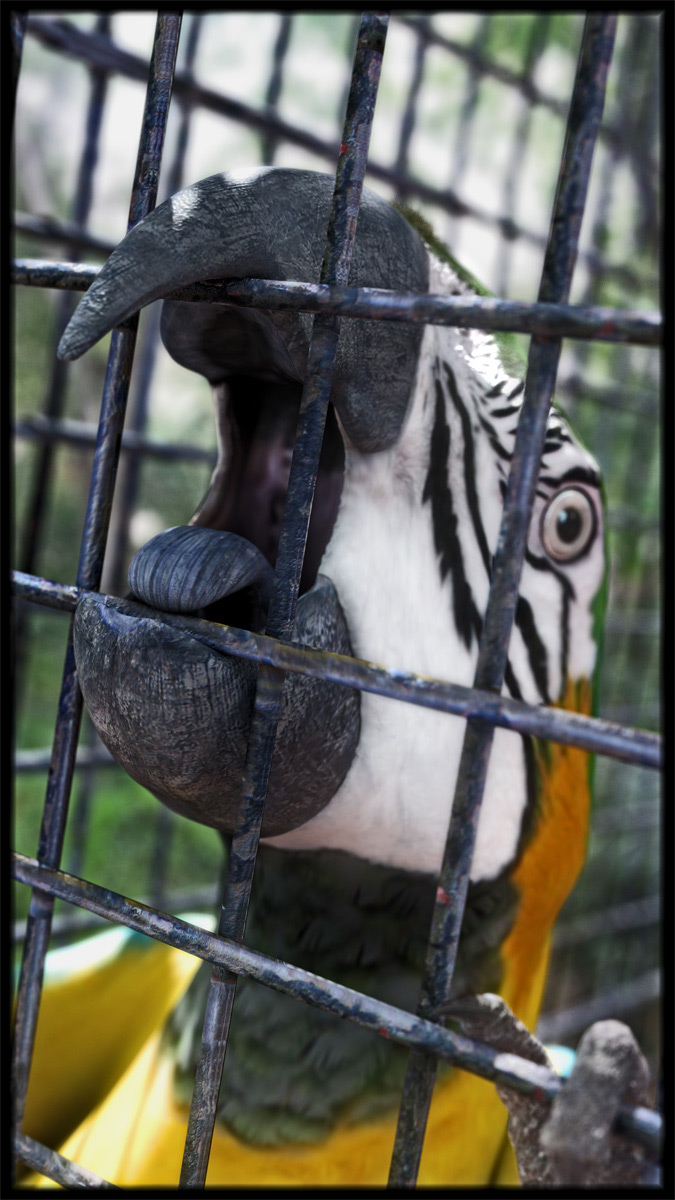
The lighting system is given from an HDRI probe and two lights. One (point light) behind the parrot up with enabled "Use raytrace shadows” and the modified values in order to obtain soft shadows. The other (area light) inside the mouth so to illuminate some parts that otherwise would be remained in shadow with the only use of the other lights sources. I have finally positioned one of my photos as “image plane” of the Camera, just to have a credible background behind the cage, even if blurred because of the DOF.
The rendering settings are those that you see in the grab. Final Gather and sampling values are high enough to avoid the grain effect given by the DOF, but not exaggerated considering an output image of 4000×2250. Once obtained the final image (approximately 4 hours with a Pentium Quad‐core) I have enhanced the contrast in Photoshop.

I hope this brief tutorial could be in some way useful and to have satisfied some curiosity about my working way. Many Thanks for this opportunity and to everyone reading this article.
(c) Massimo Righi, www.massimorighi.com


Very impressive!
These kind of works inspire me 🙂
I wish , you’ll give me more and more like that ! thanks a lot