“Making of Orange Armor” by Cesar Rizo
4- Now I make a background layer on top and put there everything that would be part of the background, so it works as a mask on top of the image that I’m working on, So I don’t have to worry of working outside of my linework. Also here I start to set a background color for the image, that might work as my bounce light and contrast to my character’s main color to help it to pop out.
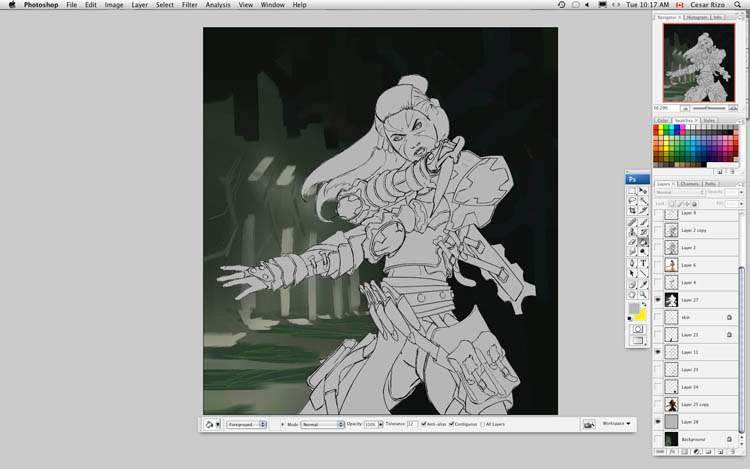
5- Now I start laying down the colors for the character, defining some material changes, and a starting to suggest where the light will hit the armor.
6-I make extra layers to separate by materials, one layer for leather materials, one layer for sking, one for red cloth, etc. I lock the pixel colors to make sure not to work out of these designated areas.

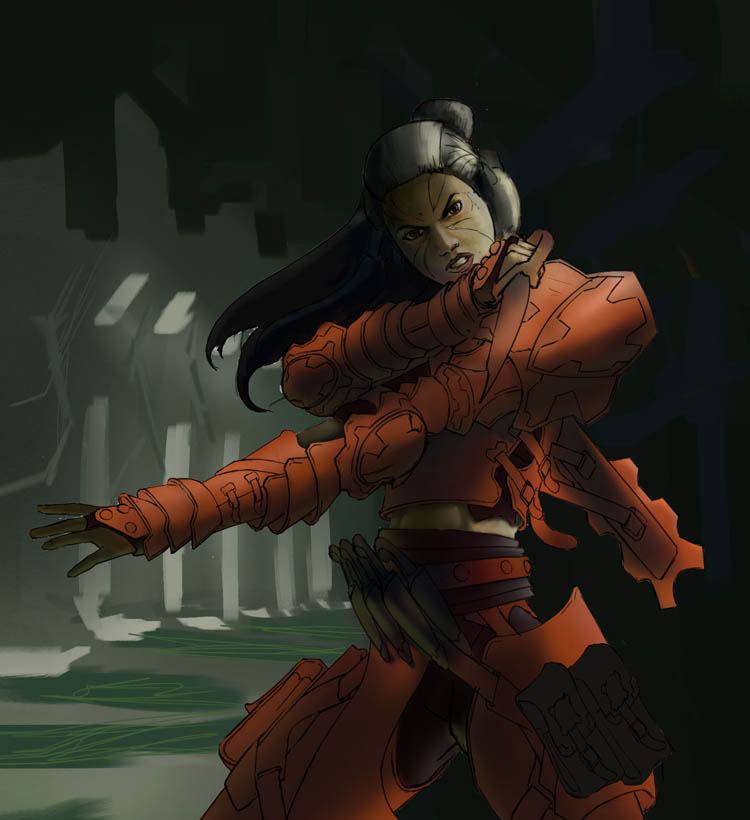
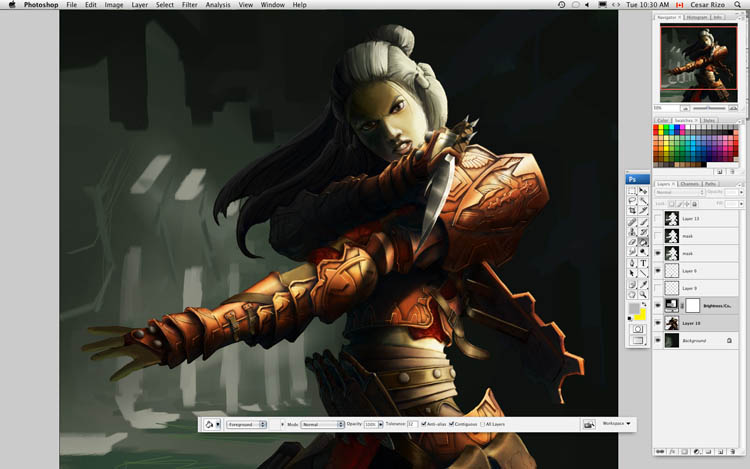
7- I take my soft edge brush (airbrush) set it to Color Dodge (photoshop) or F/X>Glow (Painter) and start defining the rim lights in the armor and refining the lighting at several points of the armor, once this is done I select a hard edge brush and start to pick the colors that are already in the image and drawing the details in. For the details is extremely important to go back to your reference folders, so you can make your details coherent and functional and check in which areas you can go a bit crazy and play more.


No comments
Trackbacks/Pingbacks