"Making Of L.Van Beethoven’s Bust" by Pablo Fernandez Gomez
Material to shader map is connected to SSS fast Material which provides the soft translucence effect along with some nice colors and a subtle secondary specular good for the occasion.
This a strange way to use a SSS map, and the shader end up being incredibly CPU consuming, but the results got closer for I was looking for this way, rather than using other methods.
The specular and bump map end up being the same, considering similarities. Bump and Spec helps make surfaces less "CG" and its also useful for simulating the grain and pores on the resin.

The surface is set and ready to render.
Step8: The Render
The render on this scene got nothing out of the usual and modeling the scene its regular vertex moving and mapping along with some texture work. The light is direct based, non IOR lights, Spotlight on front an upwards, along with a "window like" Sky Portal on the right side.

Also there is an HDRI map in environment as a way of reflection filling. The front spotlight is pointing to the wood base, looking to get some specular to make wooden base details more visible.
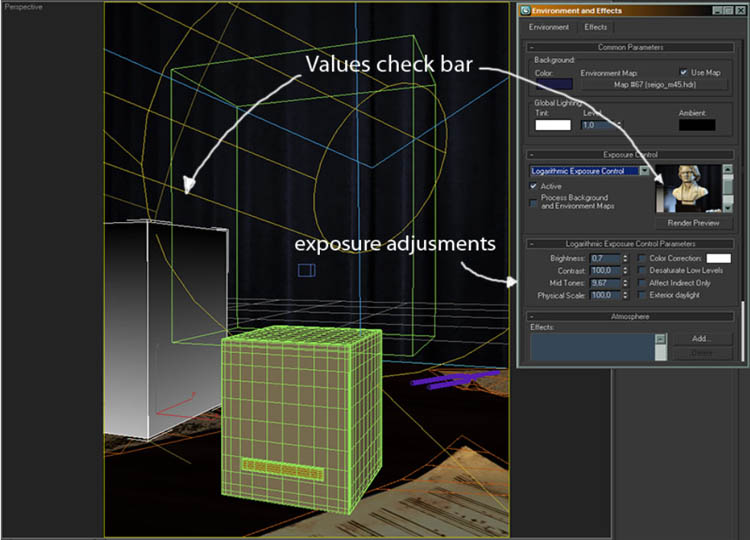
The most remarkable thing here is the exposure control: Engines usually render in 16 or 32 bit channels of color, thing that allow you to "rescue" tones that would be lost on a normal 24 bit RGB image.
This means, that using Logarithmic exposure control or mr Photographic exposure control from Environment and Effect, you can manipulate and equalize the colors on your render in a way that you can get much nicer and less burned out results, right out of rendering. This also allows you to get more "physically correct" results out of mr IOR lights. Using this.. its a very good idea to have a reference objects, lets say, something you use to check you are not losing so much tones or overburning/overexposing your final results. For this matter, I have added a “Value Check Bar” with a B/W gradient that shows me the effect of the modifications over the scene values, plus how will white and near-to-white values are going to react on a certain place of the scene.
Exposure its a tool that worths experimenting with and I took good advantage of this when rendering L.Van Beethoven’s Bust picture.
After almost 70 hours of render on my dubious laptop, the image is ready at high resolution. Then, there is the usual… color retouching, area-based adjustings on Photoshop and some noise filtering. I ve also added a very subtle bloom effect on some areas, and brighten the base to make the scratchings a bit easier to see.
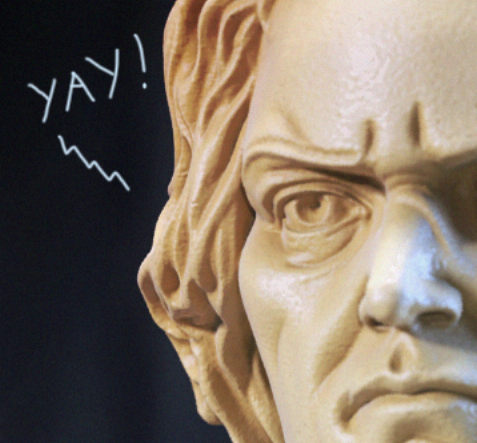
The Image is complete 🙂
If you are interested on having this 3d model, reach me at elwayfa (at ) yahoo.es. This model and scene are on sale 🙂
Hope this tutorial is being useful for you and I had explained myself clearly enough.
Pablo “Wayfa” FG
(c) Pablo Fernandez, elwayfa (at ) yahoo.es , grungefm (at ) yahoo.com


This is very funny, but it does not at all look like Beethoven