“Creating a Next-Gen Farm ” by Daniel Vijoi

3Dtutorials.sk recommendation:
To maximise the realism of your 3D models we recommend using high quality photo references from the #1 texture website www.environment-textures.com
This tutorial is targeted at those with an intermediate level of modeling and texturing experience and it’s meant to be a „making of”. Not being a step by step tutorial, this will resume itself to presenting the pipeline typically employed at AMC Studio when creating a building or another type of next gen game asset. Even this pipeline is not a fixed one, but depends on the specific requirements of each individual project so this tutorial details an „average” pipeline composed of all the techniques our team used in the past.
I took as an inspiration the typical American farm house but the model has some European influences added to enhance the personality of the building and the surrounding objects. Even if the scene as a whole is meant to be photorealistic, some of the details, such as proportions, colors, object placement or volumes are e bit exaggerated to make the game look more spectacular. This of course depends of the type of game in which the asset will be included, as the location of the player will be very important. The level of details is dictated by how far the player will be from the object and how often / how much will the player look at it. These requirements usually translate into polygon and texture budgets. More details as the tutorial progresses.
On the software side, the programs used are Maya and Photoshop.The pipeline can be split into five stages as follows:
1. Gathering materials and references2. Concept art3. Modeling and UVs4. Texture layout and UV5. Mapping
1. Gathering materials and references
In this first stage I gathered reference photos of the objects that will make the farm, being careful to choose them from the same time period and making sure they all have the same stile to make sure they all fit in well with each other. For this project I’ll make a house, a small water tower and a pickup truck. Usually, objects like the pickup and water tower are called props.
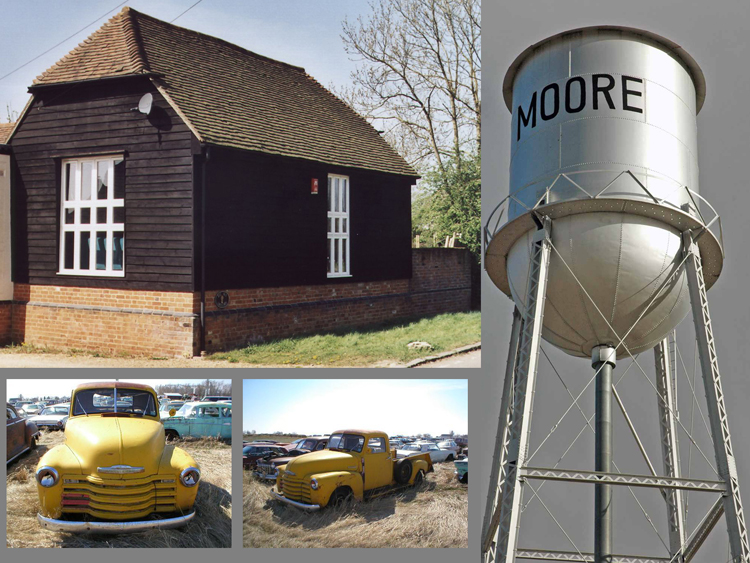 The colors and details will probably be changed later so that the elements match better.
2. Concept art
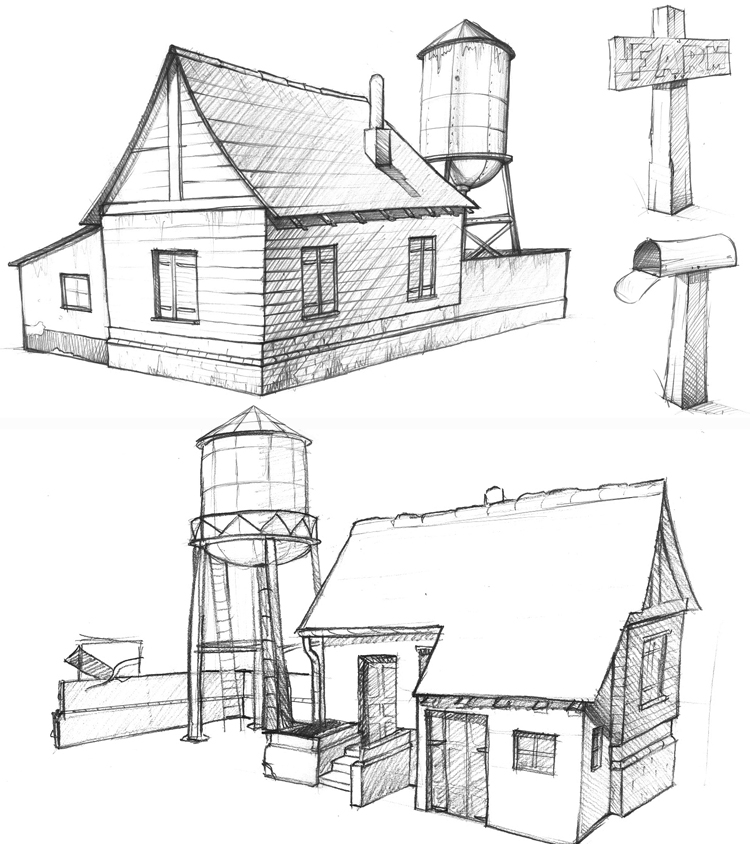
Using the reference photos I drew some quick sketches of the details that have to be included in the scene. I added some extra one that might be eliminated later due to technical limitations.
These sketches will serve as a basis for a more detailed concept that will also contain information about colors, materials, and reflectivity as well as clearer volumetric and architectural details. More detailed sketches can be obtained by using programs like SketchUp, but for the purposes of this tutorial, hand sketches were used as reference for the general object placement and proportions.


Latest Comments