“Blender as Compositing-Tool” by Berthold Grünhagen
Part 1 – Single frames
Sometimes I miss compositing-utilities in CG-packages like Maya. For simple postproductional compositings Blender is a perfect tool. In this tutorial I show you, how to use it’s compositing nodes for a good result. After that I think you will go your own way and have fun to test the possibilities out.
• Rendering passes f.e. in Maya
There are a few ways, to render different passes. These passes have special attributes for a later compositing. Standard passes are Color, Diffuse, Specularity, Shadow and Zdepth . For special purposes you can add for example Ambient Occlusion (AO) and Environment Reflection but sometimes you have to render a seperate layer for it. The passes show exactly one attribute of your rendering. In Specularity you can only see the specular areas of your rendering. In postprocessing you can change their settings for a customized result. You can set up which pass should be rendered in the Render Global Settings . Maya-Users should know about that!
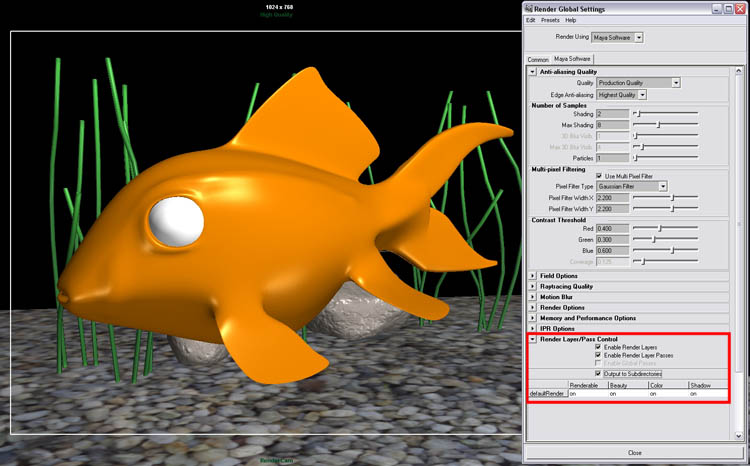
In compositing you have to put finaly the passes together. I prefer to render the passes as TIF with Alpha-Channel.
• Compositing in Blender
Blender involves a nodebased compositing system, which is very comfortable. First I generate a userinterface (UI) that fits for compositing. After starting Blender it looks like this.

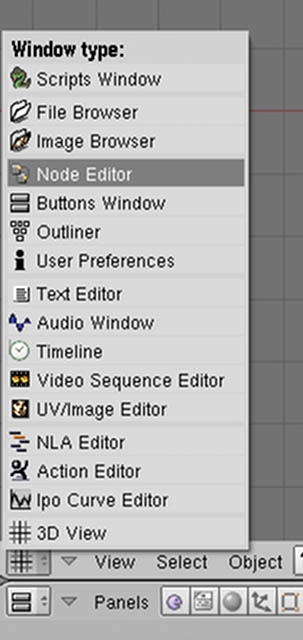
Delete the cube by push the delete-key on your keyboard. Then you have only to push F10 to get the render-settings at the bottom and change the window-type in the middle by selecting NODE-EDITOR .
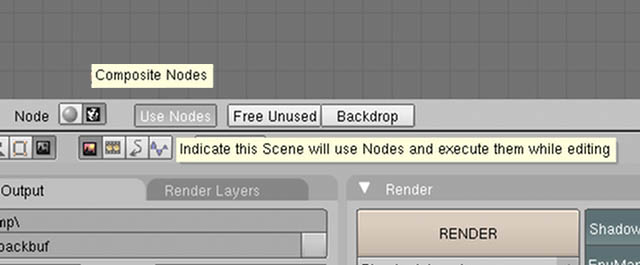
Be sure that COMPOSIT NODES and USE NODES is selected!
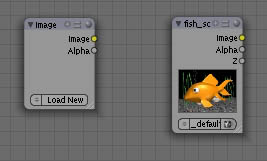
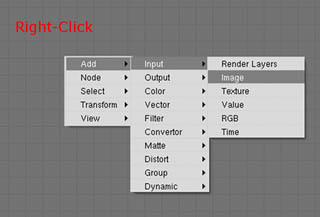
Now we can start with a simple node network. By right-clicking on the workspace you have the ability to input nodes. ADD – INPUT – IMAGE load an image of our rendered passes in Blender.

LOAD NEW show us the filemanager and we can select the needed image.
This you can combine with other nodes (here Bright/Contrast ). Add via right-click a new node. It’s automaticly connected to the image-node.


Latest Comments