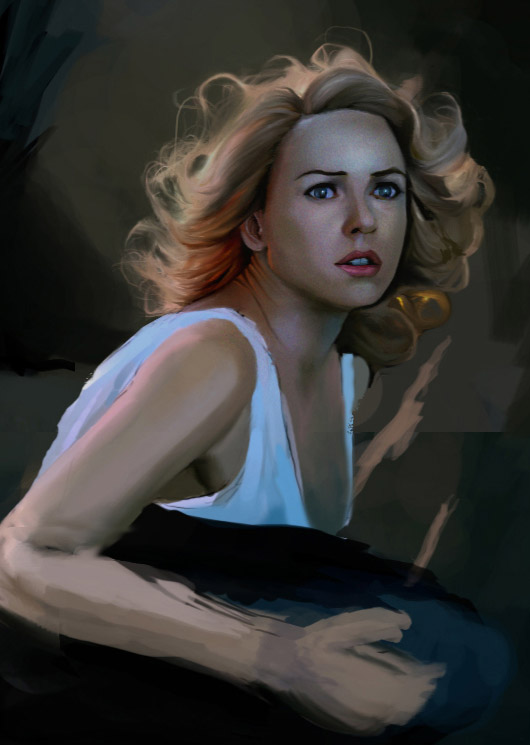
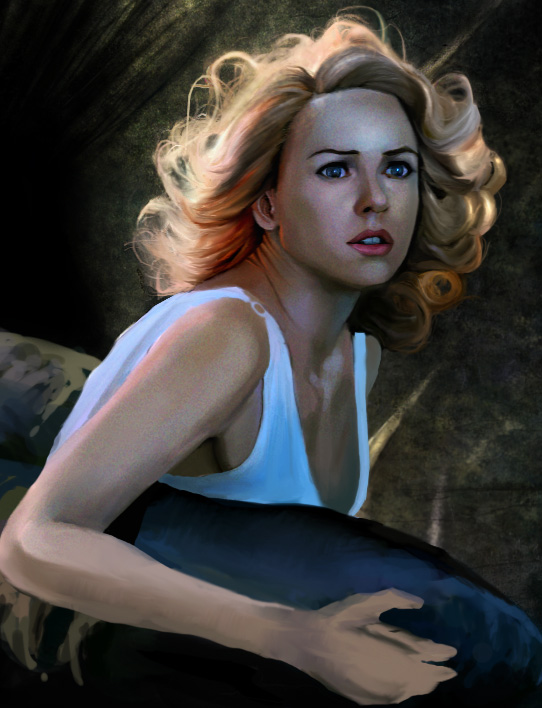
“King Kong – part 3. ” by Dan LuVisi
The base step to what I did with it, was duplicate it once, set it to screen and make the Opacity 10%, after that, I merged the two layers. Once merged, and looking to my acceptance, I then used the dodge tool again on low strength and created the outer rimming lighting on her hair. When using the dodge tool, it would be a good idea to set it to Pen Pressure, so you can make smooth lines and not hard lines. When you have your hair laid out (don’t pay attention to the images, this step was done over the course of the entire image) and finished such as, you’ll notice that the hair has dimmed.

This was because I de-saturated with the Desaturate tool. You may be thinking why I did this and the answer is because it adds more depth to the hair and will be used later to your advantage. Once you have destaurated your hair, circle it with the Magic Lasso tool and right click, and hit Layer via Copy. Do that twice. Once that is done, set both of those copied layers of hair to Screen and one Overlay. Mess around with the opacity on both of them till they match up to the picture. After that, Merge the Overlay and Screen layer together, set it to Overlay or Screen after that (which ever fits your preference) then merge it into Anne’s original hair.

You will notice a difference from the Tutorial Images, and that difference is the glow and curls.

King Kong – part 3.
One comment
Leave a Reply
You must be logged in to post a comment.


Great effort within this Jesse. Another thing in relation to Yext that is certainly well worth bringing up: if some of the actual mate internet sites has their own own report which is considered possession involving in that case that data takes priority.
[url=http://runforhumanrights.org/ugg-boots/uggs-moccasins-on-sale.html]uggs moccasins on sale[/url]