“Clothes tutorial” by Aziz Khan
32-select the character then we will add collision object.
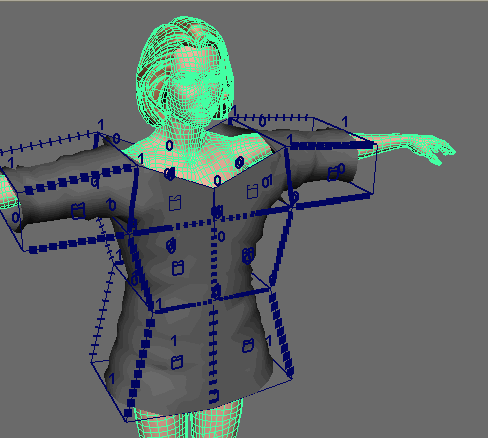
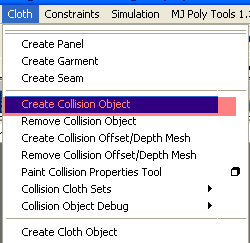
33-with the character still selected go to (Cloth) pull down menu and choose (Create Collision Object),
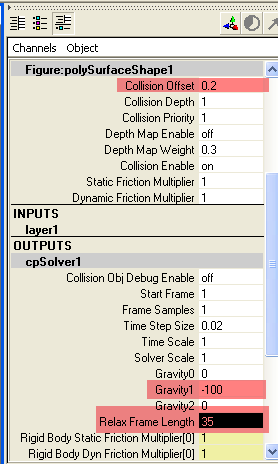
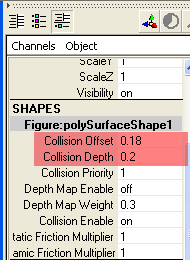
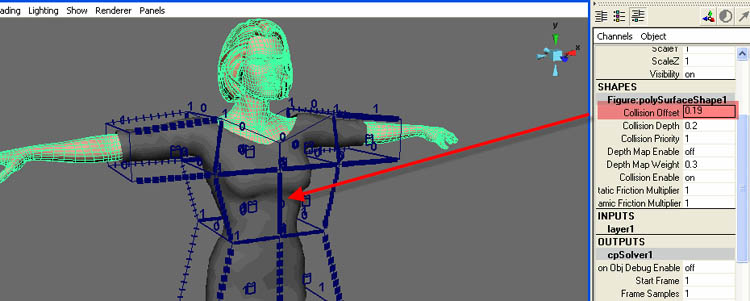
34-still with character selected in the channel box do the same settings as below,
Note: the settings I am doing here I don’t know if it give me the satisfactory result, so don’t stay in one settings just keep changing the values until you are not happy with the result.
35-from cloth tab as you wish to use (Start Local Simulation),
![]()
36-or as you wish to use play button, to be honest I like to use it because once you run, it will start solving the cloth and if you are not happy with the result just (Delete Cache) and hit (Go to start) button now your character cloth will be in the same position as you left before simulation, that is why i like it.
![]()
37-i start solving my cloth and I couldn’t get the satisfactory result and again i changed the values.
38-again I get a little problem with the above settings and changed the values one more time and got the satisfactory result and now I am happy with this result.
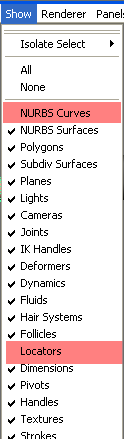
39-from your perspective view go to (Show) pull down menu and uncheck in the picture showing below.
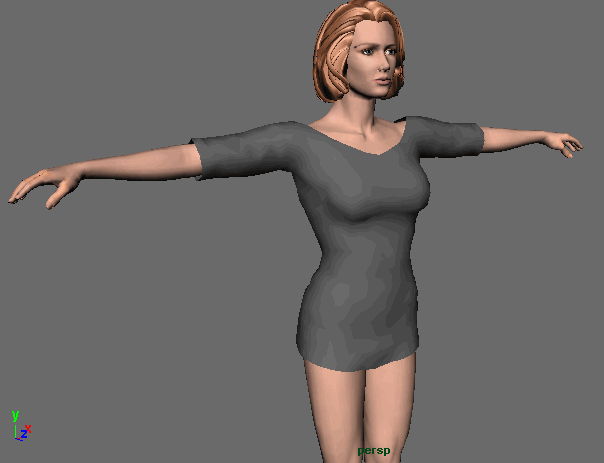
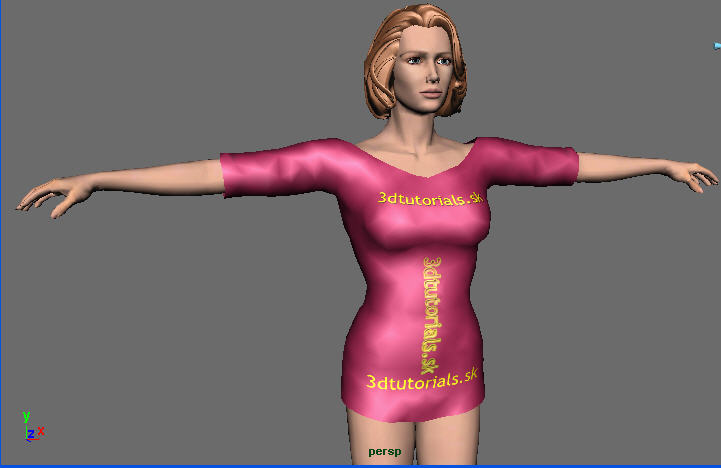
40-now your entire character should be clothed and should look cool. so here is mine below.
With some hot red color,
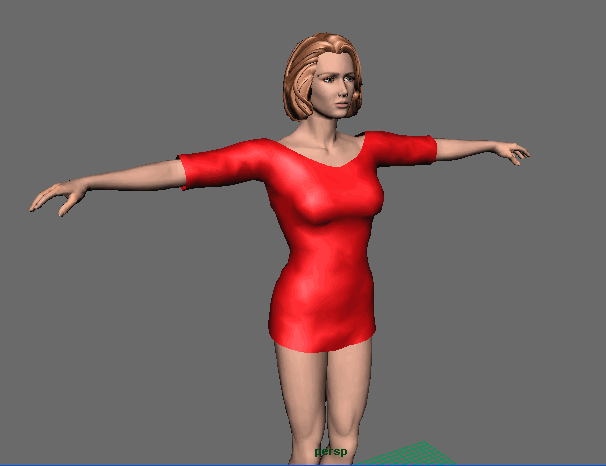
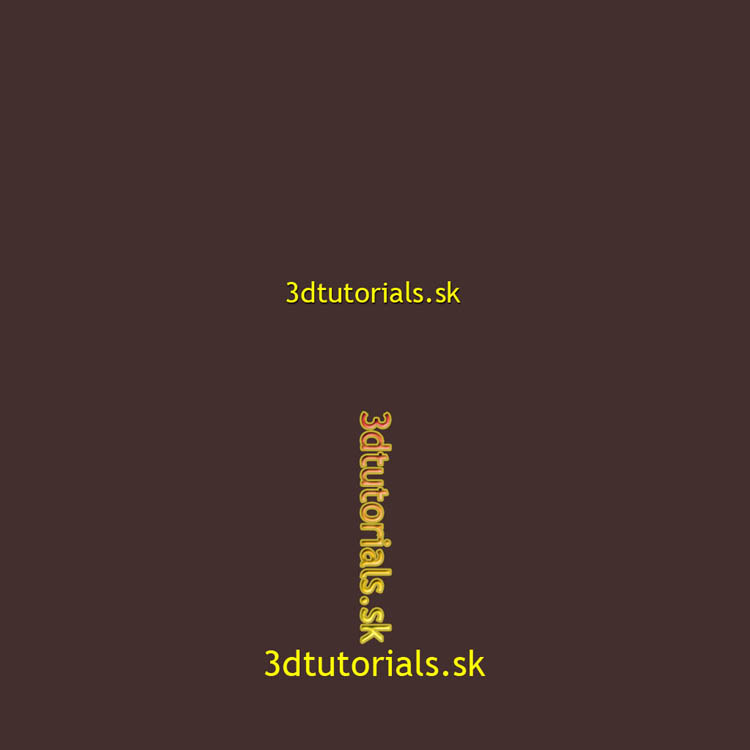
I have applied this texture on her cloth if you like to use most welcome (Download)
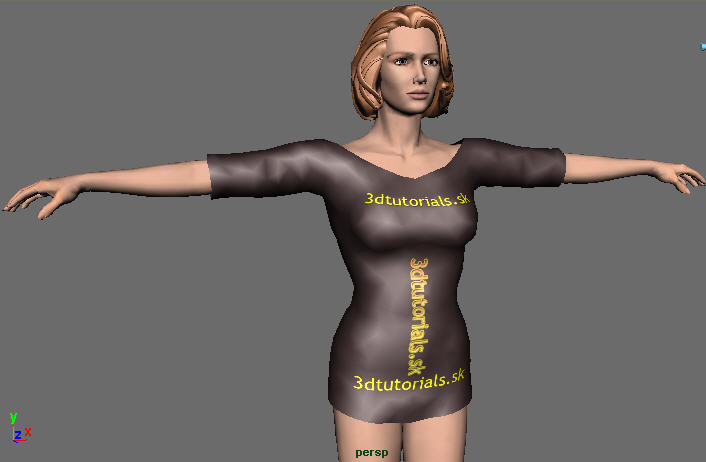
And here is my final shoots
Congratulations guys you have successfully accomplished the tutorial I hope you learnt something about cloth to cloth up your characters in the future.
Till next one have nice and creative day Good Bye
Regards, Aziz khan
(c) Aziz Khan, www.aziz3d.esmartdesign.com
Clothes tutorial
One comment
Leave a Reply
You must be logged in to post a comment.
Popular Tutorials
-
 Free set of photo references for our members
Posted on Nov 15, 2010
Free set of photo references for our members
Posted on Nov 15, 2010
-
 Photo References
Posted on Oct 6, 2010
Photo References
Posted on Oct 6, 2010
-
 Modeling Competition
Posted on Dec 10, 2010
Modeling Competition
Posted on Dec 10, 2010
-
 Modeling a High Definition Building – part 1
Posted on Dec 9, 2010
Modeling a High Definition Building – part 1
Posted on Dec 9, 2010
-
 FREE photo reference sets for you – only for registered members
Posted on Oct 2, 2011
FREE photo reference sets for you – only for registered members
Posted on Oct 2, 2011
Try something new

It’s truly a nice and useful piece of info. I’m happy that you just shared this useful info with us. Please stay us informed like this. Thank you for sharing.