“Character walkthrough – part 2 ” by Julian Johnson-Mortimer
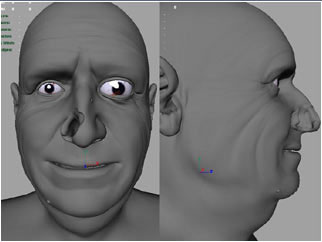
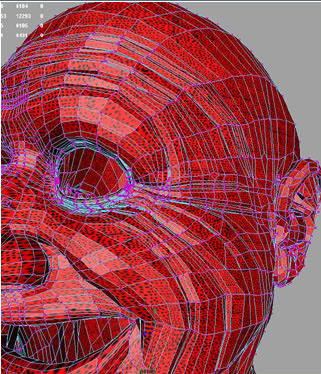
Once I was happy with my head I duplicated it keeping the original pose and I’ve made a blank pose deforming the areas like the cheek and fore head I uses clusters. Areas could be smoothed some more using the sculpt polygon tool. I will be using this blank pose for the UV mapping the areas that are nicely stretched out.

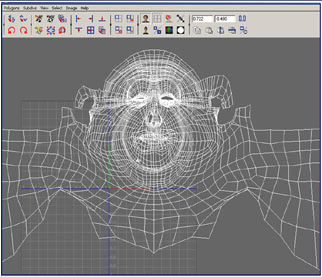
First I will be doing a cylindrical projection on the head.
Here’s the result you could probably get away with using just that, but there will be stretching of the textures in quite a few areas.
Selected the areas below the chin for another cylindrical projection.
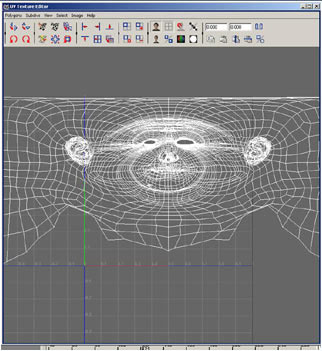
Now I’ve copied the head again and I’ve modeled the eyes half shut and tweaked the forehead then did another cylindrical projection on just the top part of the head.
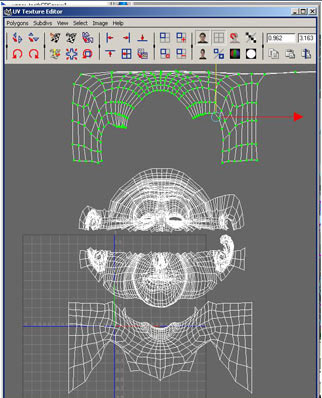
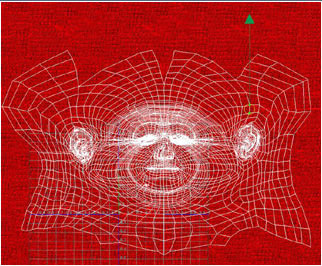
Here’s my map so far.
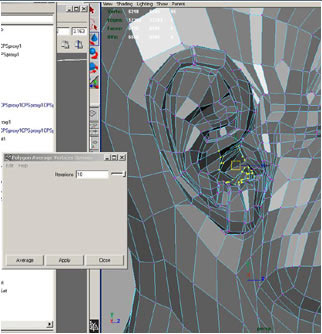
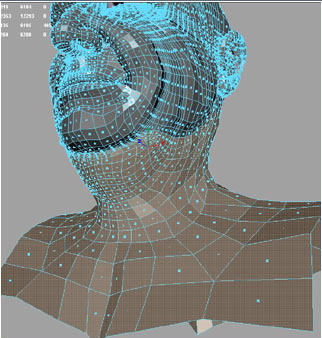
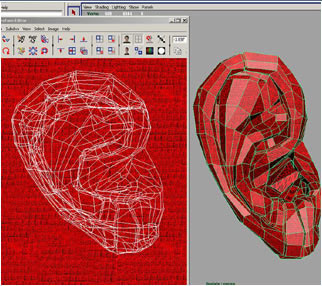
Now the ear is always a bit tricky. Select the awkward areas inside the ear, then use the average vertices tool.
Area smoothed.
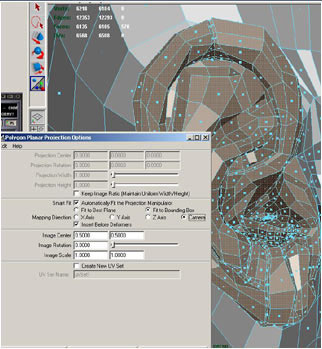
I’ll be doing a planar projection on the ears and checked mapping direction camera.
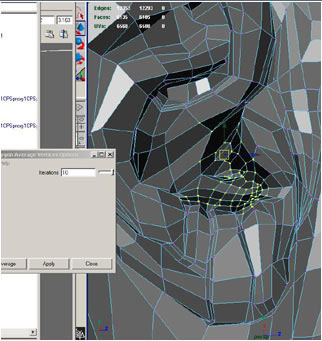
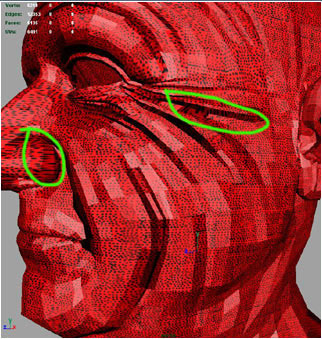
I’ve selected the areas inside the nose, to clear then out of the way mostly so I can see the areas around the nose better on the UV map.
I’ve merged 2 parts of the map together.
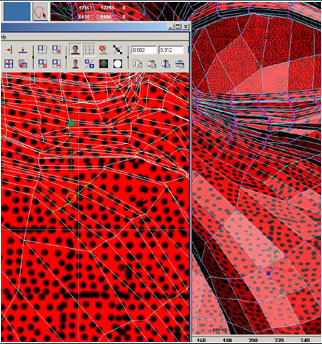
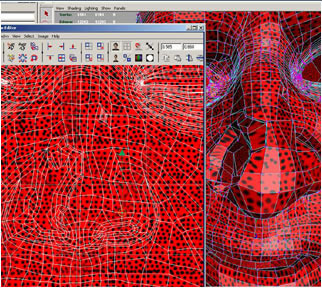
Now I use a large texture which is just loads of spots I use this to see where their are problems with stretching on the map. You can see that most of the map is OK I’ve picked out a few areas that need tweaking.
You can download my spot texture here, 642k
Now looking at the model I go round tweaking and moving uvs, its well worth spending a few hours checking and tweaking the map, because the textures and the final head will look better.
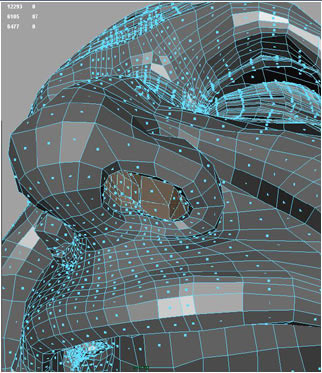
I’ve connected a few blend shapes to see if I can spot any major stretching in different poses.

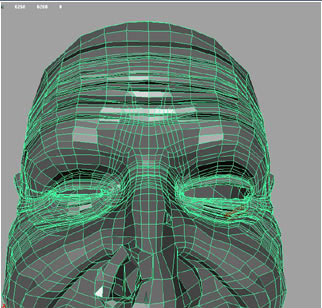
Tweaking the nose area.
Area much cleaner now.
Now for the ears. Again you can probably get away with how it is now but I like a good UV map, so I spend some time tweaking and moving the uvs.
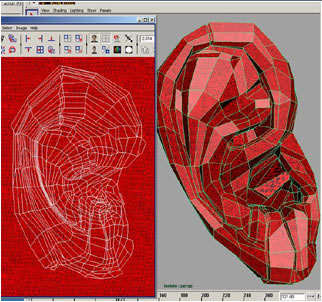
Here it is after tweaking.
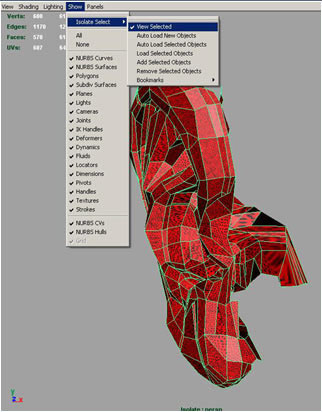
Isolating an area can be useful. Just select parts of the model you want then choose view selected from the menu above.
Here’s the map so far, I’ve put the ears back in place.
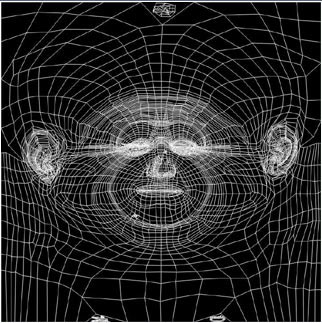
Here’s the final map finished. I managed to find a few areas where I could squeeze the back part of the lips and back of the nose. now you can use the polygon transfer tool to transfer the UV map back on to your base head.
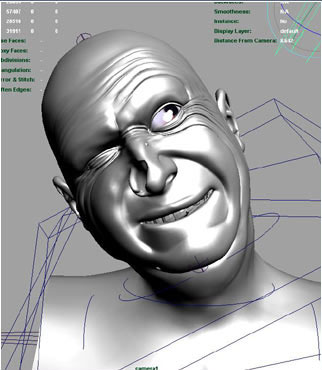
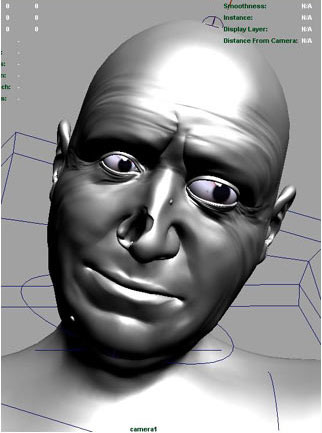
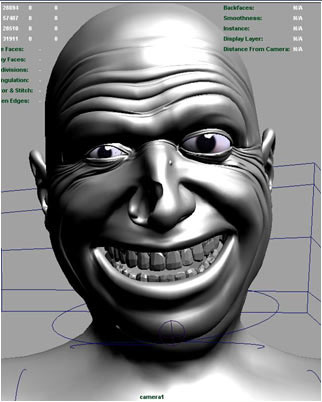
A few facial poses. still could do with a little tweaking.
Well that’s it, I’m afraid. I hope you didn’t find it to boring and you found the base meshes useful.
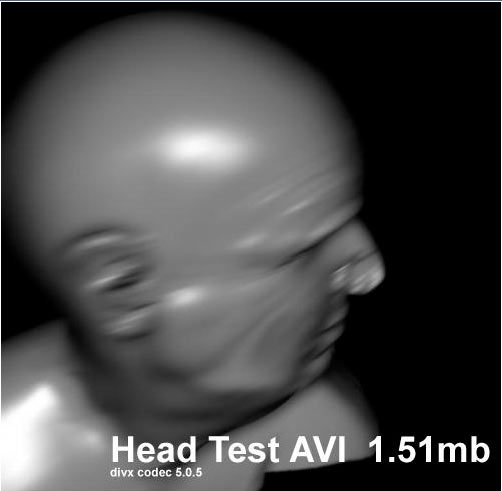
Here’s a Final Maya scene of the Head with Animation MadAm.rar
(c) Julian Johson-Mortimer, www.johnson-mortimer.com


Latest Comments