“Character walkthrough – part 2 ” by Julian Johnson-Mortimer
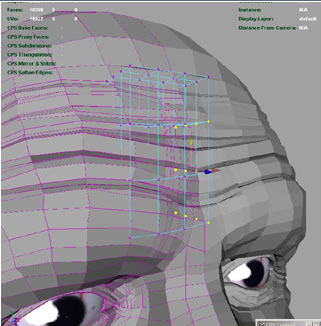
When a poly mesh starts getting high it gets harder to tweak and shape, I use deformers like a lattice or clusters to make it easier to deform areas.
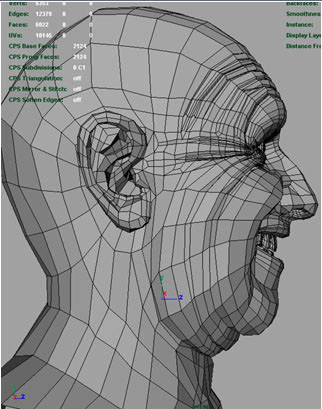
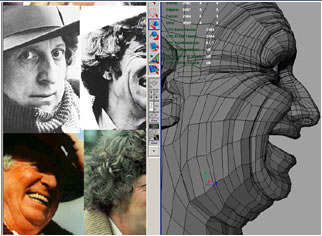
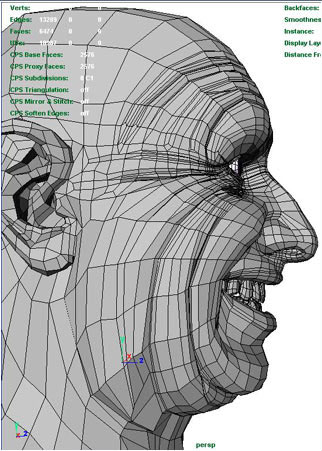
The head so far.
View from another angle.
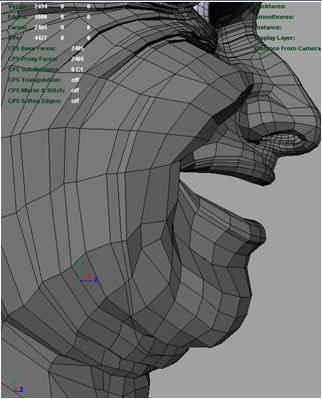
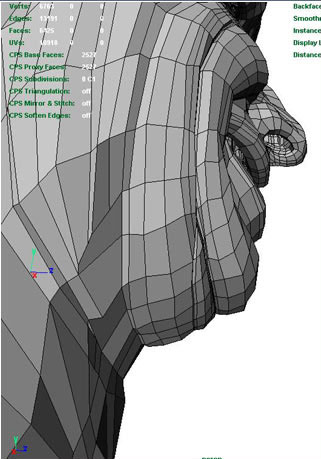
I’ve added more detail at the top of the nose, these will be used for some facial poses.
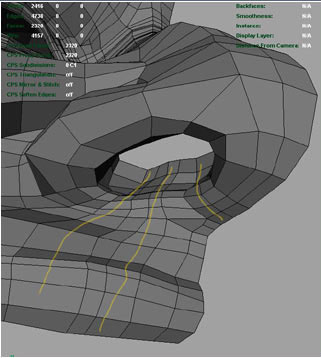
Here’s a close up of the nose, a nice flow of edges.
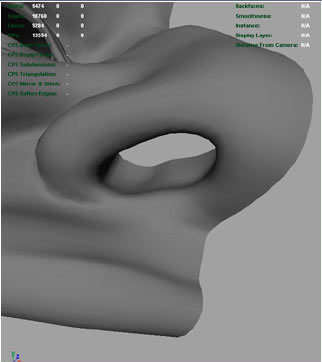
The nose so far.
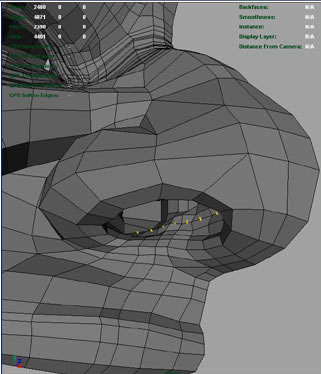
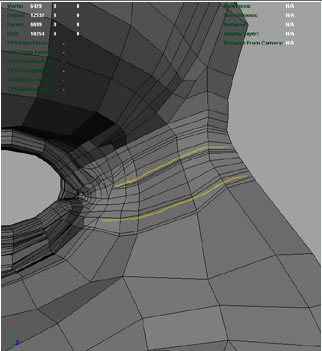
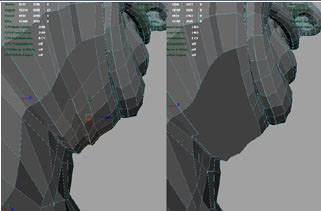
I’ve extruded the marked edges and formed the inside of the nose.
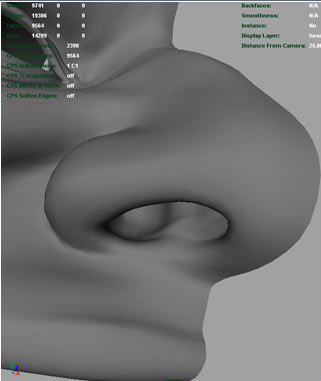
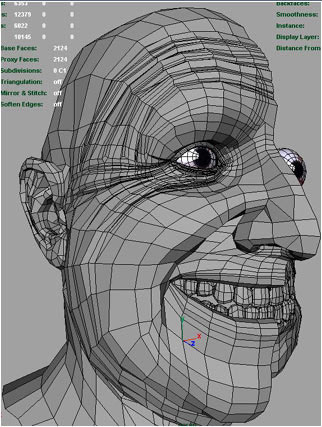
The nose after smoothing.
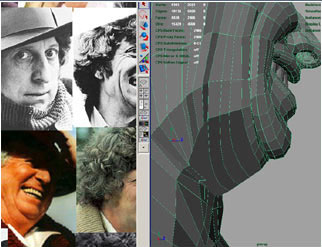
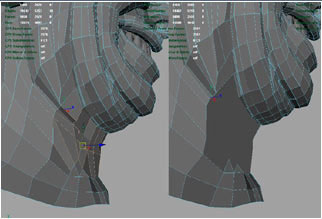
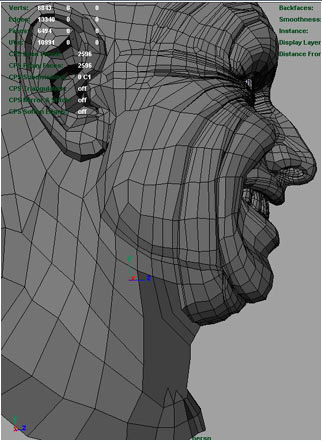
As you can see I’m still playing around with the area under the chin.
Some more changes.
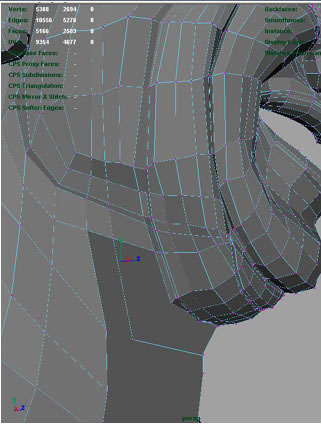
If you’re having problems with a area… Sometimes it can be quicker to just select all the edges and delete them and start again, rather then keep playing around with the points.
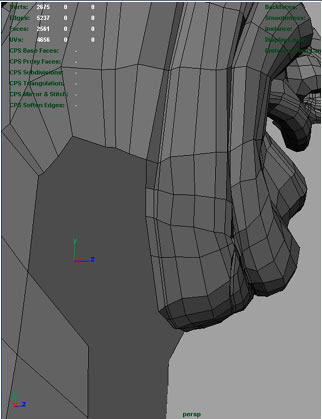
Creating and deleting the edges until it looks good.
Now cleaning up the bottom part of the neck.


Latest Comments