"Water tutorial" by Mario Veltri
Painting the dirty water
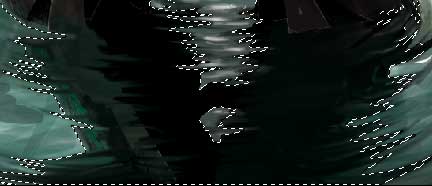
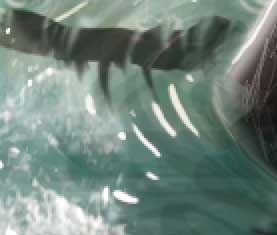
The palette you got now are the colors I used to paint the water. My personal style is to fill all with the darkest color of the palette,than using medium-soft brush in "screen" blending mode with a more brightcolor selected to push out the lights and the water details.However I place in the hands of each artist
Look, there is something in the water!
It’s important when we paint water that the reflexes are coherent with the upper environment, in our case, the character that stands in the water and his tentacles.
To make the main reflex of Jonathan I just loaded the selection of his layer (ctrl or command+click on the layer), flipped it vertically,(select/transform selection, than right click on the active selection and chose "flip vertical") and than I did switched to "quick mask"(shortcut is "Q").
With the "quick mask" active I selected the "smudge tool"and started to push the edges of the selection left and right,to simulate the small waves generated by his presence in the water.
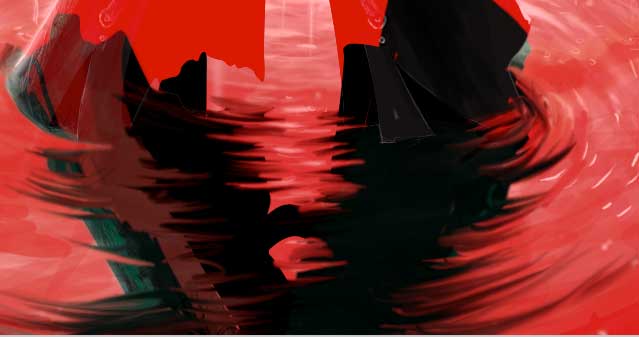
By pressing "Q" again we get back to the real world with a real selectionin the hands and all we have to do is to fill that with the darkest color of our palette.
For the reflexes of the tentacles I used the same process of the character’s one. The only difference was that I made the starting selections by hand and I painted some withe highlights to simulate the small waves.
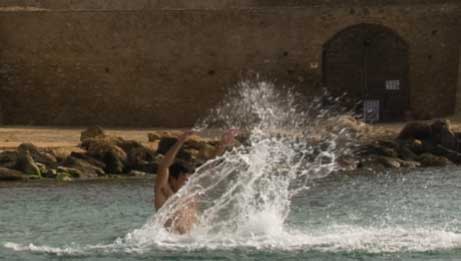
Spash, Swosh, Squirt!
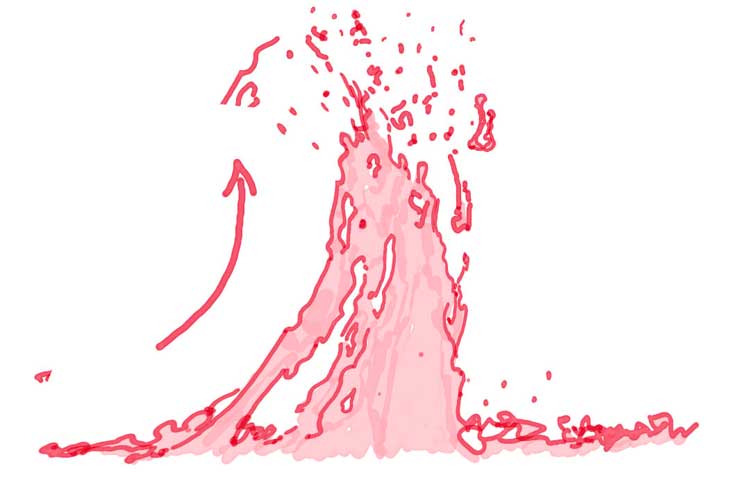
To paint properly water we need to understand her physical propertynamed Cohesion (http://en.wikipedia.org/wiki/Cohesion_(chemistry) ).I will try to explain it in the easiest way I can:
water starts as as single volume, the more we push it out from is mainmass, the more it loses the grip with itself, spreading in smaller pieces than in drops.
To better show this effect I made a picture and a scheme
Water Tutorial
Popular Tutorials
-
 Free set of photo references for our members
Posted on Nov 15, 2010
Free set of photo references for our members
Posted on Nov 15, 2010
-
 Photo References
Posted on Oct 6, 2010
Photo References
Posted on Oct 6, 2010
-
 Modeling Competition
Posted on Dec 10, 2010
Modeling Competition
Posted on Dec 10, 2010
-
 Modeling a High Definition Building – part 1
Posted on Dec 9, 2010
Modeling a High Definition Building – part 1
Posted on Dec 9, 2010
-
 FREE photo reference sets for you – only for registered members
Posted on Oct 2, 2011
FREE photo reference sets for you – only for registered members
Posted on Oct 2, 2011
Try something new

Latest Comments