“Understanding Lights in Maya – part 3 ” by Aziz Khan
3Dtutorials.sk recommendation:
To maximise the realism of your 3D rendering and lightning we recommend using high quality panoramatic photos from the #1 texture website www.environment-textures.com
Area Light
Hi Guys and welcome to part 3 of (Understanding Lights In Maya), in this tutorial we will work with (Area Light) and the last light in the list (Volume Light), ok lets get started,
1-as usual create light,
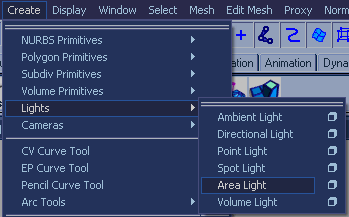
2-and place it somewhere in the scene as you like,

3-now activated (Use Ray Trace Shadows),

4-and hit render you should have something like in the image below, as you can see the shadows are too grainy we will fix this issue next by increasing (Shadow Ray) and the (Ray Depth Limit),

5-now in the light attributes increase (Shadow Ray) and the (Ray Depth Limit) according to your need, and then open (Render Settings) by going to (Window>>Rendering Editors>>Render Settings), Expand Raytracing tab and crank up the values as you see in the image,
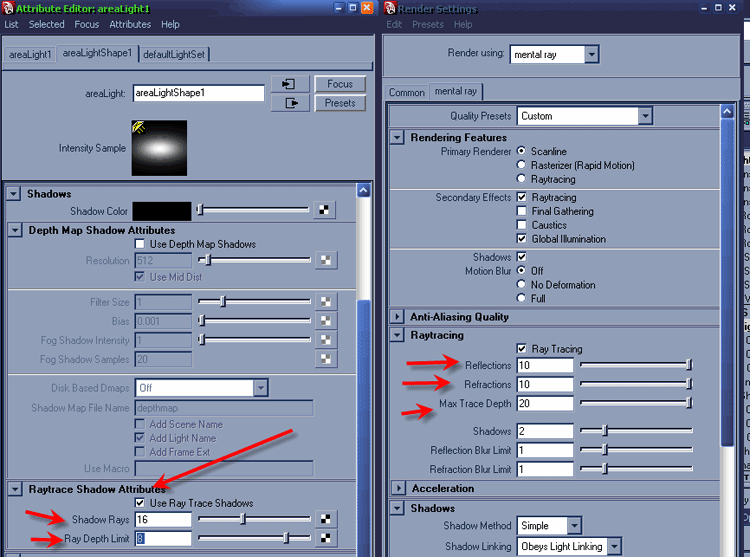
6-select the light and then go to its attributes once again, and now expand the (Mental ray) tab, make sure your rendering engine set to Mental Ray and Global illumination is on in the Render Settings,
now you should see couple of different option like (Use Light Shape) and (Emit Photons)
Use Light Shape = you could change the shape of your light to (Disk), (Sphere), (Cylinder) and the (User), so go with any shape you like,


Latest Comments