Post-production
Photoshop was the program that I used to merge all of my render elements and composite the final image.
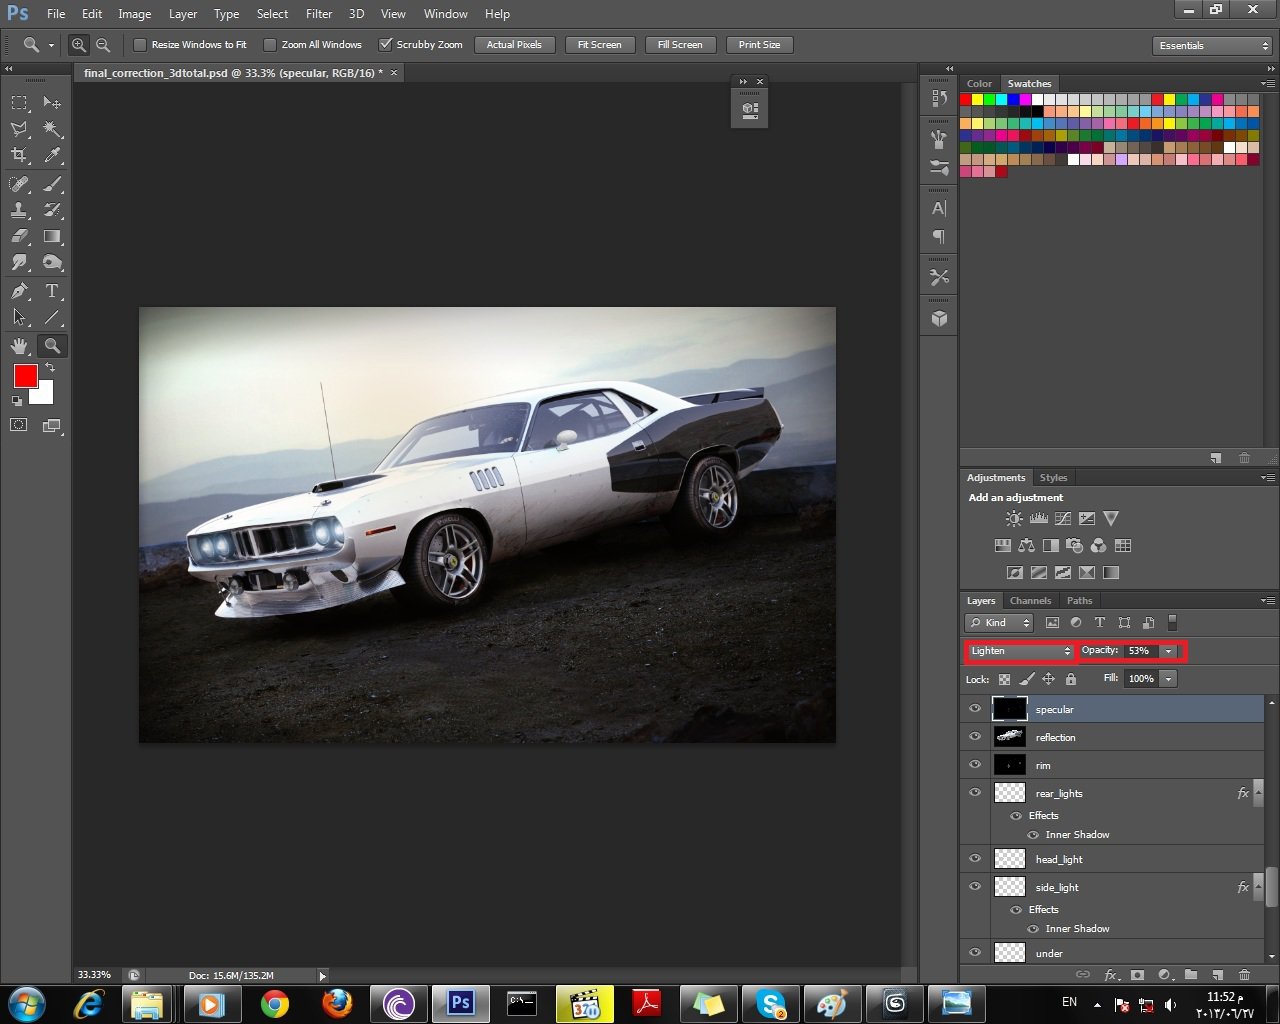
Compositing progress in Photoshop

Applying Hue/Saturation
The next step was to add some car headlights. Creating headlights in Photoshop is very easy. I started by making an elliptical shape selection.
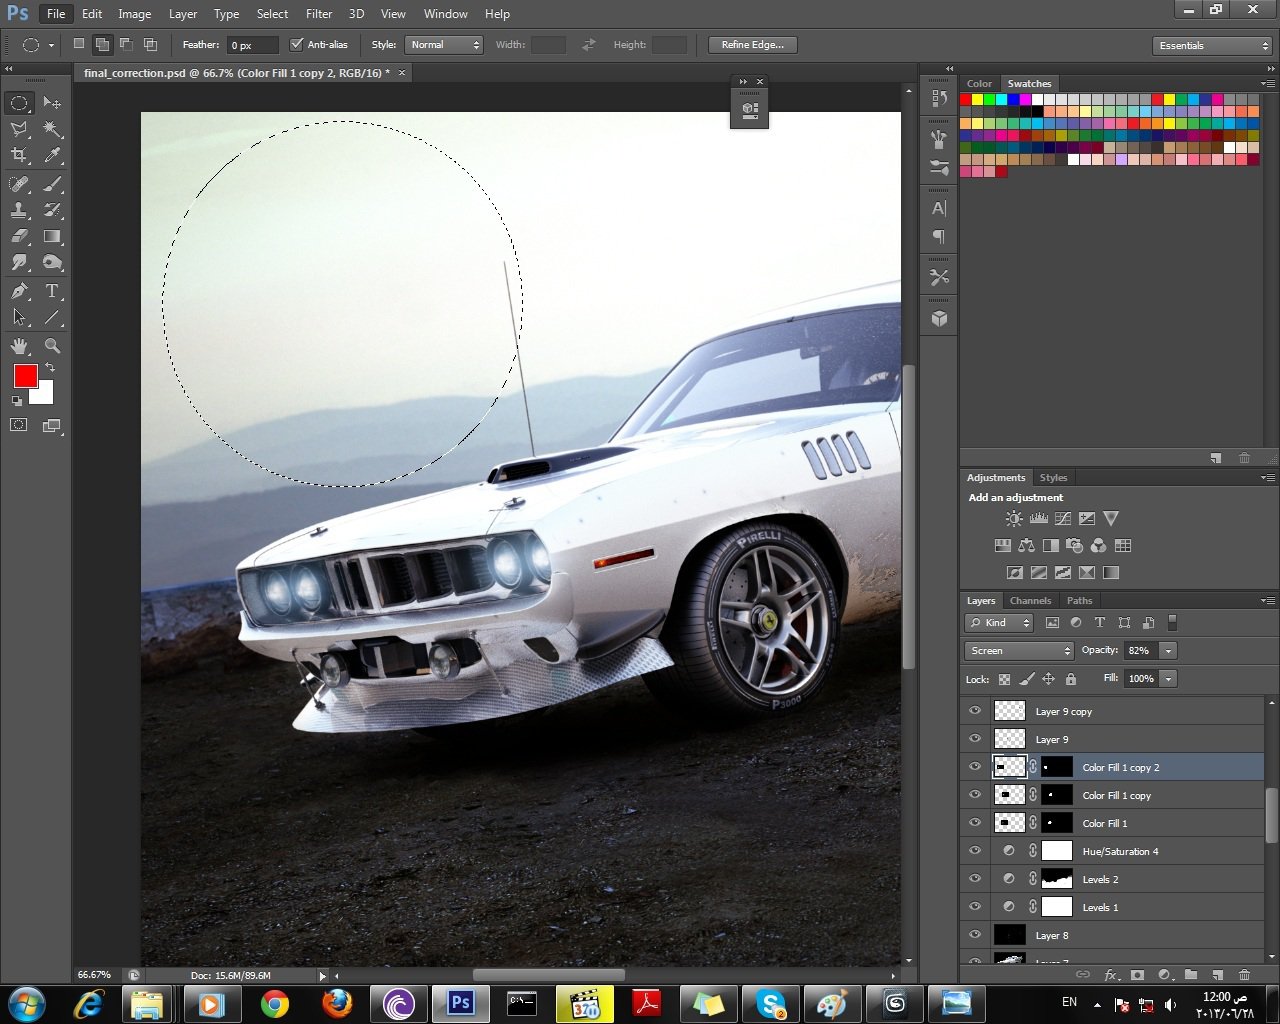
Elliptical shape selection
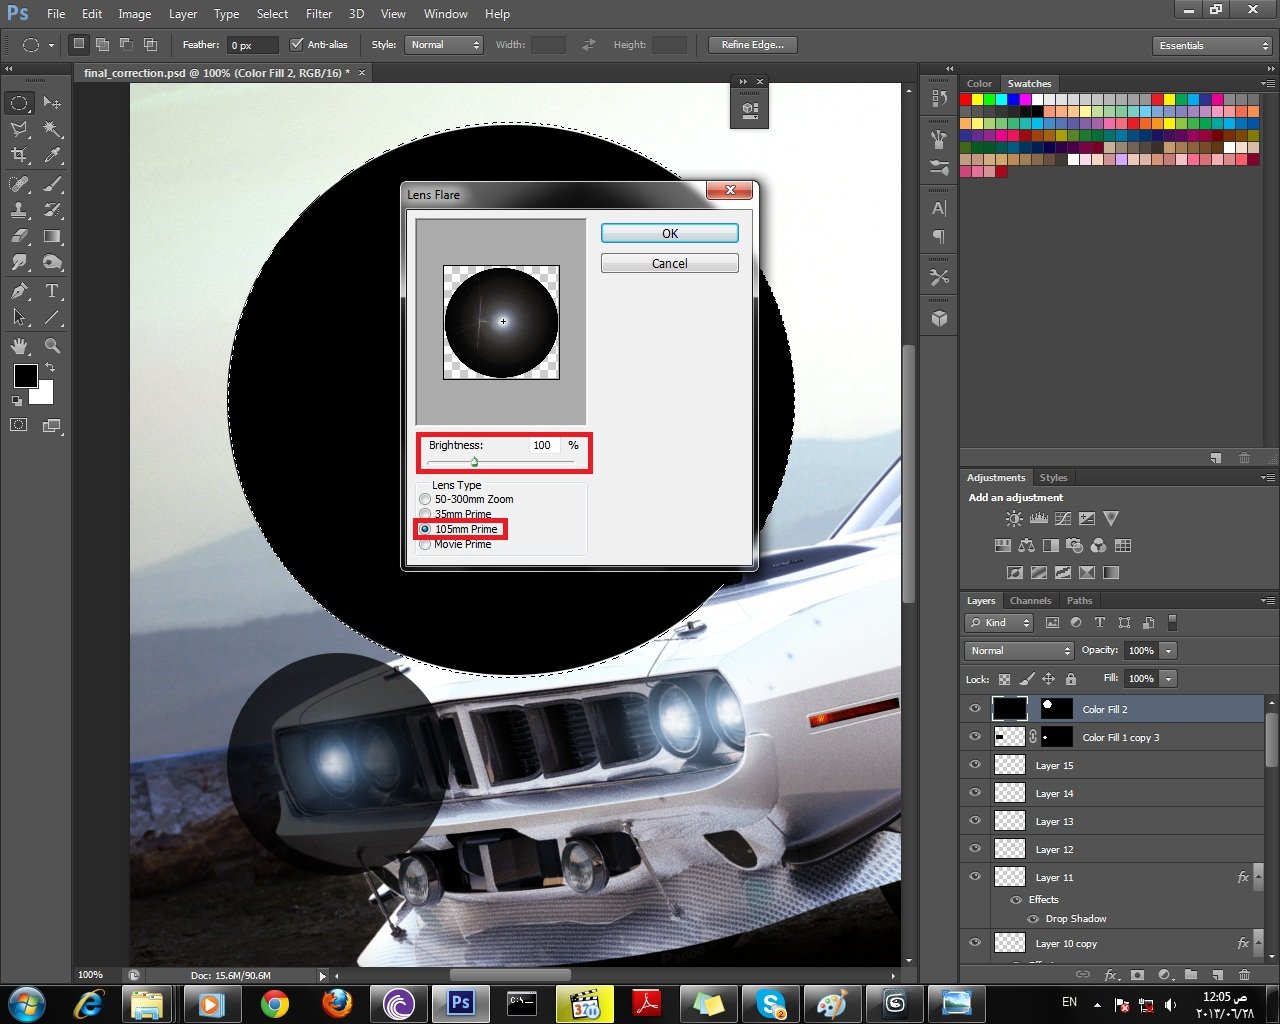
Then I filled it with a black color and added a Lens Flare filter.
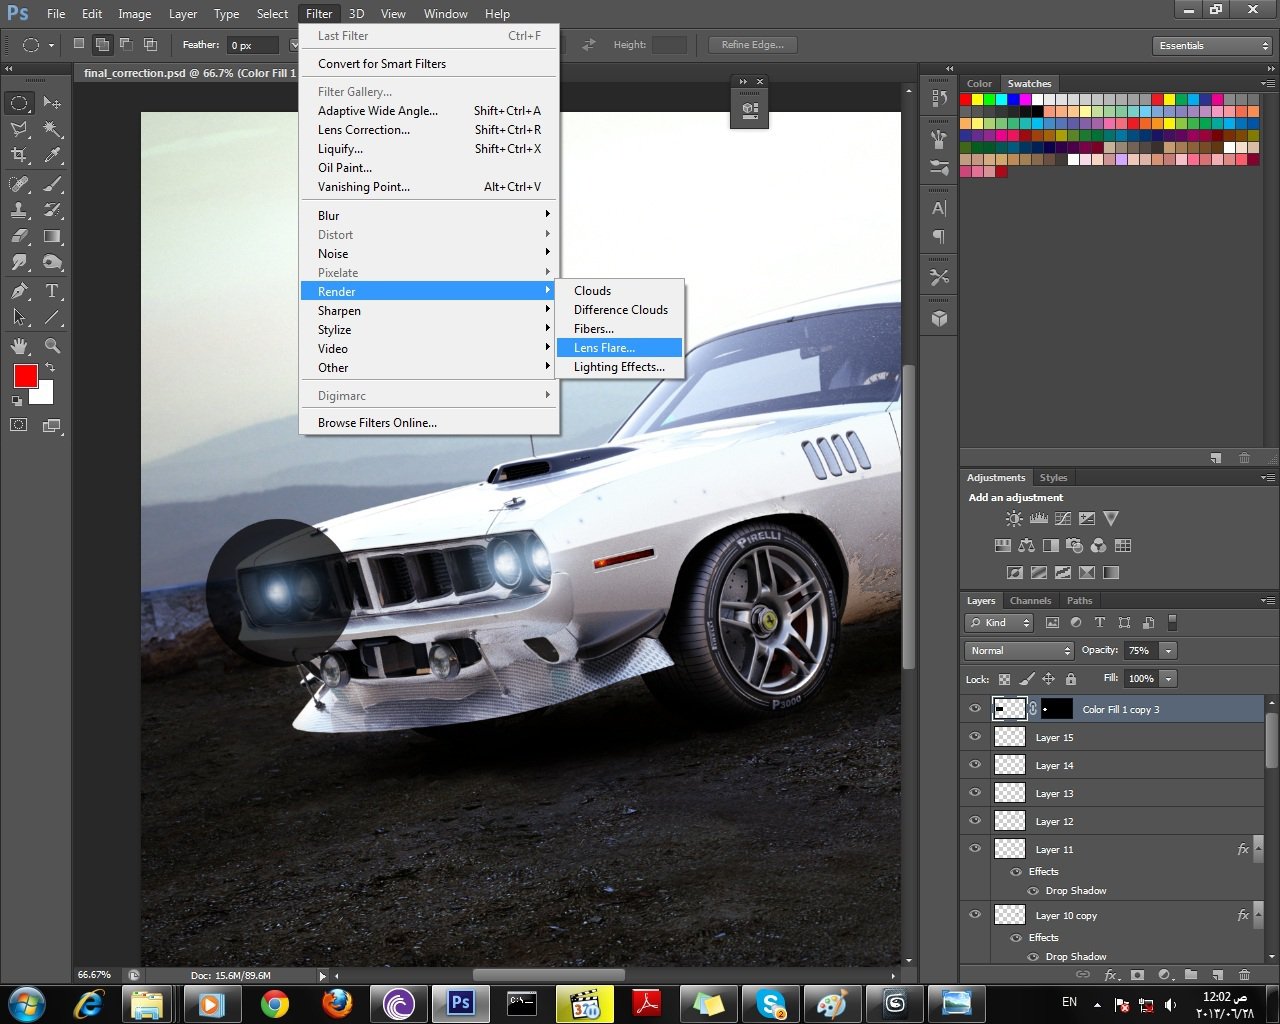
Adding black
Next I resized it and moved it on top of the car light
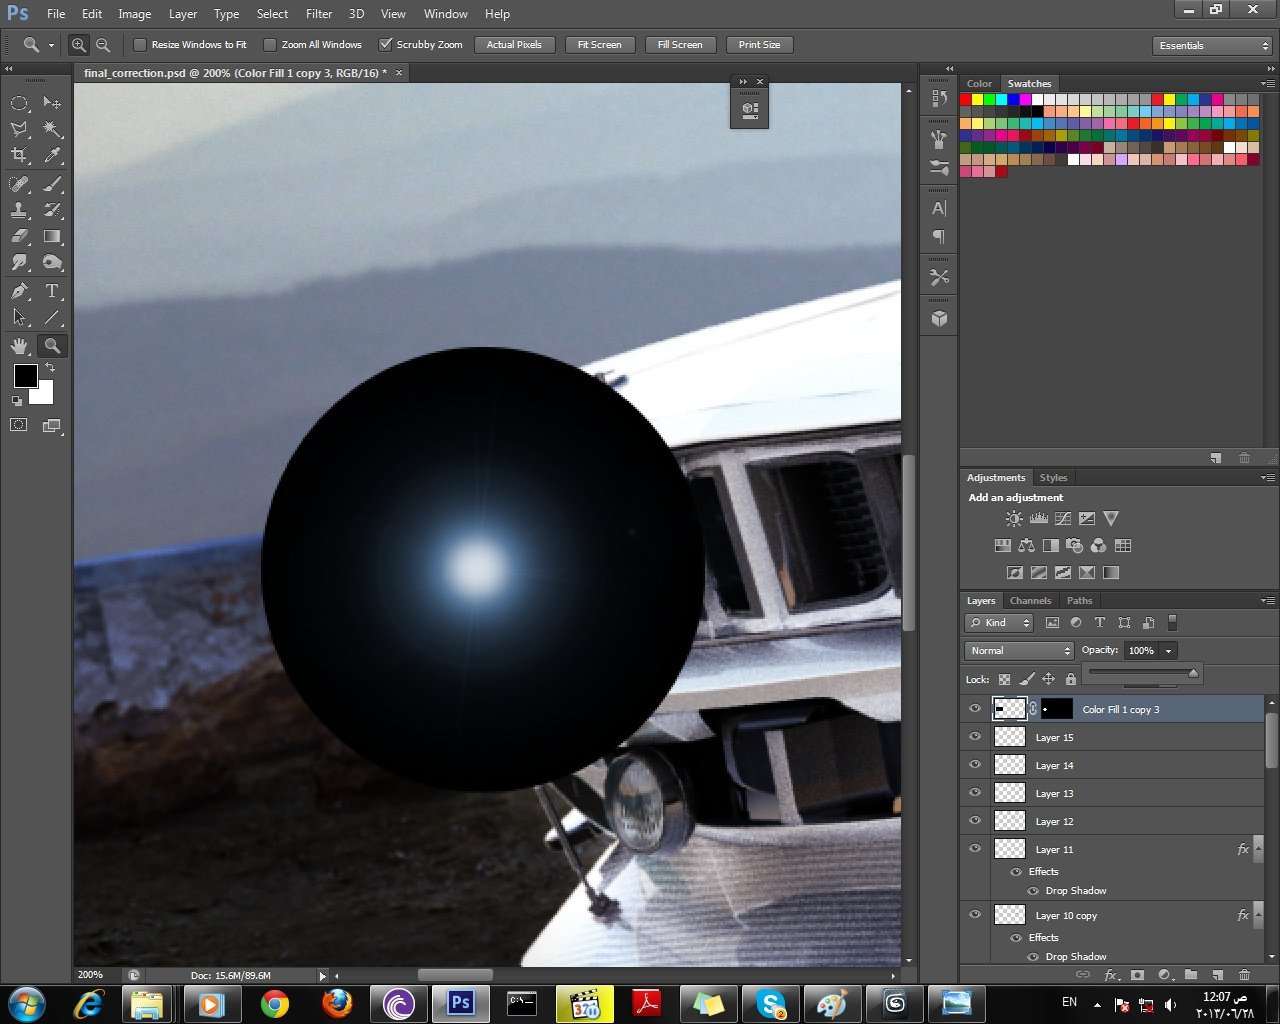
Repositioned car light
Finally I set the layer to Screen and played around with the opacity until I got the result I was after. And with that the image was finished!
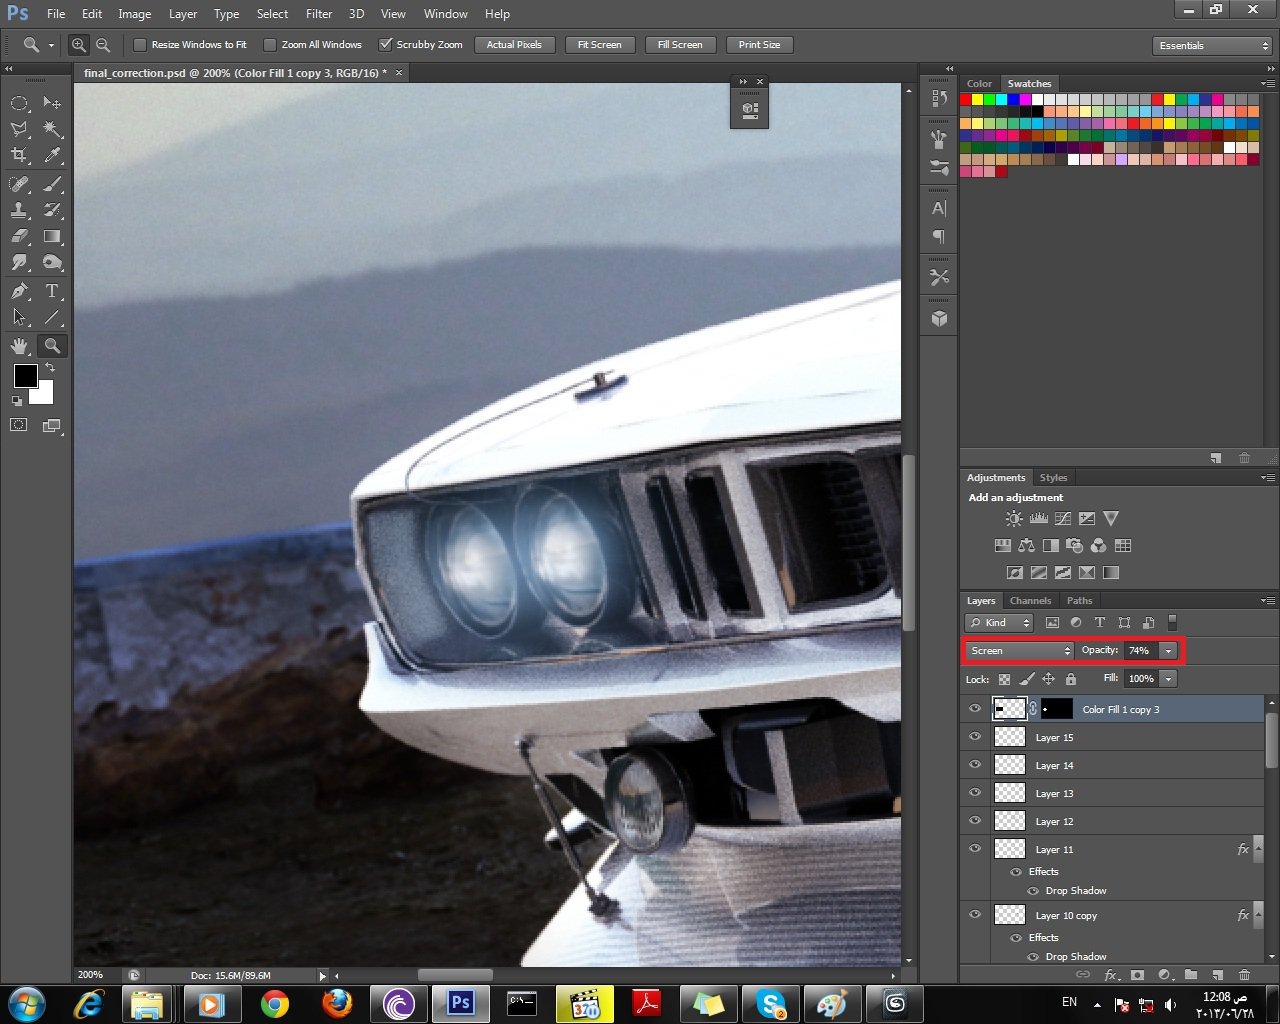
Finished car headlights
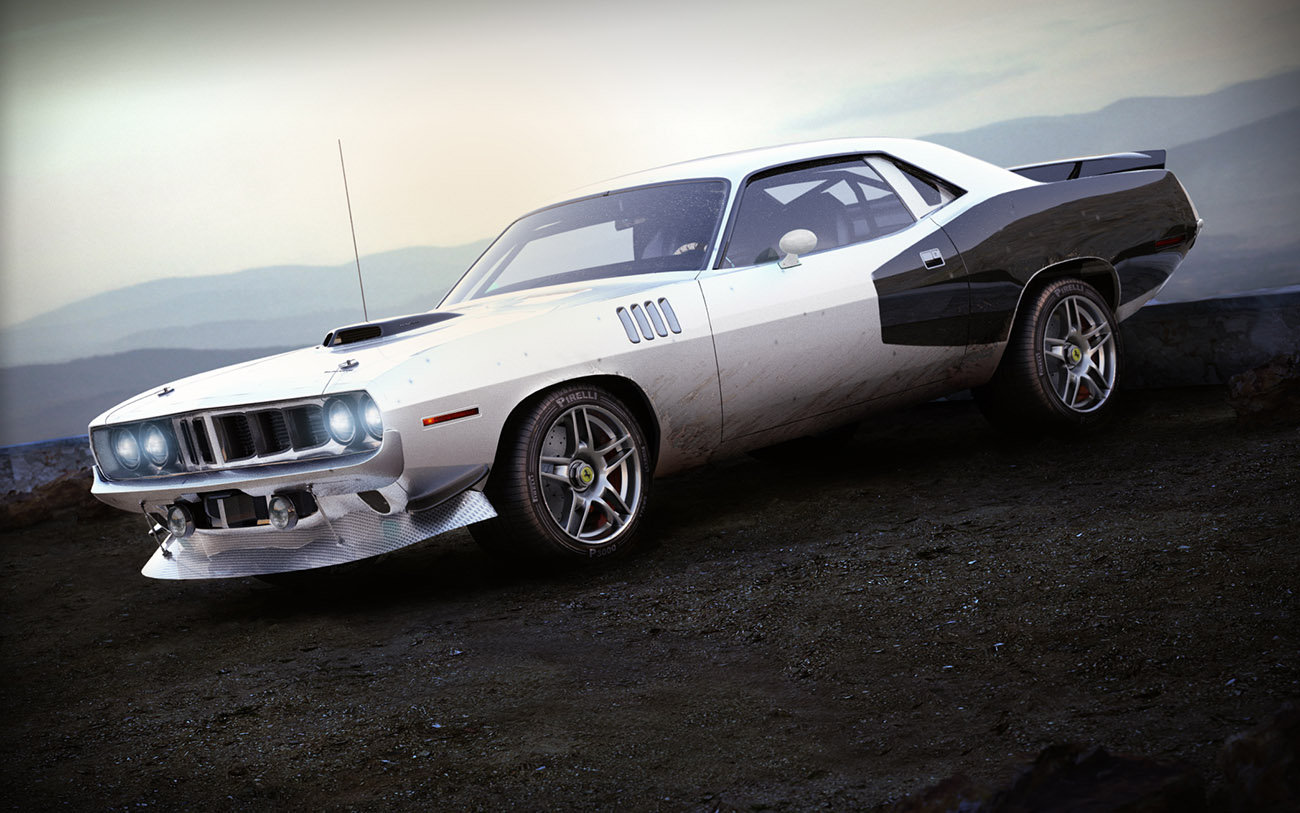
Final render (enlarge)
I may not be the best, but I always like to share what I can. Thank you for reading this project overview and I hope you found something helpful here!
To get more car textures for 3D artists and game developers try looking at environment-textures.com.
Pages: 1 2


Latest Comments