“Making of seamless textures ” by Wojtek “Buddy” Starak
Now we can finally get rid of ugly seams mentioned above, create a selection with marquee tool on the top of deleted piece of ref, hit Ctrl+C and paste it on our 512×512 texture, drag it to bottom. Be sure You’ve selected new layer “Later 1”, choose Eraser tool and try to remove most of the top side of the copied margin, play around with opacity/flow values, it’ll help you define smooth blends if needed.
![]()
Do the same with vertical side but now drag the selection from right on the ref to left on the 512 document.
If everything went well You should end up with something simmilar to this:
Note: You can use Ctrl+E to merge layers.
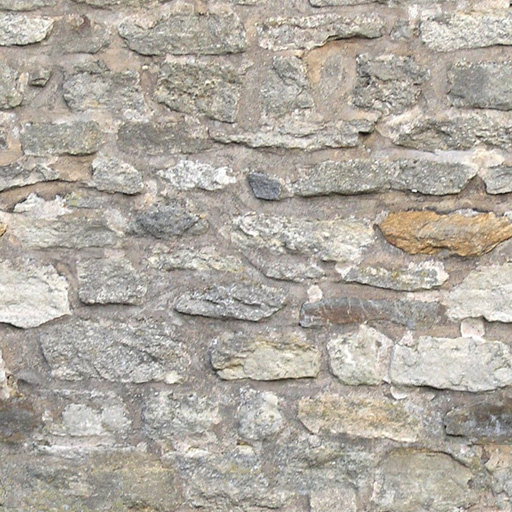
To check if texture tiles perfectly create a new document in 1024×1024 size and paste 4 times whole finished 512 texture. If option snap is enabled they will algin to themselfs and edges of image. Should look like this:

Looks good so far, I mentioned something about characteristic spots on the texture, which You can easly notice when they tile, in this one that “characteristic spot” is the yellow stone, to get rid of that color diference, create a new layer, select brush tool
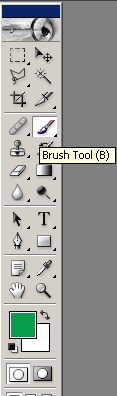
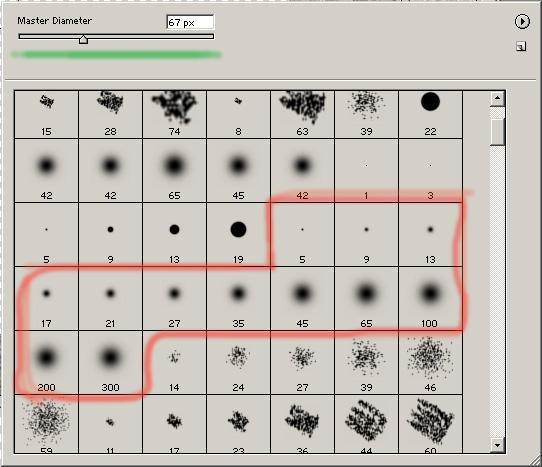
to pick a color from image hold “Alt” and click place where You want to pic color from, I took color from one of the stones. Now paint over the yellow stone, use softbrush for that (right click on workspace, select one of the soft brushes, you can define size of it on top of the menu)
when You finish, change layer blending mode to “Color” (notice little Otacon helping me with work 🙂 ).


Latest Comments