“Hell Yeah! Making of” by Vaclav Krivanek
Introduction Hello, I want to share with you the small making of my Hell Yeah! portrait of the devil. First I’ve start with simple base mesh in 3dsmax then I moved my model into ZBrush where fun starts.
3Dtutorials.sk recommendation:
To maximise the realism of your 3D creatures we recommend using high quality animal photo references from the #1 texture website www.3D.skTip: Before you’ll export anything to zbrush, don’t forget to reset xform (especially when you’re mirroring some objects) you’ll avoid many problems.
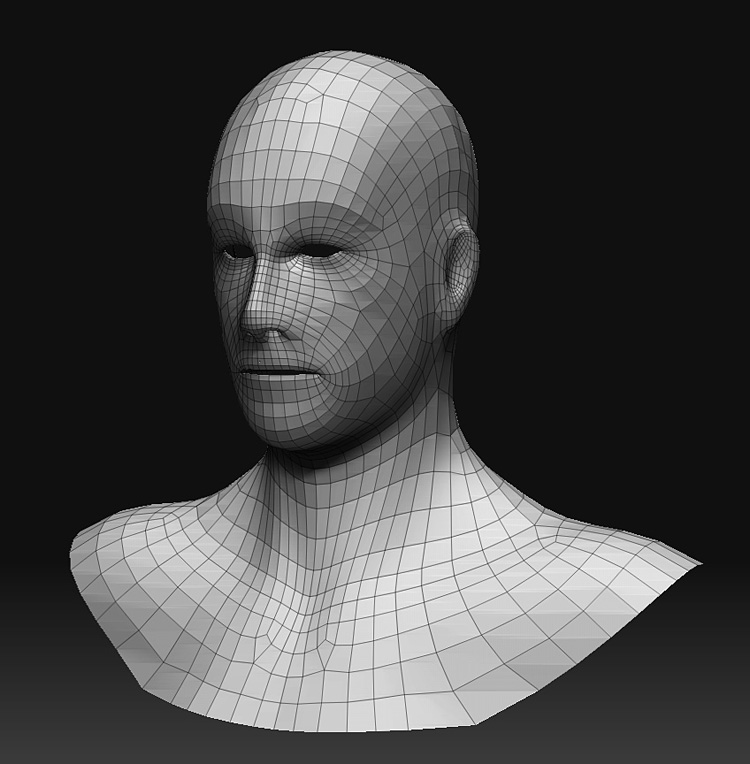
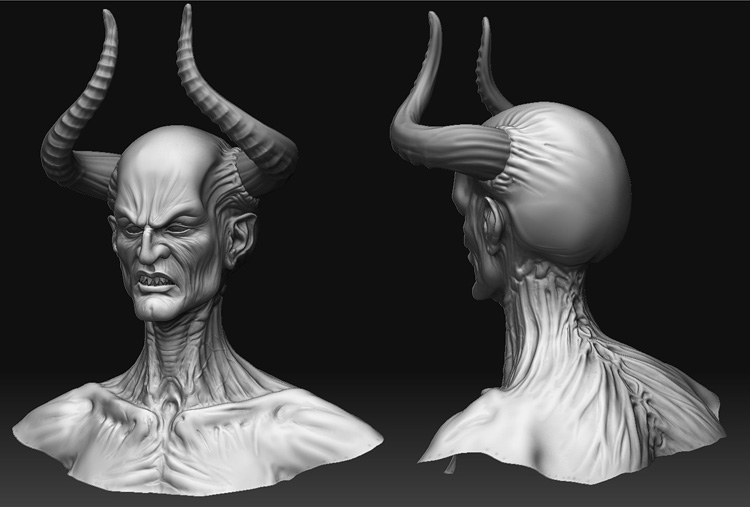
Modeling When I put base mesh in zbrush at that time I actually didn‘t know how the final version will look, so I start playing with shapes, don‘t be afraid to do crazy things like move ears far from head, make big nose or so, you can find some interesting shape and then start adding details in your model. First idea when I start sketching was to make some vampirish head but at the end I get to devil head 🙂

When you’re sculpting, don’t try to subdivide it at 4th level right after you put it in zbrush, always try to get maximum details even in basic model, when you’ll be quite happy with that, then just move to another level and add more fine details.
I am mostly using just standard brushes like inflate, standard, smooth, pinch and move. I actually didn‘t use any special alphas for this sculpture. Great feature is to use lazy mouse (L) for wrinkles and smooth lines and transpose to move, scale and rotate your object if it’s needed.


Latest Comments