“Making of Chess set ” by Joshua Murphy
In this tutorial, you will learn how to create a Chess set. For this tutorial you will need at least an intermediate knowledge of 3DS Max, or your preferred 3d application. In this tutorial, I will be using 3DS Max 2008, so if you have an older version or if you are using a different 3d application, your button configuration maybe be slightly different.
3Dtutorials.sk recommendation:
For inspiration we recommend using high quality photo references from the #1 references website www.environment-textures.com
First I googled chess board images to get an idea of what I wanted my set to look like.
When modeling and using reference images, I like for my model to be unique so I never try to create an exact replica of one that I have seen. Just think of some ideas and use some details of others.
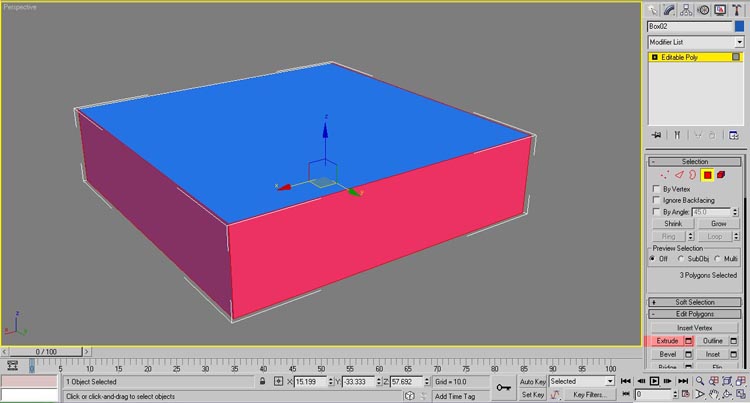
You start off by creating a box in the top viewport. You can enlarge your top viewport to encompass the entire viewport by pushing ALT+W.
Now when you have the box created, hit P on your keyboard and go into Perspective view. I like to try to do most of my modeling in this viewport. Once you are in Perspective viewport, apply an Edit Poly modifier to your box.
Some people prefer to work in Edit Mesh mode, some in Edit Poly. It is really your own personal opinion.

Once in edit poly mode, I will show you some techniques that I use to obtain certain results.
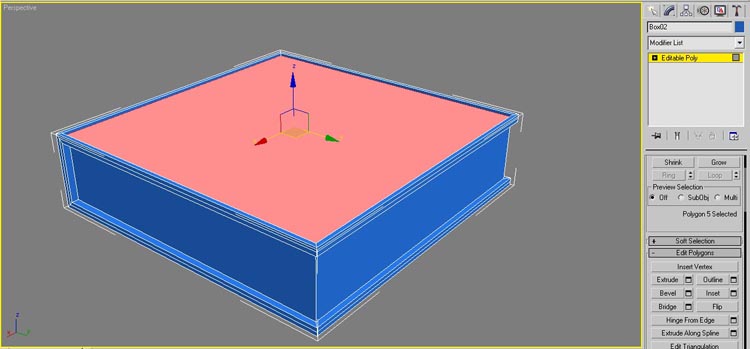
Go into the Polygon sub-object and select the left, right and back side of the box.
You can select multiple faces by holding CTRL when you select them.
Now go to the Inset option in the dialog box on the right.

You want to Inset the polygons as a whole so make sure that Group is selected. For my chess set, I want all of my details to be subtle, so I am not going to Inset that much. You can Inset any amount that looks good to you.
Next, you want to Extrude them inward so you would Extrude in the negative .
Next, select the top polygon and follow the same steps as above. My chess set top is going to be set into the base. See the image below.
Notice how the top is set into the main base. I think that looks neat.
Next. we are going to create the front knob for the front drawer. I am not going to have an actual drawer, I am just going to make it look like it has one.
First we need to Inset the front polygon twice, then we are going to go back and Extrude some of the polygons inward to make the appearance of a drawer.
Notice how with the polygons Extruded inward, creates the appearance of the drawer.

Next, go into Top viewport and create a small box like I have below. Make sure you align it the the center of the box so that it is not more on one side than the other.


Latest Comments