“Labrador” by Roger Rosa
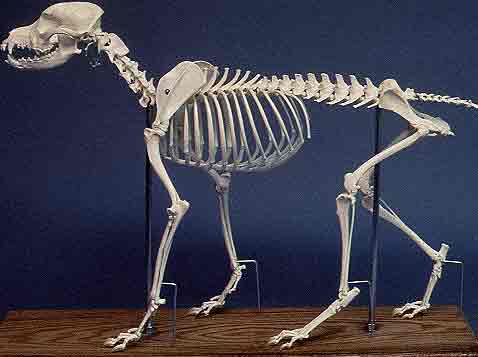
FRONT LEGS : ANATOMY
Well, these are a little different with the bones placement and also the dew claws (mini – claws that are on the inner side of the leg, upon the paw.
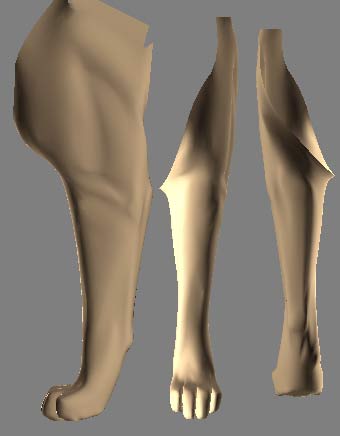
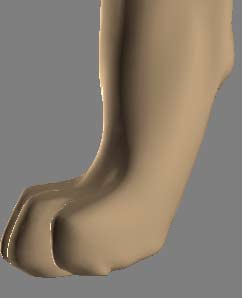
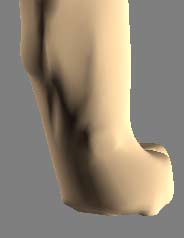
Here is the finished front leg. With the good basis you have now, you can easily do the same.
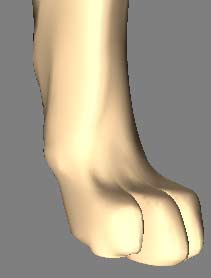
The front paw with the dew claw.
THE HEAD
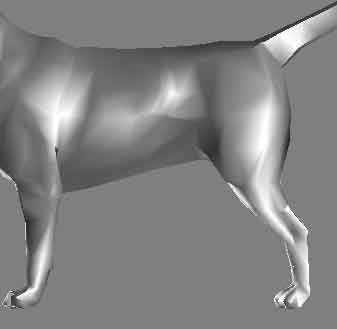
Now we got something good with the body, we are going to start refining the head.
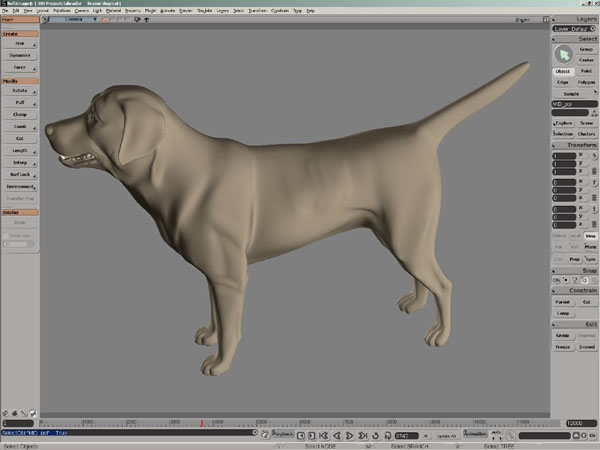
ORGANIZING THE SCENE
As we are going to have more objects in the scene and you are going to make some render to better appreciate your work, let’s do some modifications:
1. For the moment you have been working with the default layer. Switch to XSI default layout, we need some more tools. Pass to 4 viewports and set a view to Property Editor. Now select the Subdivided mesh and from the layers panel select Layers > new layer ( The selection is automatically moved to the new layer). No new editor appears, instead the Layer properties are displayed in the docked property view. Change the name to Subdivision, rendervisibility to show, and selectability to do not allow. The subdivided mesh turn gray, it’s unselectable.
2. Press 6, the layer control panel appears. You can toggle states from every layer. Experiment on your own. Set the default layer rendervisibility to off. Press Q and drag a region onto the dog, only the subdivided one is shown. Also now you can only select the Low poly ones to work.
3. XSI works in a cascading way with elements that takes precedence over others etc…Once you understood that, you have a great control over this raw power. The hierarchy :
– Passes
– Partitions
– Layers
– Groups
– Root object
– Property
– Parameter
4. To clearly see this, pinpoint the docked property editor with the right up icon. Now select the Subdivided dog and press Group (Ctrl + G) on the edit panel. A new floating property editor appears, this is because we have locked the docked one so the content stays. Name the group subdivision, and try to “not allow” render visibility. It has no effects on the render because Layer has priority.
5. Leave the values to default and Close the group property editor. Toggle the docked property editor to recyclable and select the 2 half dogs and the merged one and Create a group. Leave the default values. From the Property tab on the left choose Display. Set all states to wireframe. This way all Low poly will be displayed in wire.
6. Click the Scene button on the selct panel, a list of the scene elements appears. Expand the group node you just created, you can see a display property. You can add properties to groups, layers, passes…Organize the scene as you like.
FOCUS ON THE HEAD
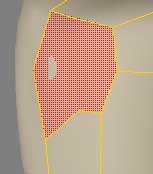
1. Select the polygons on the first dog half as shown. Return to object mode. Duplicate the dog half. Name it Left head. Now in polygon mode it has kept the polys selected. Choose Select > invert using filter. Delete the polys of the body.
2. You are still in polygon mode, In the selection text box, enter the name of the first half dog. You are now in object mode with the first half selected. Pass in polygon and delete the head polygons. The subdivided mesh has been updated , so are the instantiate half and the merged one.
3. Hide the body. just keep the Head half visible. Instantiate, mirror, merge and subdivide to have the same modeling method as for the body.
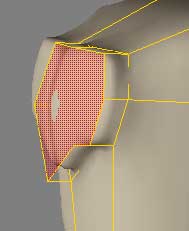
THE NOSE
1. Subdivide a little to make a rough outline of the shape of the nose. Select the polygon and extrude.
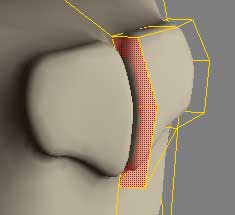
2. Delete the inner side to get a proper merge.
3. Select the caping polygon and from the context menu subdivide polygon. Choose X type.
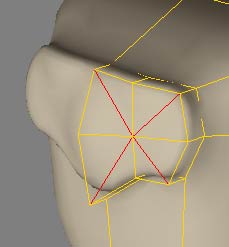
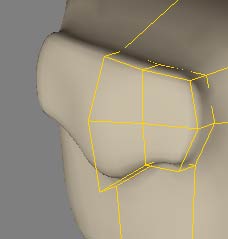
4. Select the corner edges and press the Del key to dissolve them.
5. Select the 2 upper points. Toggle to translation mode. Press right mouse button over the Ref button on the transform panel. Choose Pick edge reference and select the 2 edges to whom the points are connected by passing over them and relax. A center computed from the 2 edges placement is displayed and used for the points. This enable to move without altering the shape.

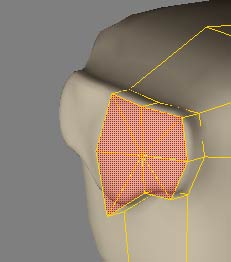
6. Translate the points outward. Now select the edges that lie on top of the nose. Choose split edges (with split control), let the ratio to 50 and close. Refine end with add edge in object mode.

7. Select the outer edges of the nose and make an outline with split control edges and a ratio of 80 to mark the outline.
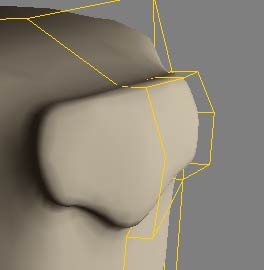
8. To make the nostrils, draw a shape on the front part of the nose and select those polygons. Extrude along axis with a length of -0.2 . Collapse edges or add if necessary.
9. You should now have something like this.
SOME BASIC SCRIPTING
1. To better judge the results, you often need to change the subdivision level from 1 to 2. Because You have great speed with level 1 and great visual feedback with level 2, you need to switch rapidly from one to the other. This is the main goal of Scripting : automate repeatitive tasks. Switch to XSI default layout.
2. From the scene explore button on the transform panel click the subdivide operator icon on the subdivided head. Источник: https://kinosalo.org .
3. Open the Script editor from the bottom bar. Clear the history log.

4. Change the subdivision level. Note that the change has been logged in the history. From the view menu create a custom Toolbar. With that toolbar opened, drag the line from the history log to the toolbar. You are prompted to give a name, enter subdiv1 if you changed to level 1.
5. Drag the line from the history log to the script editor (bottom pane). Change the last number to 2. After the first polymsh node add a *. This way all the meshes that have a name begining by polymsh will have their subdivision level changed. Drag this line into the toolbar. Name it subdiv 2 .
6. Right mouse button over the subdiv1 button and choose edit script. Don’t save the content of the script editor. Edit the script to behave the same as the 2. Save.
7. Go to keyboard mapping. In the Custom script commands you should have the 2 subdivs scripts ( if not save your custom layout, or restart XSI ). You can assign them keyboard shortcut to speed feedback.
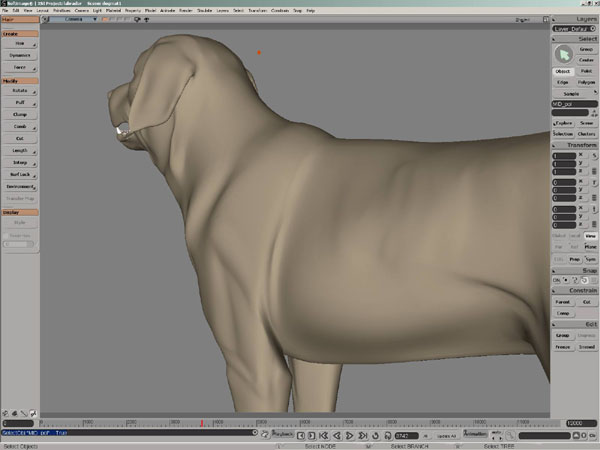
EARS
1. Just make a basic extrusion on the side of the head.
2. Split edges to refine. Tweak the points with Ref and Plane manipulation tools to avoid too much deformations.
3. The final ear.
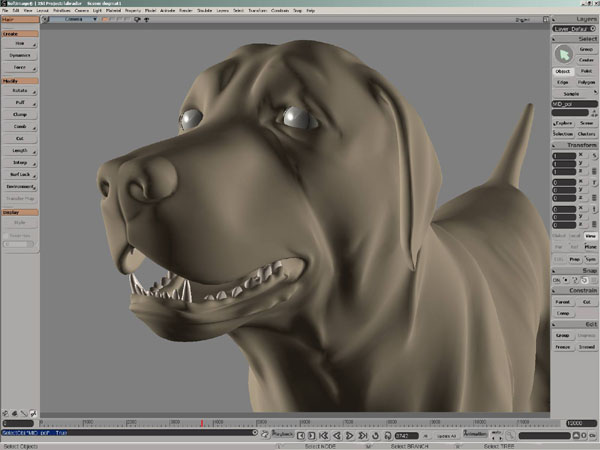
THE EYE
1. This part of the head is really important for great facial expressions There is no specific modeling tasks to do but adding and collapsing edges. You will have to work with shade and constantly change the subdivision level to appreciate the pleats.
2. The eye region once finished.

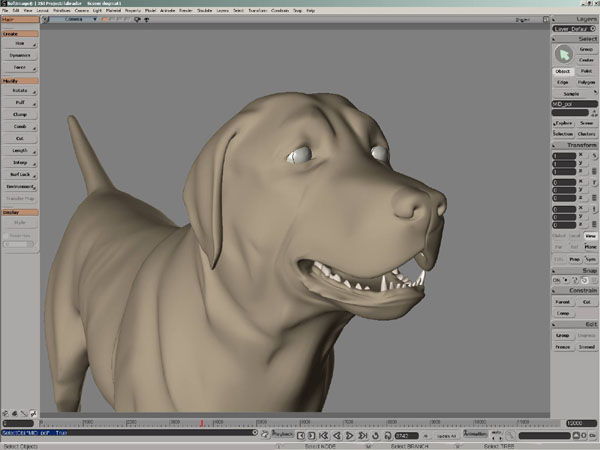
THE MOUTH
1. This part is much like the eye. Just subdivide and add edges to get the shape you want.
2. For Gums just extrude twice and tweak the points. We will refine when we add the teeth.
3. The hard part is that for the moment XSI cannot hide some faces, points or edges. So you will have to work with complex parts all visible. Turn X ray shading if you want or modify the far plane of the camera. We ‘ll have to wait for soft guys to bring us other great tools.
4. Before starting teeth, turn off preserve planarity when creating polygon on the user preferences interaction tab. Another tool missing is the ability to detach / duplicating some faces ( making them element or another object ). Well, we are going to create a polygon from scratch.
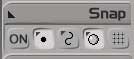
5. In the snap panel, toggle on points and faces and off grid snaping. from the menu toggle on ignore backfacing components. Switch to camera view (ortographic view enable 2D snap / camera 3D snap).
6. to create a full new object, deselect all. Press N to call the add/edit polygon tool. While pressing control (supra key for snapping) create a polygon on the surface of the Gum. Now extrude this polygon and add edges to refine the tooth.
7. You can now create other teeth by duplicating and snaping precisely or moving with ref/plane help. To make each tooth slightly different, select one and press B, this show the manipulator. You can scale/rotate/translate with a lot of options (Ctrl / Shift )
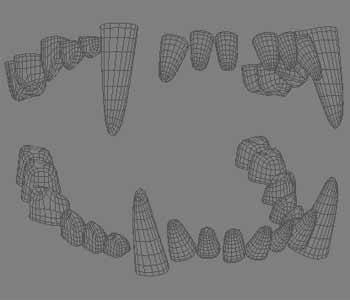
8. Once you are satisfied with the half teeth, you can group them, instantiate and mirror to complete the lower jaw. Then, you may subdivide them to get more rounded shapes.
9.You should now have something like this. Here the Doo Sabin algorythm with tris, quads and polygones.
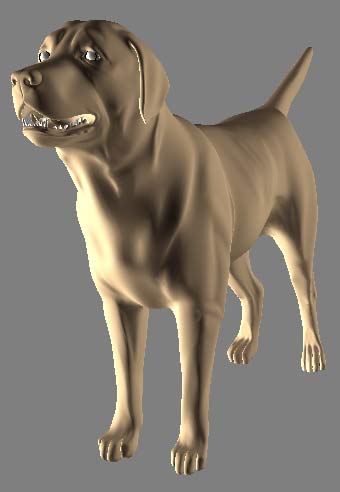
10.To get a single piece dog, just delete the head and body subdivided meshes and merge the Low poly head and body. You can then have a first Level 1 Doo Sabin subdivision from the merged mesh to have a closer shape. Finally a geometry approximation of level 1 for that mesh will take you to a level 2 of subdivision in Catmull clark with texture propagation.

(c) Roger Rossa, roger.rosa@free.fr
Pages: 1 2


Latest Comments