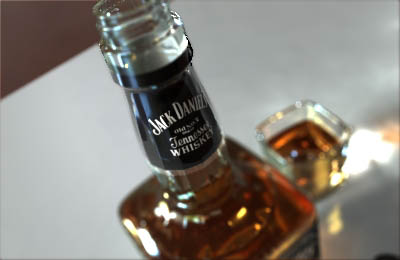
“Jack Daniel’s bottle ” by Philip Meyer
Empty that bottle of “God’s Water” and soak it in warm water while you sleep to get sober again. After about half an hour you should be able to remove the labels without destroying them. You can either let them dry or iron them, which is what I did. This makes it easier to scan them too.

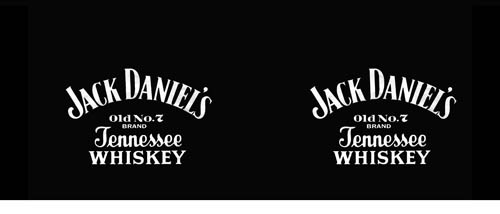
Above you can see the scanned and retouched textures for the labels plus a custom bump map for the bottle itself.
This one is used for the neck wrapper. It was impossible to scan so I had to make it from scratch, which wasn’t too hard since everything you need is already on the front label. (I know what you’re about to say: “impossible to scan?! Bill Fleming even scans strawberry jam…” what I meant was; it would have been too distorted so this was the easiest way)
Now that we have the textures ready, let’s start with surfacing the labels. For the front label I added a new Endomorph I called “MorphMapping” (or “MappingMorph”, can’t remember, whee) and bent the side parts to the front. Then I created a new planar UV-Map in Z-Direction. Just set the Endomorph back to “base” and the label fits snugly against the bottle again.
3Dtutorials.sk recommendation:
To maximise the realism of your 3D rendering we recommend to use high quality photo textures from the #1 texture website www.environment-textures.com
The front label is the only surface where UV-Mapping is needed. The neck wrapper is just mapped cylindrically. Let’s have a look at the label surfaces first.
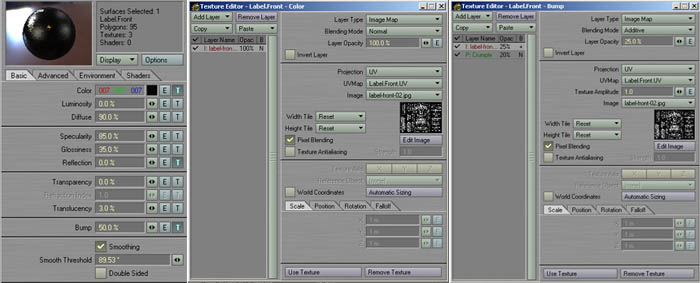
As you can see, the scanned textures where used on the color and bump channel. If you look real closely at a JD bottle’s label, you’ll notice that the black background is a little depressed and not perfectly smooth.
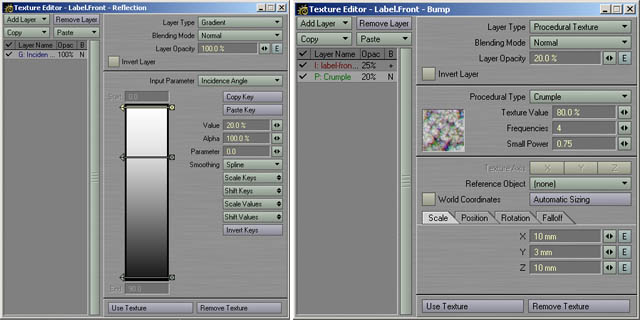
That’s what the second bump texture is for. It’s a crumple texture, squashed along the y axis.The gradient on the left of the above image is used on the reflection channel, using incidence angle as input. This one causes the label to reflect more light, as the angle becomes smaller. (you could even use a fast fresnel shader, but I believe a gradient will render faster here, we’ll use the fast fresnel later on).
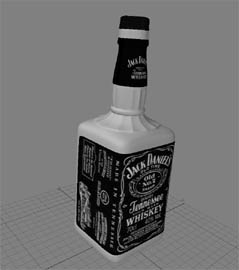
Now the neck wrapper is a little more tricky. See the image below:
There’s that lower portion which is transparent, so we’ll need a transparency map here and will use the fast fesnel shader. The color map is simply mapped cylindrically with a width wrap amount of 1.
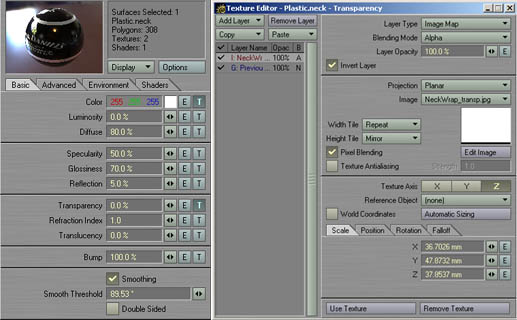
Here are the surface settings. The transparency map is simply a copy of the color map for the neck wrapper with the writing removed and finally inverted. On the layer beneath it lies a gradient set to 100% (of course you can use “value” for that one…). Then the transparency map is layed on top of it with blending mode set to alpha (which removes the transparency in the white area of the texture). Add a fast fresnel shader on the Shaders Tab and leave the default values, but uncheck “transparency”. Even the neck wrapper needs a backside, while the backside of the labels is more or less white (and thus pretty easy to surface), the neck wrapper is mostly white but the black of the outside is shining through.
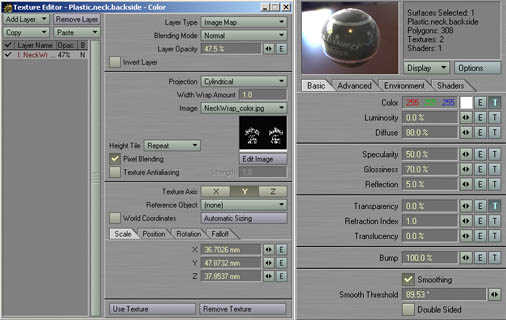
Copy the surface settings of the neck wrapper to the surface of it’s flipped counterpart. Now you only need to make one minor change: lower the color map’s opacity to 47.5% and you’re done.
First let’s do the air, which is real simple:
Diffuse
=
0%
Transparency
=
100%
Refraction Index
=
1.003
That’s it!


Would you like to tell how to connect the cycle and the edge of box to make that polygon?
Thank you