“Making-of-Furniturecluster” by Mathias Koehler
5. Rendering
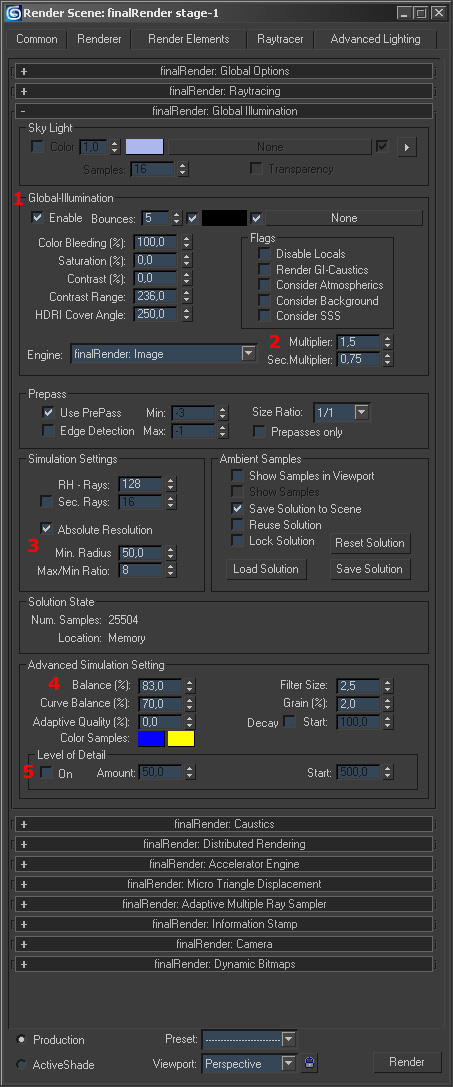
For interior renderings i’m using at least 5 bounces(1). in some cases up to 10. I’m also using higher multiplier settings, as i would use for outdoor stuff(2). The sample settings are very scene dependend, i prefer using ‘absolute resolution'(3) because it’s doesn’t depend on the overal scene scale and I’m therefor able to use the same settings no matter what scene I’m working on. Notice that the values I’ve used depend on the units I’ve set up(cm in my case). Using those values you can locally define the sample placement working with a radius and a ratio setting. With the following settings(4) you can globaly control the density. Although I haven’t used the LoD settings(5) in this pic, they are worth to mention anyway. They become usefull if you are working with scenes which habe a lot depth. Using those settings you are able to decrease the samples depening on the z-depth.
6. Compositing
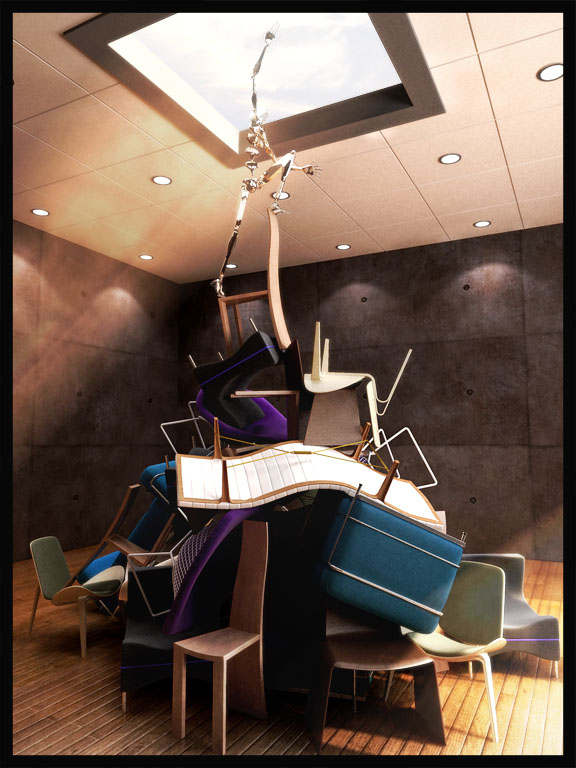
This is the final step. I’ve taken the render added a background and the volumefog and did some color corrections and brightness/contrast changes. I could add the background and volumefog in Max itself and render it straight out, but this would mean I need to make additional test renderings. Doing it in post is faster and provides more controll. I’ve attached the .psd(composite.psd) so that you can take a closer look, if you want.
Notice that this making-of just shows my way of working and thinking. I hope you’ve found this still somewhat usefull.
(c) Mathias Koehler, epost@optisch-edel.de


Latest Comments