“Demon” by Ken Brilliant
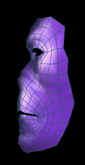
The face still needs some specific shaping, so the mold tools ![]() help define the forms as well as the stretch tool.
help define the forms as well as the stretch tool.![]()
 Obviously the head need some more geometry. To create the back quickly, a geodesic sphere is created
 This sphere is cut in half down the centerline along the X axis and the front and bottom faces are deleted. The face extraction tool is used to connect the sphere to the face geometry. The object are welded together afterwards and the blended areas are smoothed and shaped.
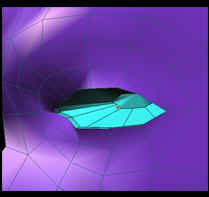
 A face is created in the bottom of the head, and extruded
 ![]() to create the neck.
to create the neck.
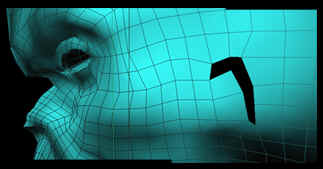
 To create an eye socket, a face is created in the hole and extruded back.
All the parts are welded together into one object.
This base geometry is then exported as an .obj file and imported into ZBrush. This program has very natural 3D sculpting tools that work well with a drawing tablet. Here I explored and experimented with the shapes. I also divided the geometry once to create more faces to work with
.
When I was happy with the model in ZBrush, I exported it back out in the .obj format and imported it back into Amapi. I decided to add some ears to this being, so the first step was to delete some faces in the general shape.


Latest Comments