“Character Texturing ” by Julian Johnson-Mortimer
I’ve started fading out areas of the spot map. You see i’ve tried to keep the lump over his eyebrow.
To blend different bump layers together try using soft light or overlay with opacity just experiment and see what works best.
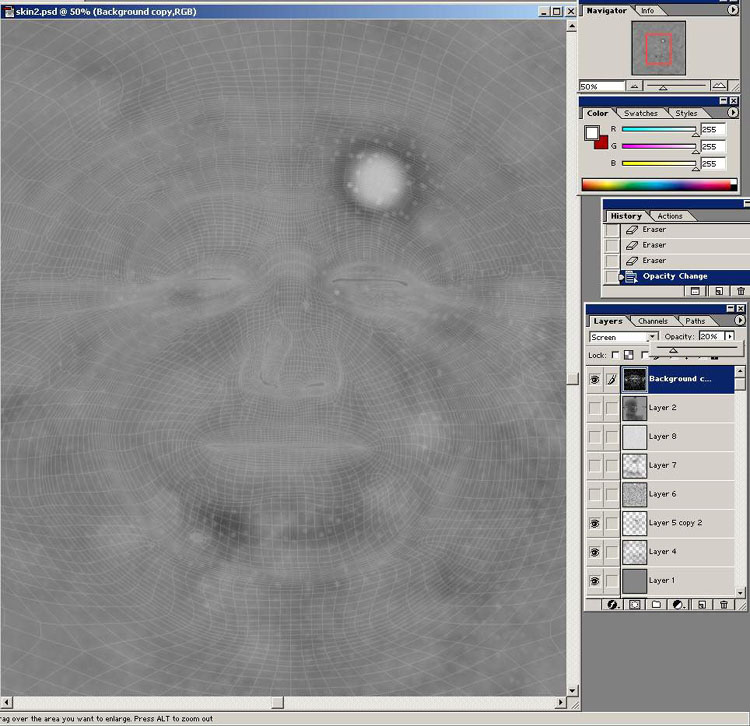
My spot map with areas faded, poor old guy he’s got loads of spots, but your hardly see them in the final texture.
Now playing around with the fine wrinkle layer its only really useful in a few places.
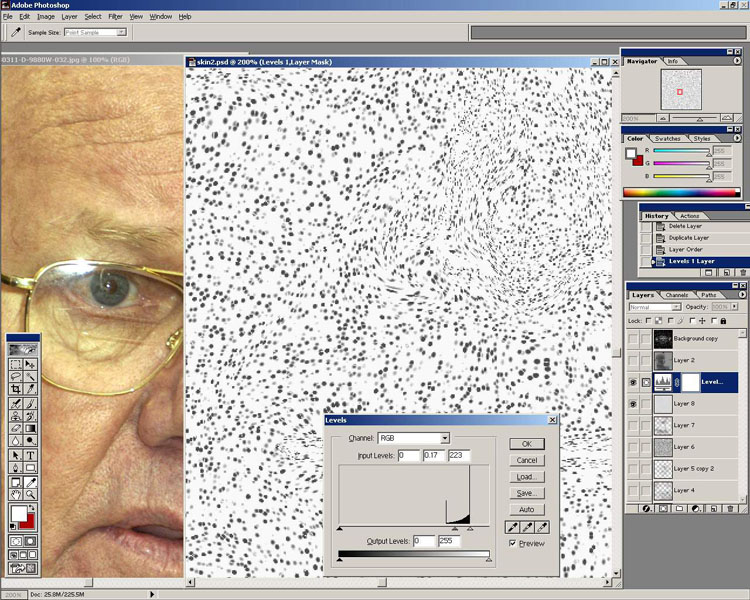
Now the pot mark layer i’ve used levels adjustment to make the spots darker. then blended them with the other layers.
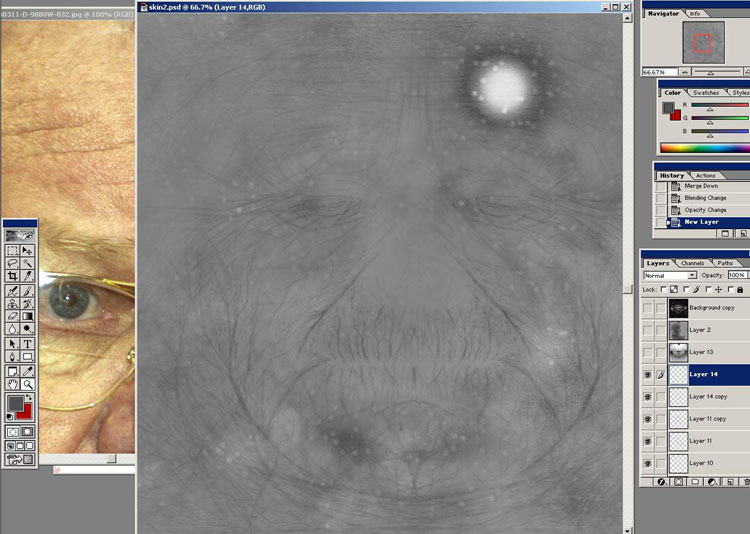
Now on a new layer i’ve started painting in some wrinkles using a small brush and low opacity.
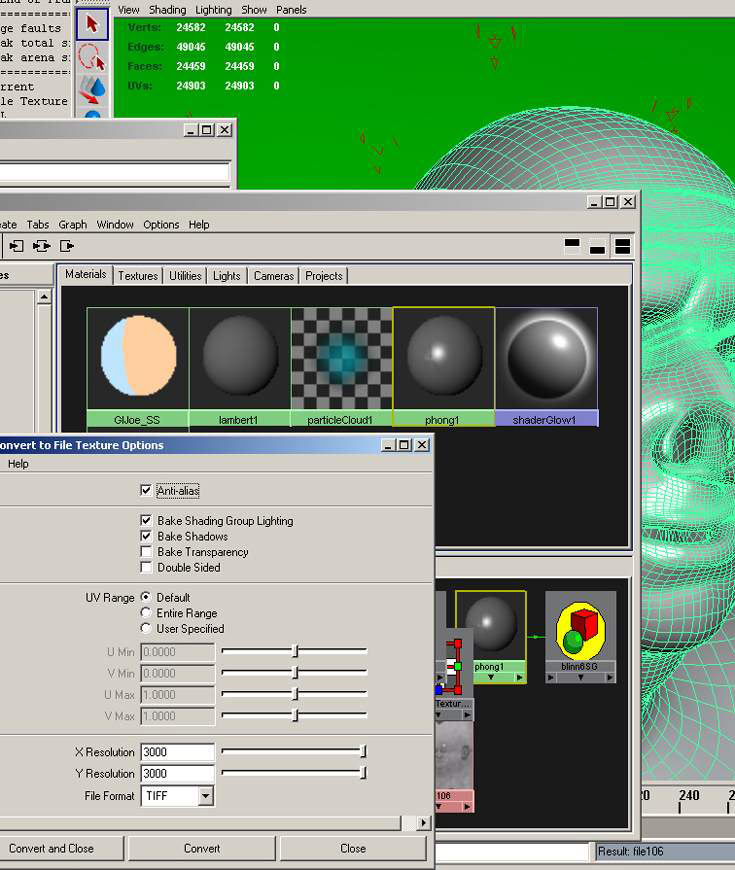
Now here’s a little tip that can help painting maps a little easier. I render out a simple baked texture, the lighting I used was Dr Emmanuel Campin’s GI Joe lighting dome (Link). if your going to try baking a texture with a lot of lights, it can take a while so do it at night or something when your not using your pc.
I’ve setup the lights selected the object and in the convert texture options selected bake shadows this time.
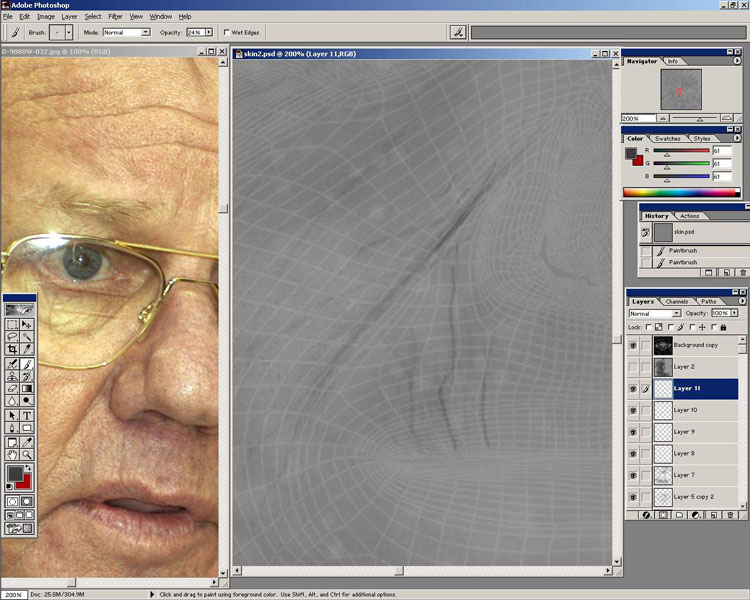
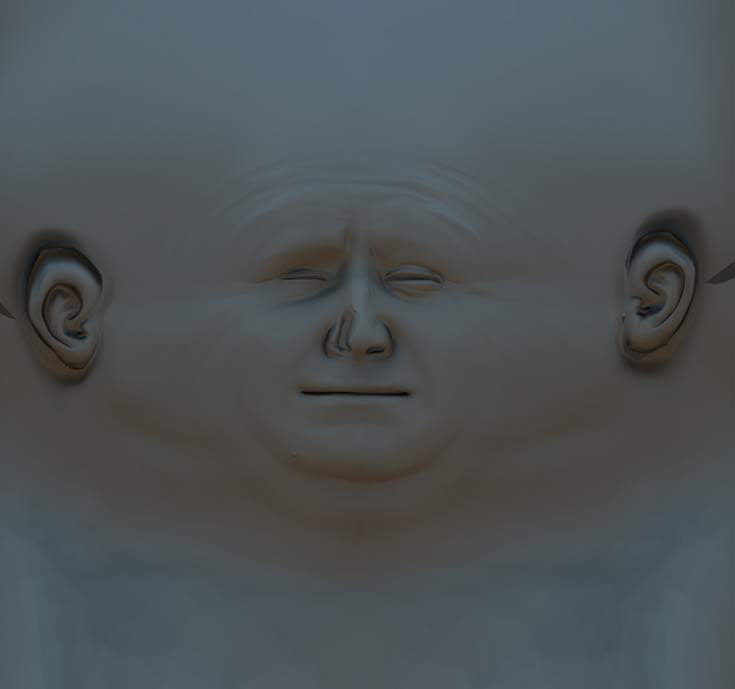
Here’s the baked texture image, using this in your photoshop file can make Painting easier instead of using the Uv map to paint different layers.
You can actually use some baked textures like this in your maps, its not really any use in a bump map , but can be useful for spec or diffuse map for example.
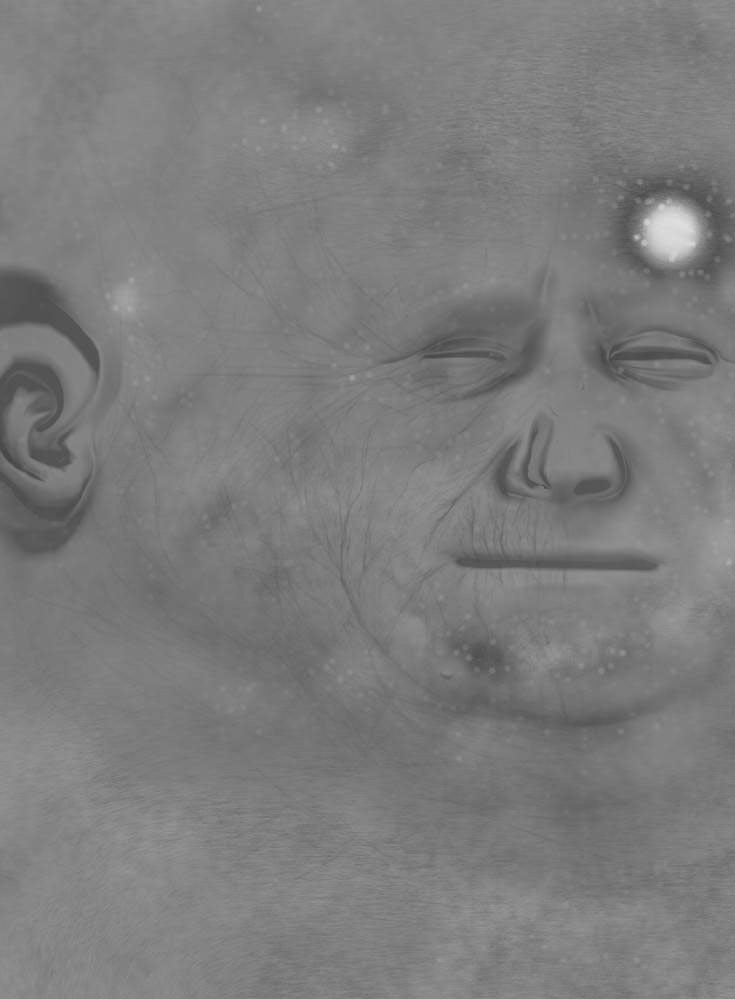
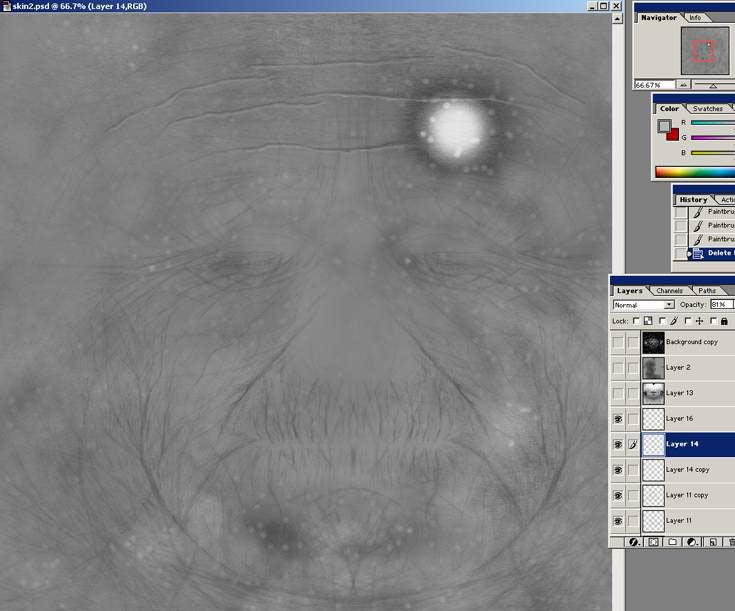
Here’s my bump map so far, you can see how i’ve blended in the baked texture for now, its makes it easier to paint.
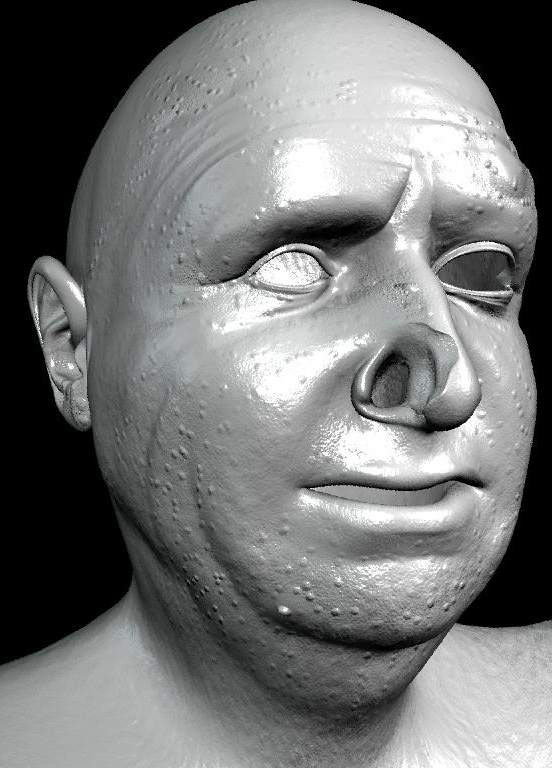
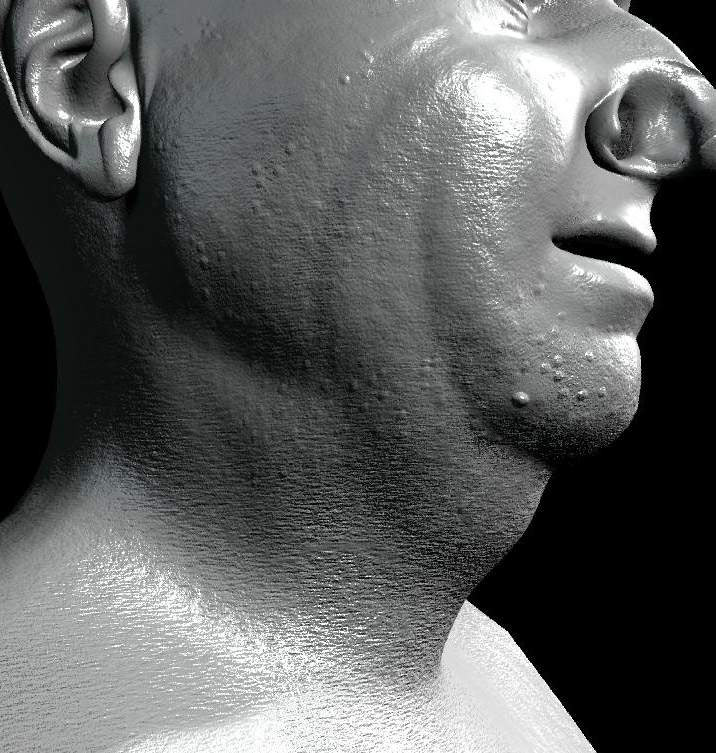
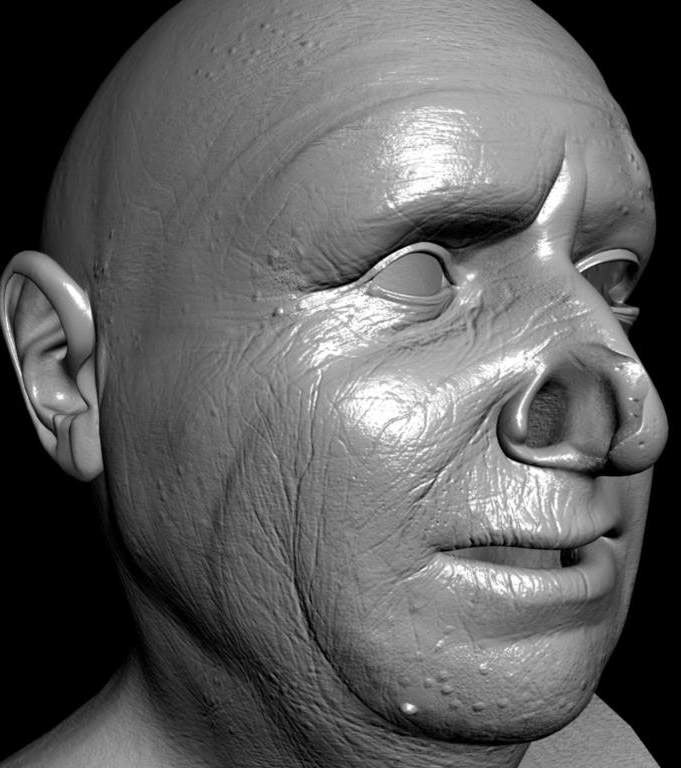
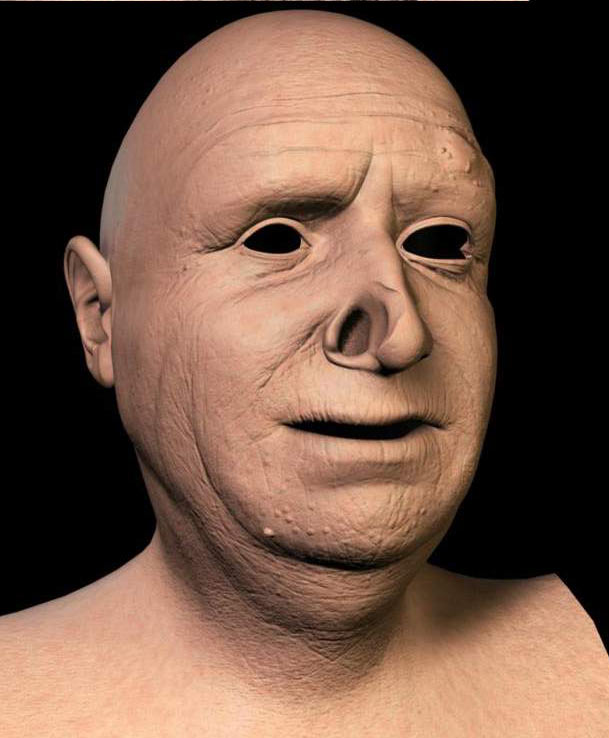
A test render.
I’ve added more layers and more wrinkles the photoshop file can start getting quite big, you could start merging some of the layers to together to reduce size. But its best to keep as many open as possible because there’s always some tweaking to be done later on.
Also in the above picture notice after painting the wrinkles on one side i’ve copied and flipped them over to the other side, saving time.
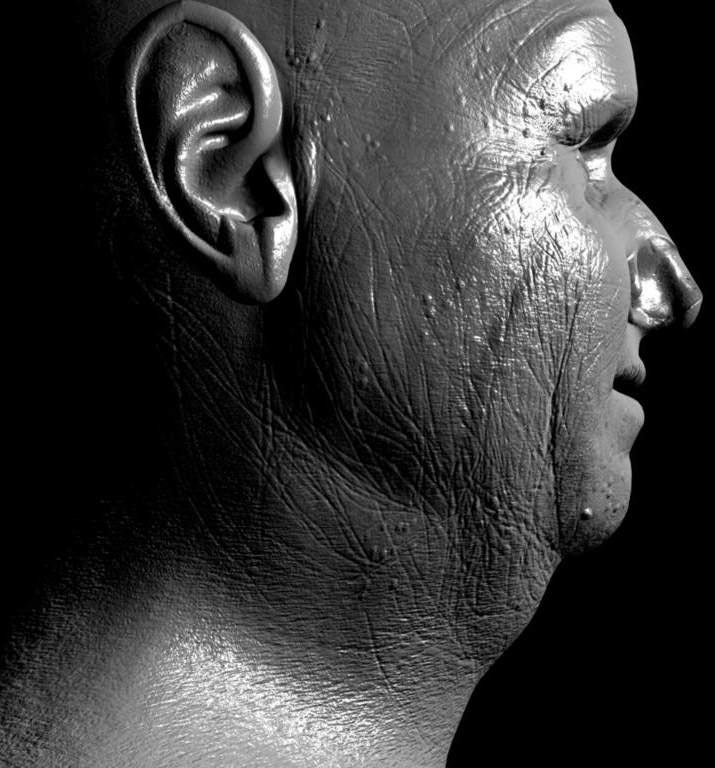
Here’s the bump map almost finished, its not actually very good, but it will do, it was rather rushed.
You can probably see parts of the different maya texture maps I used, its a quick way of making half decent textures.
It would have been nice to of been able to of used some displacement, it would really suited a head like this.
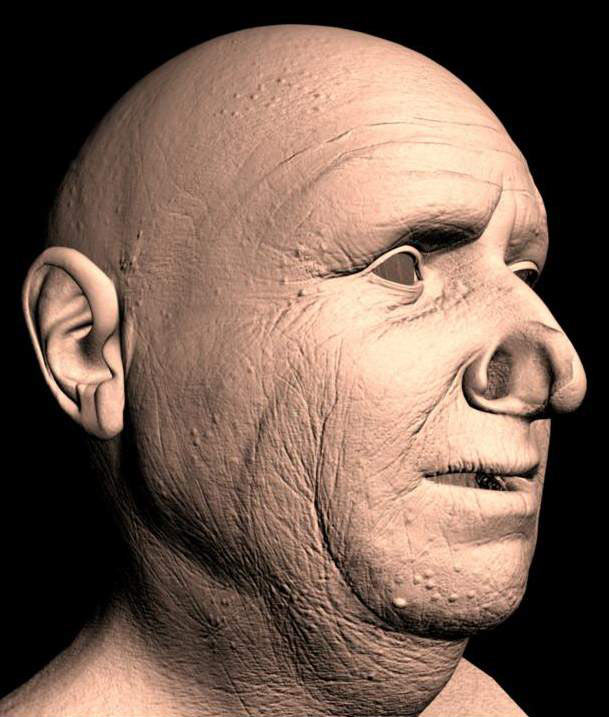
That’s the bump map kind of finished, I might go back and tweak it some more later. Now its on to the colour map.
Like the bump map it can be hard making a start on the colour map.
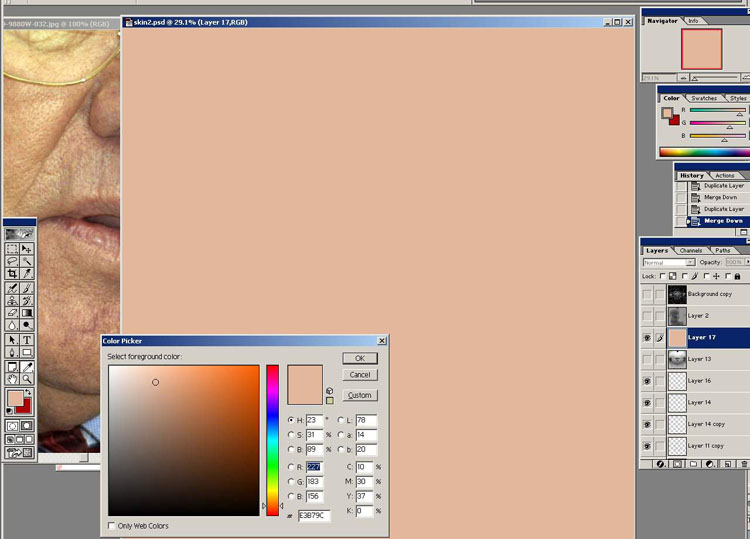
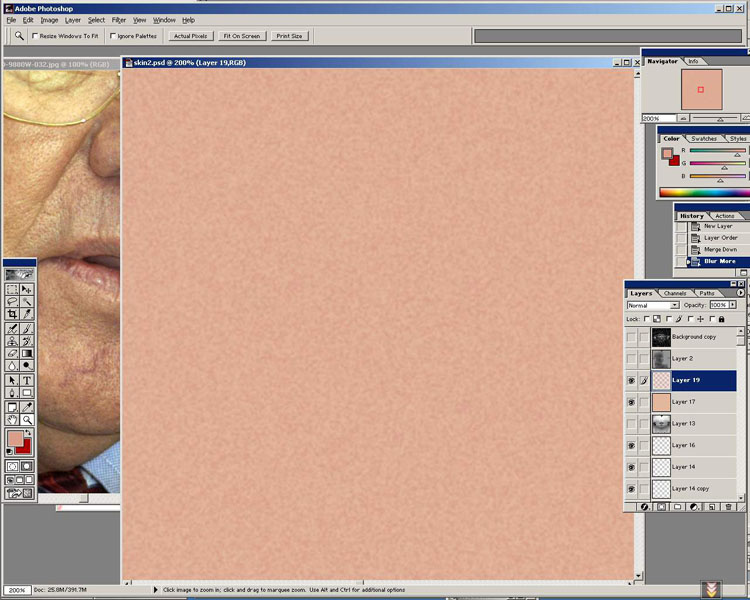
Well lets start with just a skin tone its R227 G183 B156 if you can’t see the number.
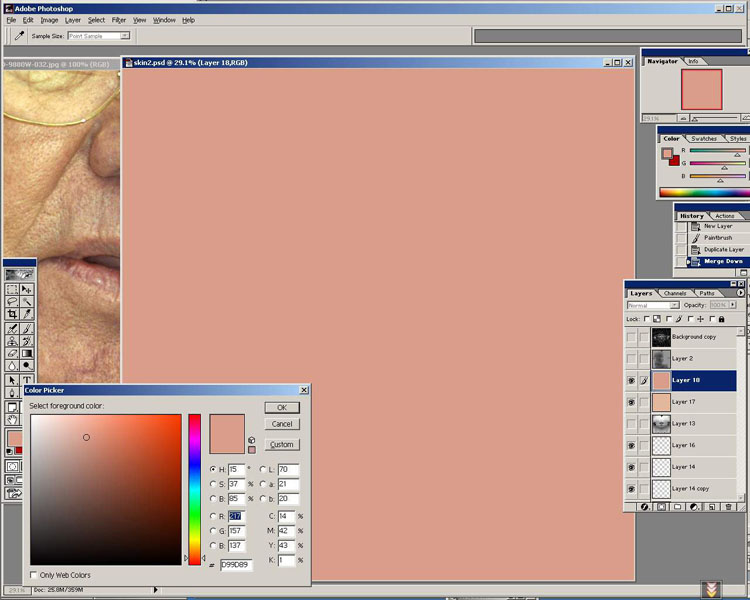
Then on another layer a slightly darker tone R217 G157 B137.
Next I have diffused the darker skin tone layer then added blur to it, to get a nice variation in the skin texture.
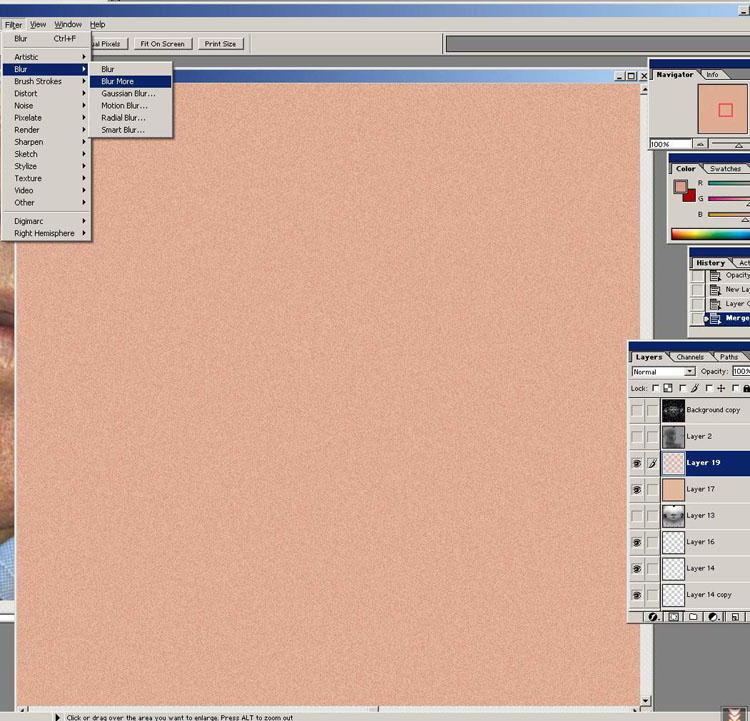
That’s probably the key with skin the variation in the skin tones.
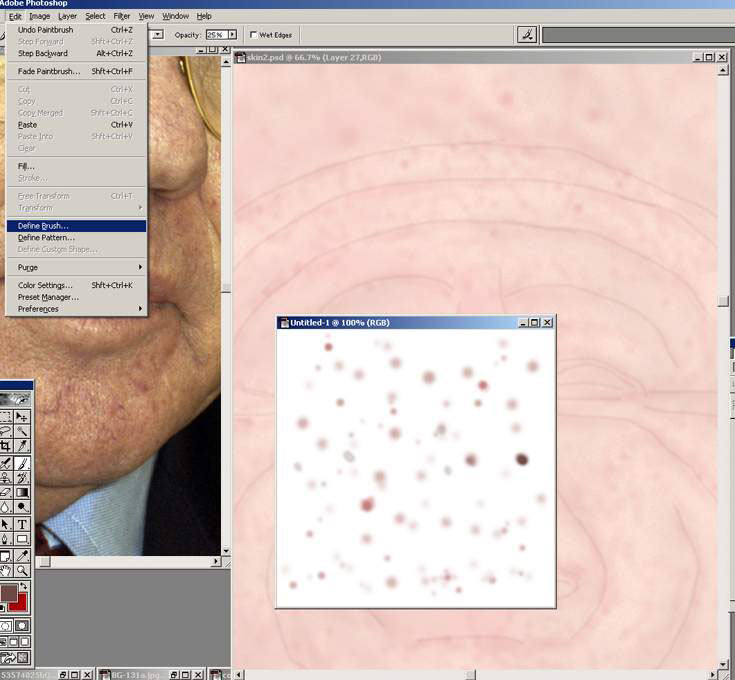
I’ve hidden the first skin tone layer for now and started another and i’m going to start painting some marks and spots. Now a lot of the detail you paint you probably would even see in the final texture but its about building up layers and variation in the skin tones.
In the picture above you can see I have faintly outlined the details of the face, also in instead of spending ages painting every single spot (that would would take forever). Experiment with making your own brushes, just create a new photoshop file maybe 200 by 200 in size and Paint various spots in it, then like in the picture above make it a brush. you should be able to see the menu and what i’ve selected.
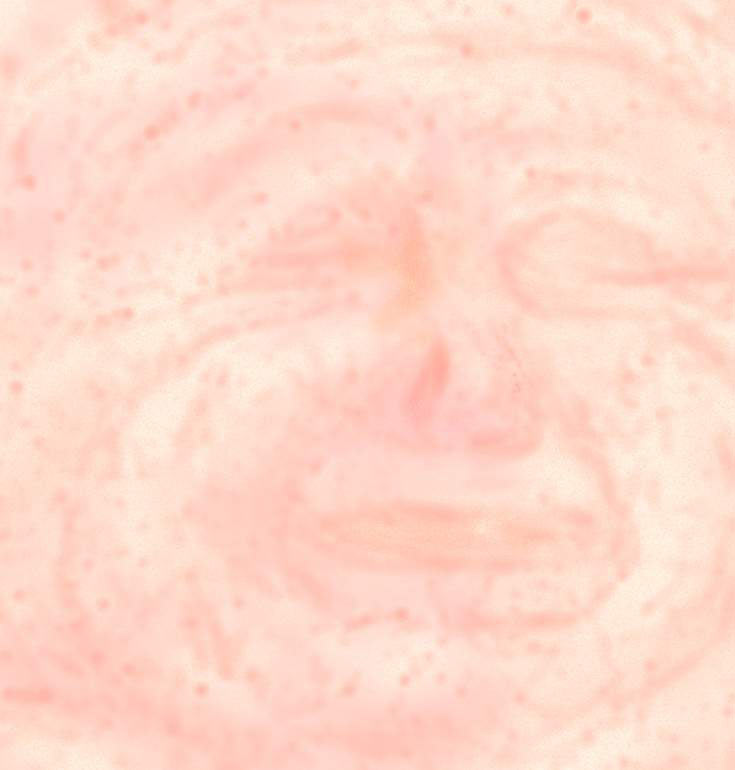
Now using different skins tones i’ve darkened and added spots and blemishes here and there, it don’t have to be very neat just building up lot of different tones.
A good thing about painting an old persons texture you don’t have to be so neat and precise, I find the hardest texture to paint is a attractive female face.
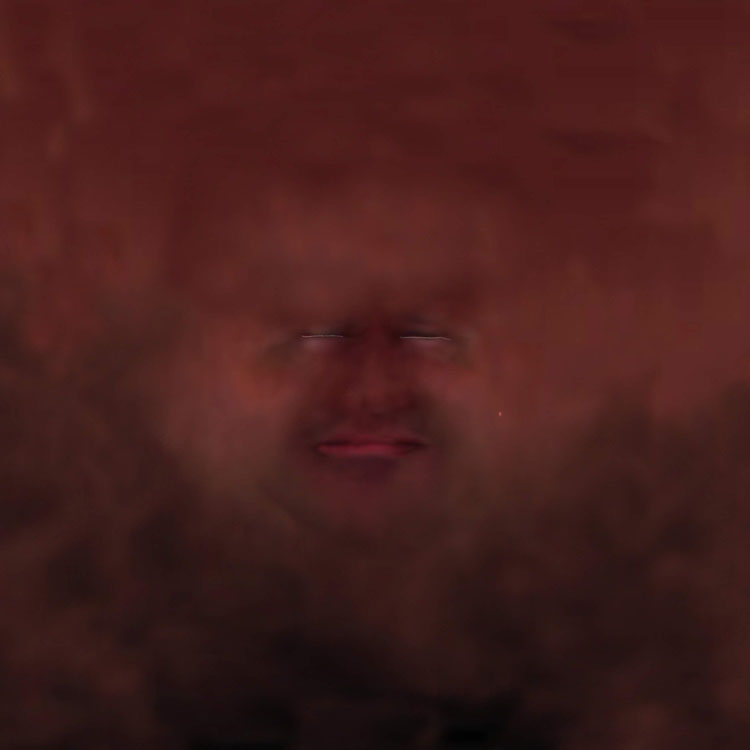
Now we have a base of a texture here but I need to deepen the colour a lot more. To do that i use a map like the one below, this is just a simple layer painted in nice dark tones lighter and darker in different areas, if you want to use the picture below I included the high res version just click on the picture for it.
Now using the picture above as the bottom layer I blend the other skin layers on top of it using soft light or multiply this enables me the easy control the darkness of the texture. Because the skin shader I use does tend to fade out my texture some what so I have to make sure their quite dark.
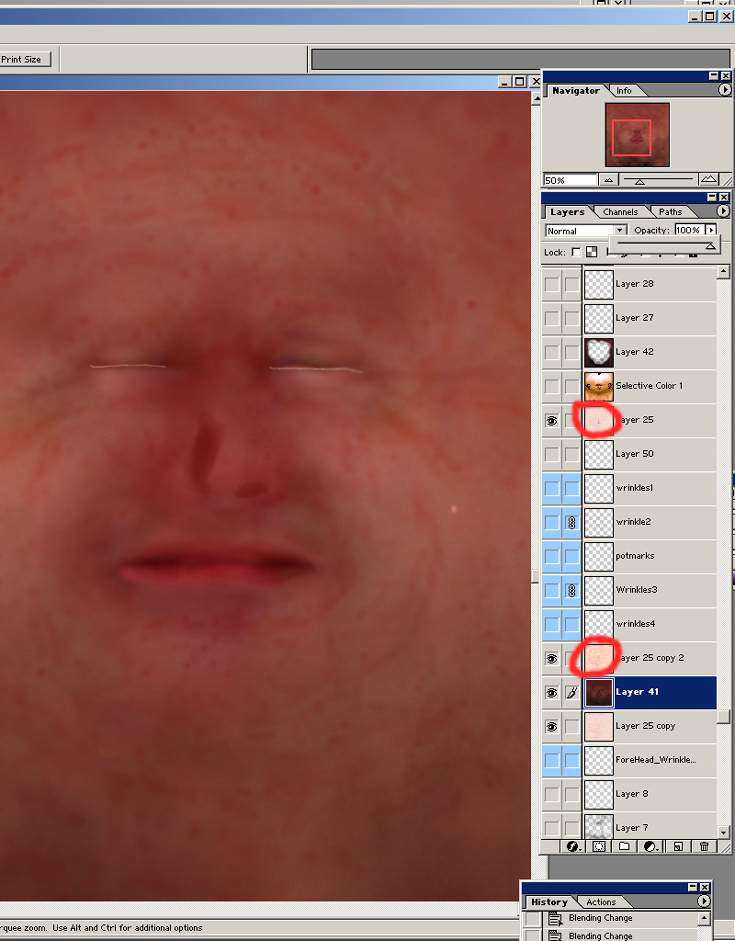
Now here’s the texture blended with the two light skin layers I made.
Marked in red above your see their overlaying the dark texture using soft light and multiply.
Also notice theirs a light skin tone below the dark layer this is if i want the skin lighter I can just tweak the opacity if the dark skin layer.
Your see we still keep lots of the details and marks from the lighter skin layers.
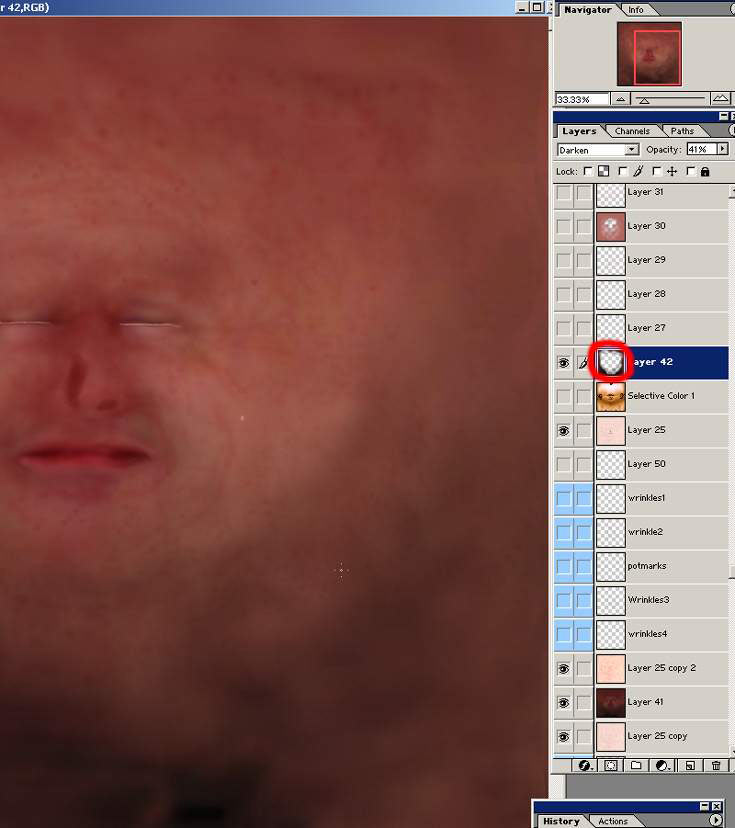
In the picture above I have just darkened the outer areas of the texture using a copy of my dark skin layer and erasing the middle area as you can see marked in red.
Character texturing
2 comments
Leave a Reply
You must be logged in to post a comment.
Popular Tutorials
-
 Free set of photo references for our members
Posted on Nov 15, 2010
Free set of photo references for our members
Posted on Nov 15, 2010
-
 Photo References
Posted on Oct 6, 2010
Photo References
Posted on Oct 6, 2010
-
 Modeling Competition
Posted on Dec 10, 2010
Modeling Competition
Posted on Dec 10, 2010
-
 Modeling a High Definition Building – part 1
Posted on Dec 9, 2010
Modeling a High Definition Building – part 1
Posted on Dec 9, 2010
-
 FREE photo reference sets for you – only for registered members
Posted on Oct 2, 2011
FREE photo reference sets for you – only for registered members
Posted on Oct 2, 2011
Try something new

Hello, I check your blog like every week. Your writing style is awesome, keep up the good work!
i’m fresher in animation world, and this is very helpful to me. thank you very.