“Female face ” by Dan LuVisi
Step 3, Blending and Smudging Colors:
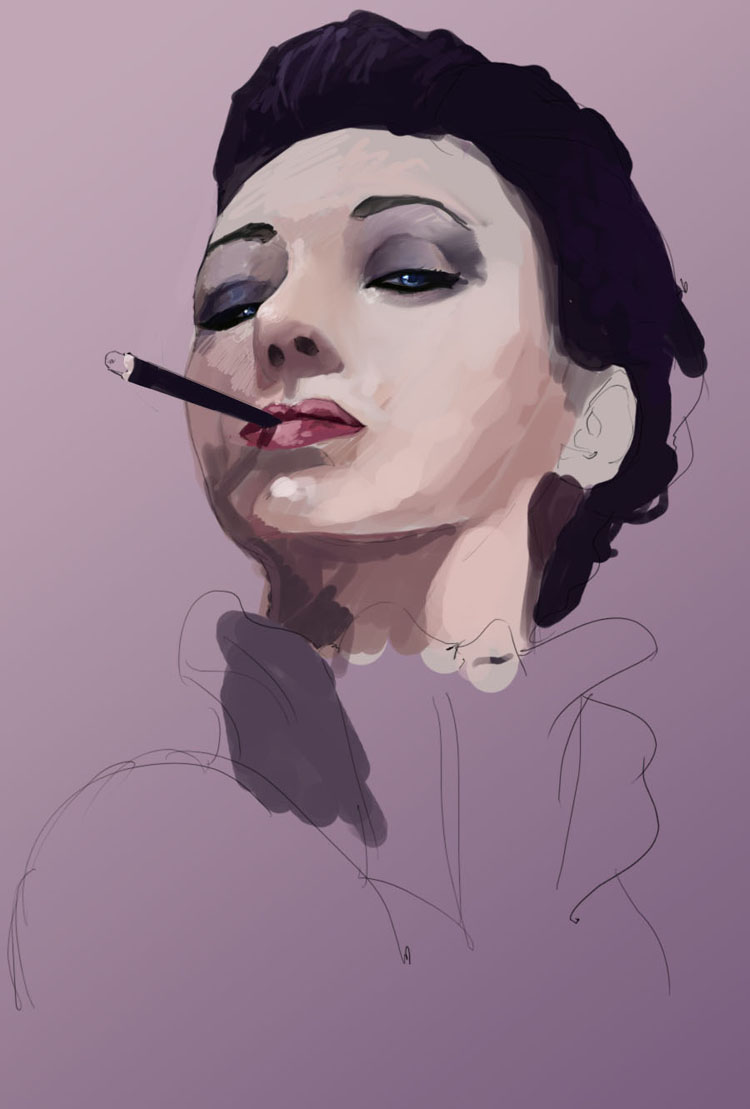
In this step I will start to blend my colors together and make her look a lot more smooth. This is my favorite part, just making her more lively and the painting feels like it’s coming together. I immediately start off with her eyes, sockets, and lids. I use my typical smudge brush
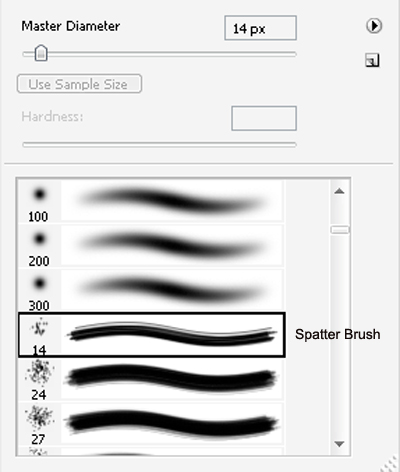
which I always use to blend, to get the colors to a smooth mix. Once I’ve smoothed them together, I’ll go in with either that same color that im messing with, on a low opacity, or the blur tool, with low strength, and just touch it up a bit. Once I’m overall satisfied with the look of it, (never fully satisfied until the picture is completely finished) then I’ll start to move on to other parts. A new technique that I’ve learned from some artist such as Linda Bergkvist, is the little, what I like to call, glossy splatter near the eye. Which is basically the shimmer of the skin, but in tiny pearl color blotches. I don’t have it on my skin, but it makes it look a lot more slick looking. I then start to work on her forehead some what, blending and mixing as usual.
Step 4, Blending and Beginning her hair:

As we move on to the next step, you’ll notice a few strands of hair. I like to go in first with a soft brush and stroke some threads. Then after that, ill go in with a hard brush, set on Pen Pressure and go over them to get that dream like flow of the hair. As for the skin, I’ve started to go over it some more in other colors, just smoothing it out. Remember, NO hard spots, make everything smooth as can be!


Latest Comments