“Character walkthrough – part 1 ” by Julian Johnson-Mortimer
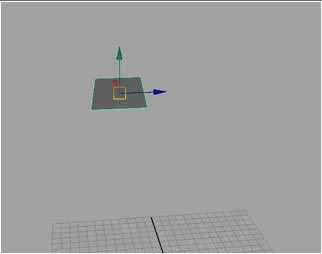
For starting a head their’s of course many different ways, I always start mine with a single polygon using the create polygon tool or just a simple polygon plane like below. I always start in the area around the eyes.
Here’s how I start, with just a single polygon i will be working pretty quick but i will try and take a sreen shot for all the improtant actions.
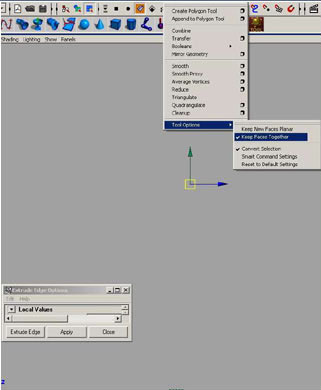
Open the extrude edges menu so its aways on the screen and when extrudeing it’s best to check that keep faces together is on in the menu.
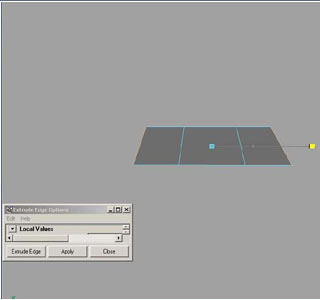
I’ve selected both edges of the polygon then extruded both sides at the same time and scaled them out a little.
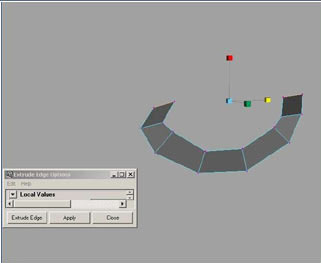
I’ve selected the end of both sides again and extruded them, I’ve started to move the points to form the shape of a eye.
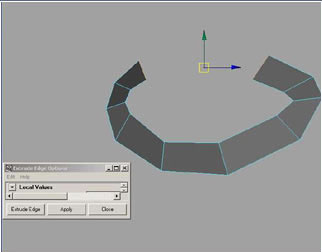
Extrude both edges again.
And extrude again.
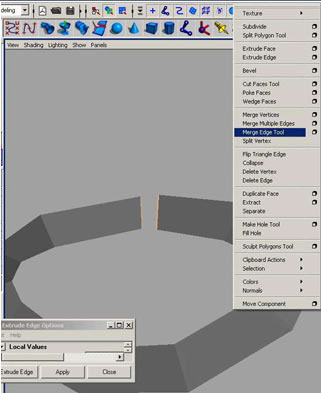
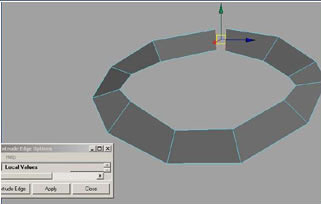
Now i use the merge edge tool to merge the two edges.
And here’s our basic eye shape, the eye shape can be downloaded Here. BasePart 1 i’ve put them up in OBJ format if users of other 3d programs want to try.
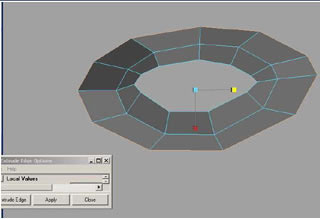
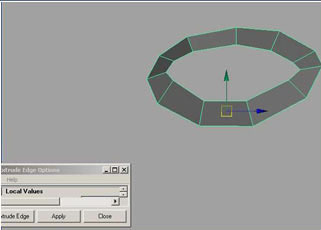
Now select all the outer edges of the basepart and extrude all the edges at the same time.
The edges extruded.

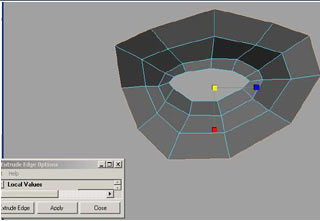
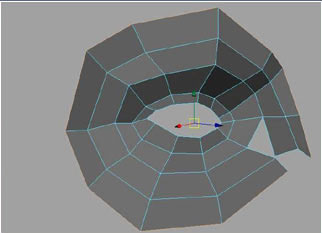
Now I’ve moved the points to form the shape of the eye socket. mesh update here BasePart 2.
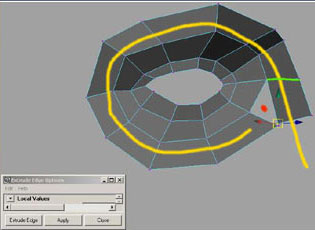
Now where the red spot is I have deleted the face, and where the green line is I have extruded a edge. This is because I want the polygons to follow the contours of the face and I want that line of polygons to run down the nose. Look at the picture of the man at the top of the page and your see the area I just made.
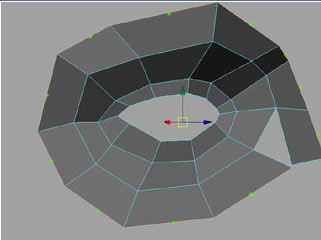
Now i’ve selected all the edges I have hightlighted here and then extruded them.
The edges extruded.


Latest Comments