“Making of Al Pacino” by Vikram
Rendering
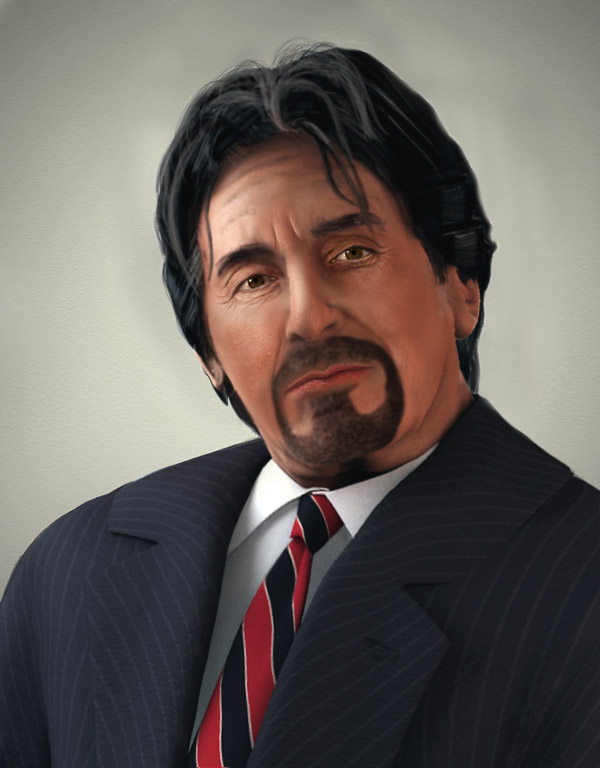
Finally, I turned on final gather, and set the rays to 50, and the bounces to 3, and did several test renders. Take a look at a low resolution render with basic hair painted in.
 For the final render, I used a high final gather setting of 1000 rays, 3 bounces. After a layer of paint over in photoshop, and colour correction, and more tweaking, I managed to end up in this final quality.A few tips overall, that I thought might be helpful.
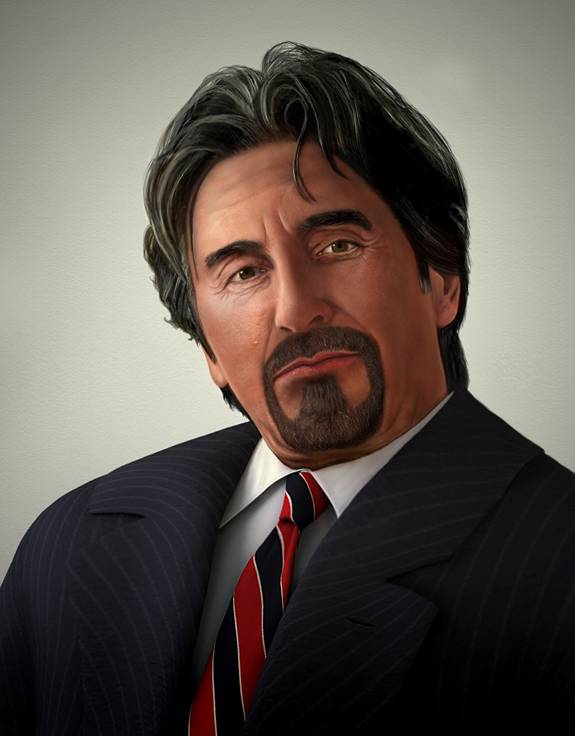
For painting small strands of hair, I take a 1 pixel brush and paint in strands. I then use the sharpen tool (shortcut R) over it, in places where I need shine in the hair, and those regions become sharp and coloured ( due to extreme sharpening), I then use the desaturate tool over the coloured pixels, and then use the blur tool over the desaturated strands. This method helps in achieving clean small strands of hair, quickly and effectively.
I always use photographic reference, and I also have a big database before even starting the modeling process. I think research, is a very important phase in achieving good looking images.
Concentrating on the minute details pays off in the final render. A lot of people may not even notice them, but the small details are the ones that really enhance the look of an image.
I think its necessary to spend a lot of time on tweaking to get fantastic results, the more the tweaking, the better the results, and finallyIf you are doing a still image, anything counts. Feel free to take any steps to achieve the desired look and feel.
About the artist
I’m Vikram, A texturing/modeling artist From Chennai, India. I’m a passionate gamer, and also employed in the games industry for a few years now. Other than this, I’ve worked on feature films, Bollywood style. I completed a master’s degree in animation from the Bournemouth University, UK

Thank you for your patience and encouragement.
(c) Vikram, vikram.vr@gmail.com
Al Pacino
Popular Tutorials
-
 Free set of photo references for our members
Posted on Nov 15, 2010
Free set of photo references for our members
Posted on Nov 15, 2010
-
 Photo References
Posted on Oct 6, 2010
Photo References
Posted on Oct 6, 2010
-
 Modeling Competition
Posted on Dec 10, 2010
Modeling Competition
Posted on Dec 10, 2010
-
 Modeling a High Definition Building – part 1
Posted on Dec 9, 2010
Modeling a High Definition Building – part 1
Posted on Dec 9, 2010
-
 FREE photo reference sets for you – only for registered members
Posted on Oct 2, 2011
FREE photo reference sets for you – only for registered members
Posted on Oct 2, 2011
Try something new

Latest Comments