“Yuka” by Lukasz Szeflinski
Introduction
After receiving some positive feedback to my last work “yuka” I decided to write a detailed tutorial about cre ating process. In this tutorial I will use real size images I was working with on so you can clearly see all the details. My main goal was to create a painting which was really detailed. I knew that I wouldn’t be able to do it without a real photograph so I started to look for something that would interest me and make me want to spent a lot of hours painting it in photoshop. And I found a perfect picture on http://img10.picsplace.to/2/yukahanedamaid.jpg . I received a lot of e-mails saying that it’s not a big deal to just paint something like this using a real photograph. What can I say, if you don’t like it don’t look at it or try to do it and you will see how much time it takes to create it like I did.
3Dtutorials.sk recommendation:
To maximise the realism of your CG characters we recommend to use high quality image references from the #1 reference website www.female-anatomy-for-artist.com
Tools
For this work I used Adobe Photoshop CS2 and Wacom Intuos 3 tablet. My hardware spec were: P4 3GHz, 2GB RAM, Quadro FX 1100 graphic card, 17” LCD.
Preparation
I had to decide with what resolution I want to work. For me 1800×1148 was enough space to work with details I needed to create for this work.
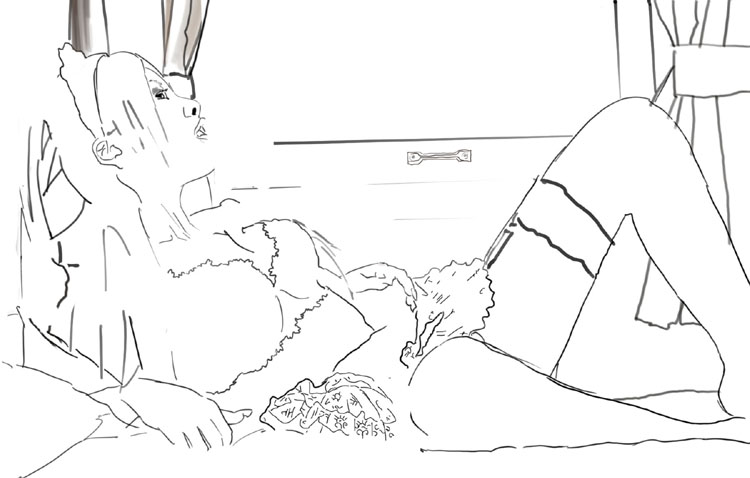
Sketch
I start with creating a sketch in order to define the shapes, which will be later filled in with colours . I will use the following brush settings:


I like keeping everything simple so I will use these brush settings through the whole creating process. I will just change brush hardness and having the sketch done sketch I will turn off “Shape Dynamics”. Later I will explain why I’m using “Pen Pressure Control” for “Opacity Jitter” and “Flow Jitter” in “Other Dynamics”.


Latest Comments