" SciFi Environment Concept " by Björn Wirtz
1. Using the example of this ScfiFi Environment Concept I am gonna tell you a bit of how i approach and finalize a painting. There are several pretty different ways of how i begin with an image. The starting point can be a loose pencil sketch, a colour scheme i‘d like to experiment with, a definite image i already have in mind or just the simple testing of a new brush i‘ve created. I‘ve made the experience that oftentimes it leads to very interesting and unusual paintings when you just start out with no idea in mind, just laying down some colours, playing with shapes and putting down some spontaneous brushstrokes. After some while you start to see things in the abstract forms you‘ve created and suddenly the whole image starts to evolve in your mind. With this painting here the starting point was indeed just some quick abstract sketching with a new brush i was testing. Playing with huge shapes and a dramatic lighting i‘ve finally created some huge abstract architecture. I‘ve called this quick sketch finished then and i had no intention to develop it further at this point.

3Dtutorials.sk recommendation:
For inspiration we recommend using high quality photo references from the #1 references website www.environment-textures.com
2. Browsing through my digital sketchbook folder a few days later i‘ve spotted the loose sketch of these giant shapes and thought that it might have some potential and be worth revisiting. As i was painting again i decided to transform it to some kind of huge scifi indoor scene. Using the simple hard round brush with pressure sensitivity checked i‘ve sketched in some air bridges to connect the main architectural shapes. Now it was also time to lay down some perspective lines so that everything will look correct. It is a rather simple perspective here with one main vanishing point in the middle of the image.

A quick way to get these perspective lines is to create a brush like shown in Fig.2.
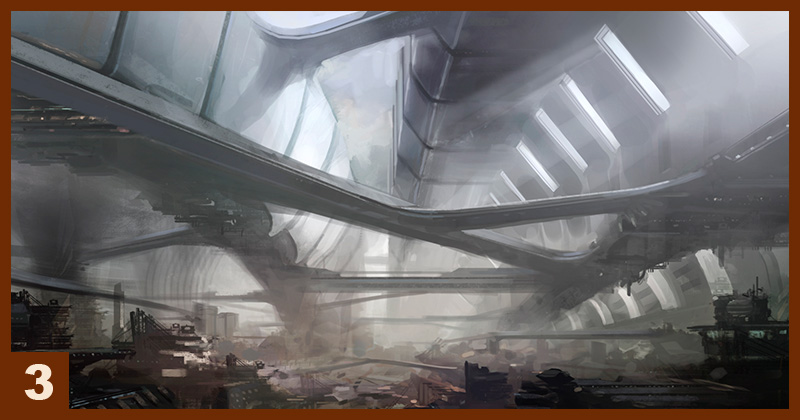
3. As you can see there‘s an obvious colour change here. I‘ve decided to make it look more like an outdoorscene by adding more blue sky tones to the image. You should always be open for colour changes in your paintings, just play around with the colour balance tool from time to time to see if another colour scheme won‘t look even better or maybe enhance the paintings message. I mostly use the colour balance tool as an adjustment layer, by adding a layer mask with some black to white gradient i am able to apply the colour change to a specific area. This time i limited the effect of the colour balance layer just to the top part because this area of the architecture would naturally receive more of the blue tones from the sky. At this point i have one important advise for you, and that is that the best tutorial ever is nature itself. Just keep your eyes open everywhere and carefully observe how light behaves. I don‘t say that it‘s easy but i will tell you that it will payoff for you. Ok, back to the painting now. There‘s not much more to say here other than that i have defined the architecture further.
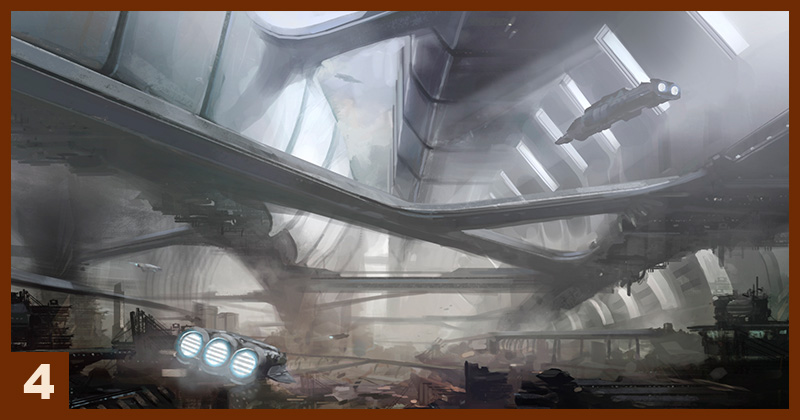
4. I am pretty satisfied with the progress at the moment but start to get the feel that the whole scene looks a bit dead and lifeless right now. Therefore i start sketching in some spaceships. Besides bringing th image to life they also fulfill other important functions. At first they lead the viewers eye into the painting, then they tell the viewer something about the whole scale of the architecture and finally several different sized ships create more depth.


Latest Comments