“Queen ” by Lorenzo di Mauro
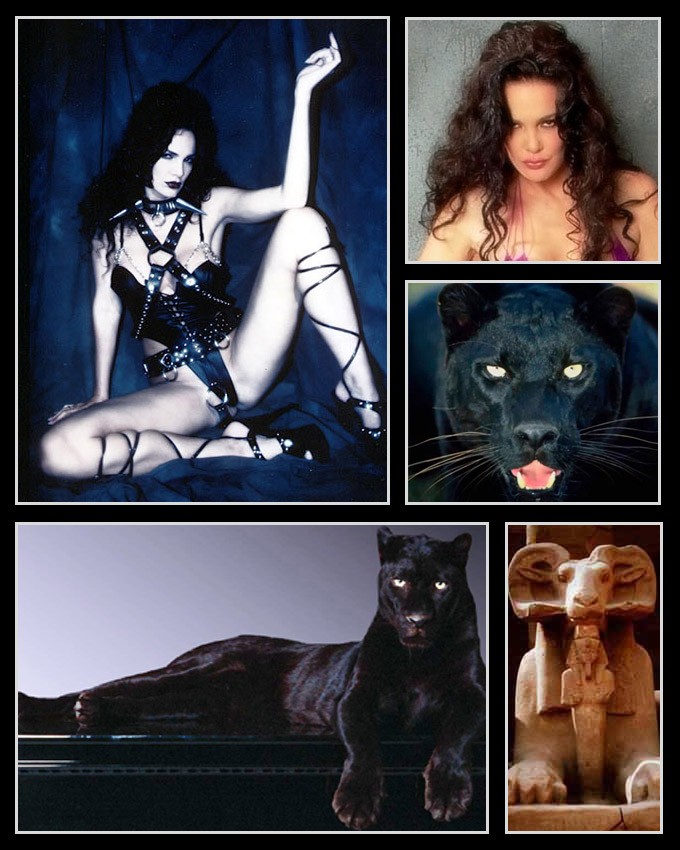
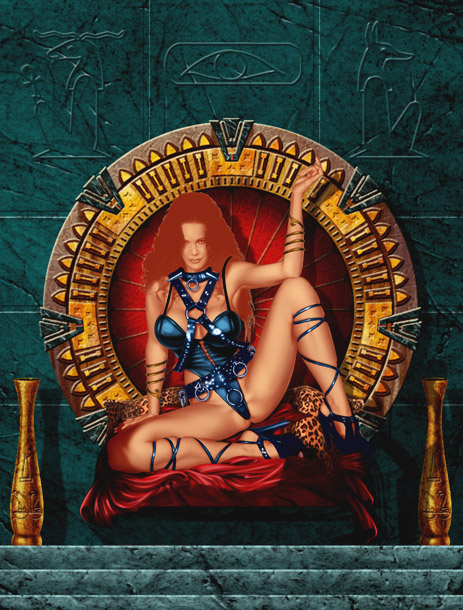
A few month ago, Kevin Eastman, owner and publisher of Heavy Metal Magazine, asked me to do some sketches for a cover. Obviously I was so honored and thrilled for this! Many ideas were milling around in my mind and I was looking for enough image reference. Among the sketches I submitted to him, he chose the one that depict a beautiful and proud Queen, sitting on a magnificent throne, and a squatted down black panther. The pose of the Queen was based on an image of Julie Strain, great model, internet Diva and wonderful wife of Kevin.
I would like to thank the Italian Artist Salvo Lembo for the inspiration he gave me to build the round back of the throne using the vectorial tools.

I use a Wacom tablet and Photoshop to paint a small version of the image I’m working on, as a color layout, to verify the composition and the right color balance, but also careful in any detail. I work on this step as long as I see something to change, to improve or to finish. Layers and channel masks of Photoshop are a great help to do it. Then I paint a flat HiRes large image using Painter and strictly according to the finish layout.First I had to do a more detailed drawing according with the image references
3Dtutorials.sk recommendation:
To maximise the realism of your CG characters we recommend to use high quality image references from the #1 reference website www.female-anatomy-for-artist.com

As for the back of the throne, I did not draw it because I had in mind a sort of wheel enriched with ornaments and decorative elements, something like the stargate of the movie picture. To build an object like this, I have thought to take advantage of the capabilities of the vectorial drawing and I used Freehand to create, duplicate and rotate all the elements very easily and with the best precision.
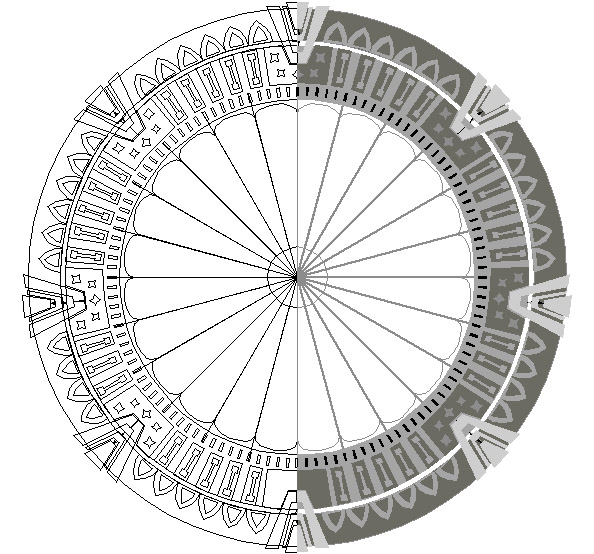
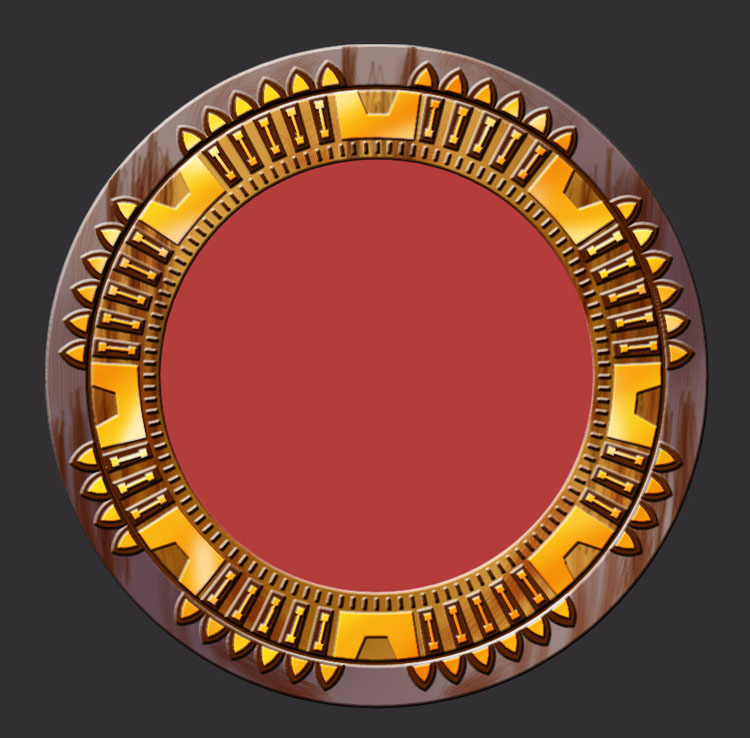
Placing each series of elements on a different layer and saving a copy in Photoshop format, I got a file with all the layers containing the shapes of my wheel. Using Photoshop’s layers effects and channel masks to emphasize some elements and to add lights and shadows, I applied colors and strokes to render a smooth surface, very old and a bit ruined and corroded by rust


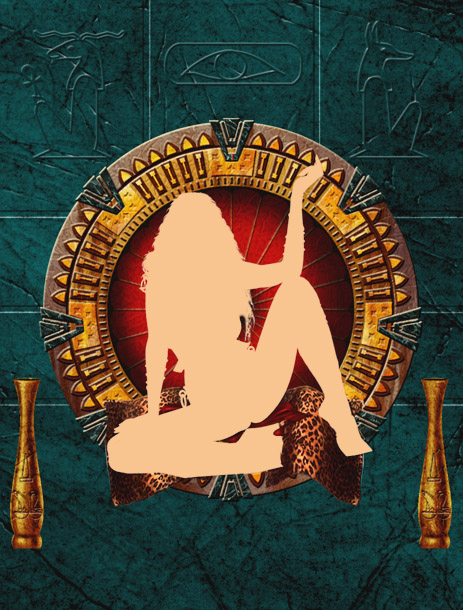
Using separate layers, I placed the back wheel adding some scratches and details, then I painted the background, the pillows, the anphoras and the silhouette of the Queen.
I painted the garments, the drape and the steps.

Then I started to build the flesh tones, painting the shadows
, the lights

and the deep shadows
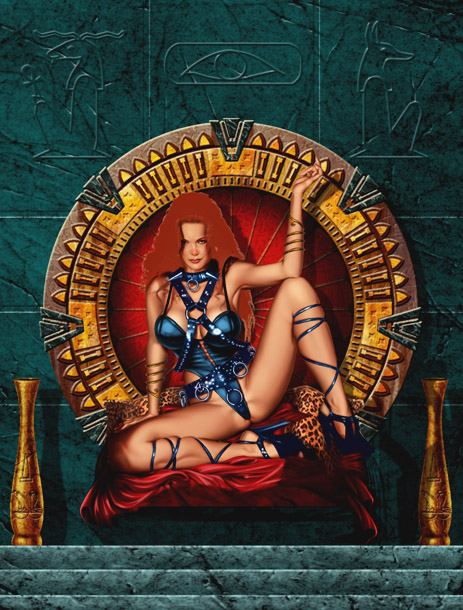
always on new layers. See “Lights and Shadows” box.
I painted a rough basis for the hair

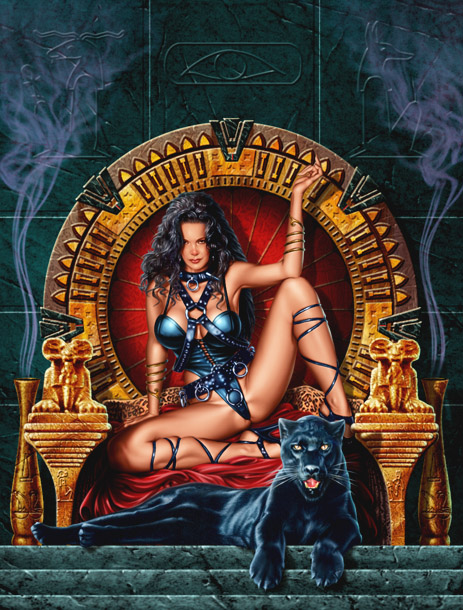
, the black panther

and the arms of the throne

the smoke, details on the hair and everywhere, some lateral light

and finally, to finish this step, I adjusted color and brightness of the background.
Here are real size details of the finish layout I have done using Photoshop

and of the HiRes large image I painted using Painter
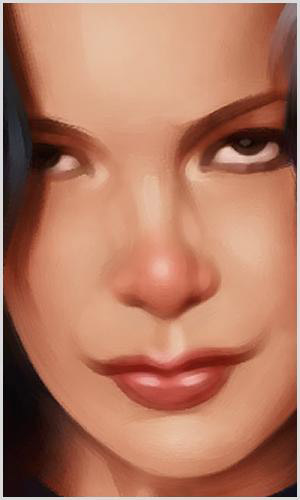
I use Painter just for the large painting when I need sharpened strokes for details, hairs and so on.Using Painter, someone could feel lost because of the enormous amount of brushes, variants and so on. I think a good suggestion would be the following: Create your favorite brushes and during the painting use them and forget all the others. I use some variants of the ‘Big Loaded Oil’ brush I saved as ‘Brush Look’. They are for me as a set of natural brushes of different size to use for the painting.
LIGHTS AND SHADOWS boxTo add lights and shadows to the painting a very helpful way, that works both in Photoshop and Painter, is the following:- First create a channel mask, load and fill the selection with a middle flat color in a Normal layer, getting a silhouette

– Then paint the shadows in a new Multiply layer, using the mask and a brown color

– Using the same brown color in a new Screen Layer, paint the lights

This works all over the painting. In this example, to get flesh tones, lights and shadows are painted using a different darker color, being not the best to use the same middle flat color used to fill the silhouette. This depends just on this middle color, working on parts of the painting based on different colors, often would be possible to work with just one color in all the three steps.
(c) Lorenzo di Mauro, lorenzo@visualshop.it


Latest Comments