“Minotaur” by Glen Southern
1. What is Super Sculpey
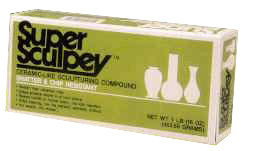
Super Sculpey is the clay that you see used by movie animation studios and professionals worldwide for prototypes and Marquette. Super Sculpey is a soft and smoothable clay that only seems to come in a fleshy tan color. It can be relatively brittle so not ideal for items that are to be handled a lot.As with other polymer clays Super Sculpey should not be baked at too high a temperature or it can scorch.You can read more about Super Sculpey and Polymer clays at the Sculpey homepageI have have great service and delivery (in the UK) from The Polymer clay pit. They are now stocking the 8lb blocks of Super sculpey from £48 plus £4.50 post and packing (at the time of writing). With the 1lb blocks being £8.50 the bigger packs are a great deal.
2. Tools and preparation
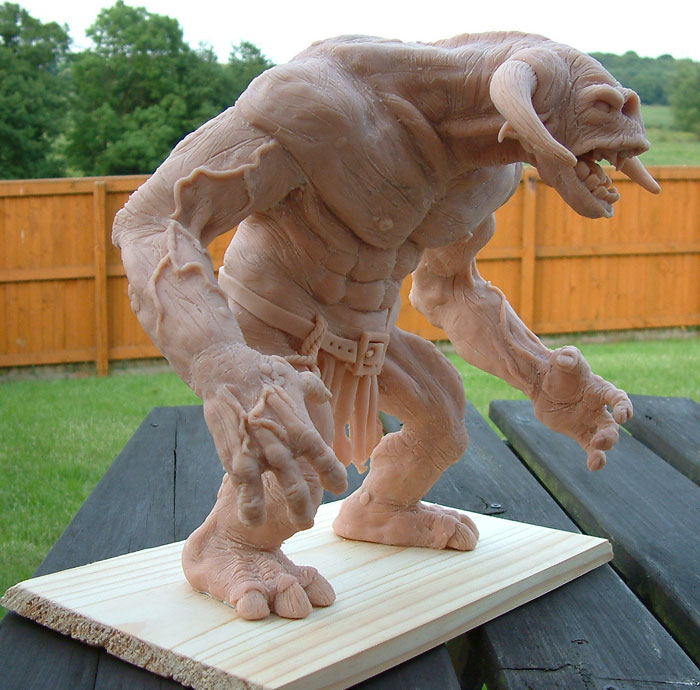
Having decided to create a large Minotaur figure I collected all the ,materials that I would need for the job. As well as 3lb of Super sculpey I gathered together a roll of galvanized wire for the armature (wire skeleton), several roles of tin foil, a set of basic sculpting tools, a wooden base and some screws to attach the armature to the base.
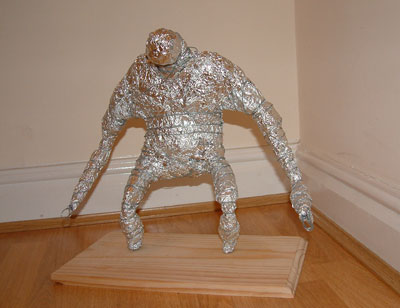
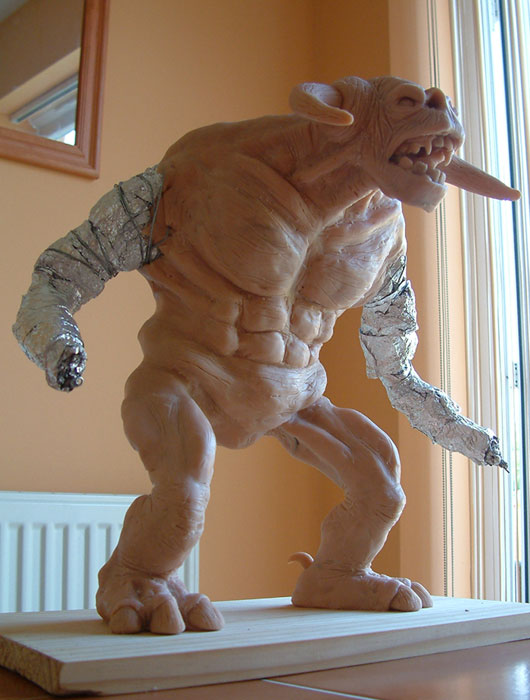
I attached some of the galvanized wire to the wooden base using 4 screws. I then used twisted lengths of the wire to `rough out` the frame. When I had the basic humanoid shape I began to tightly wrap the wire with tin foil. As I wanted to use as little Sculpey as possible I decided to build as much of the Minotaur in this way as possible. I re-wrapped the tin foil figure in even more wire and the figure was already very solid but having a wire frame I was still able to move the arms and legs into more acceptable stance when needed.
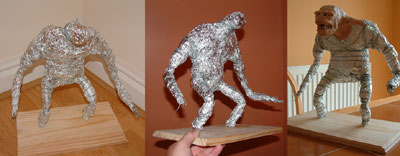
I made the hands in the same way but kept them separate from the main torso so that I could add fine detail with having to handle the whole figure .

3. Adding clay and baking parts off
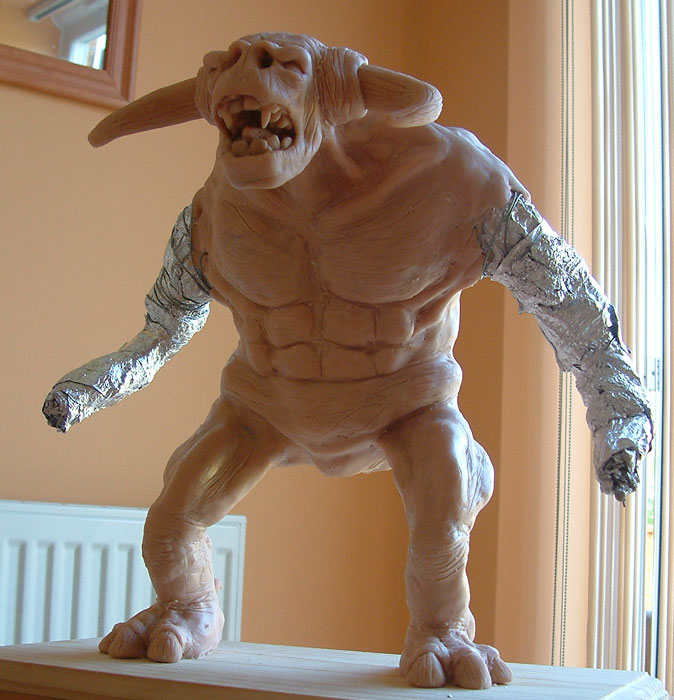
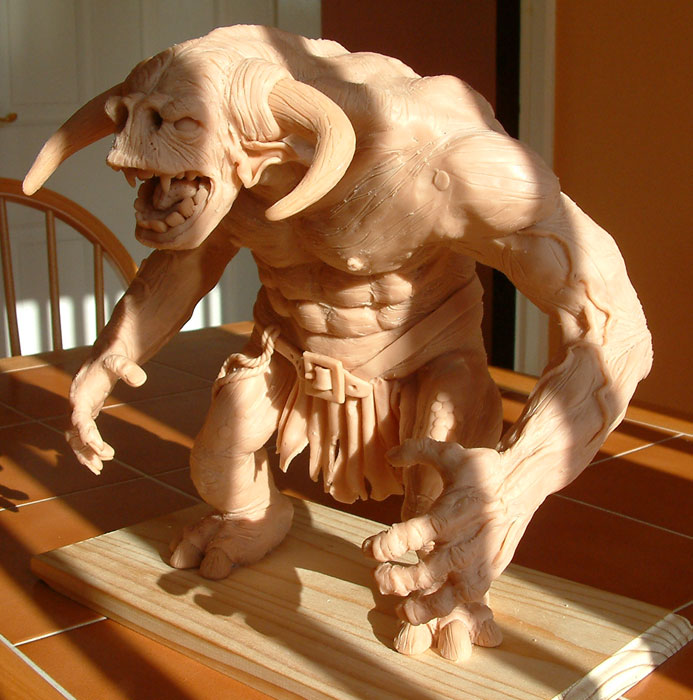
I started adding clay to the head and neck and then worked down the shoulders and onto his belly.The process I used was to roll out large sheets of clay and add these to the model as strips in a paper mache way. I smoothed these strips with a flat sculpting knife then added more clay where I needed more detail.
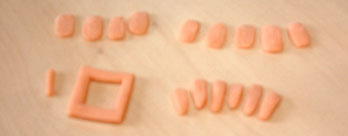
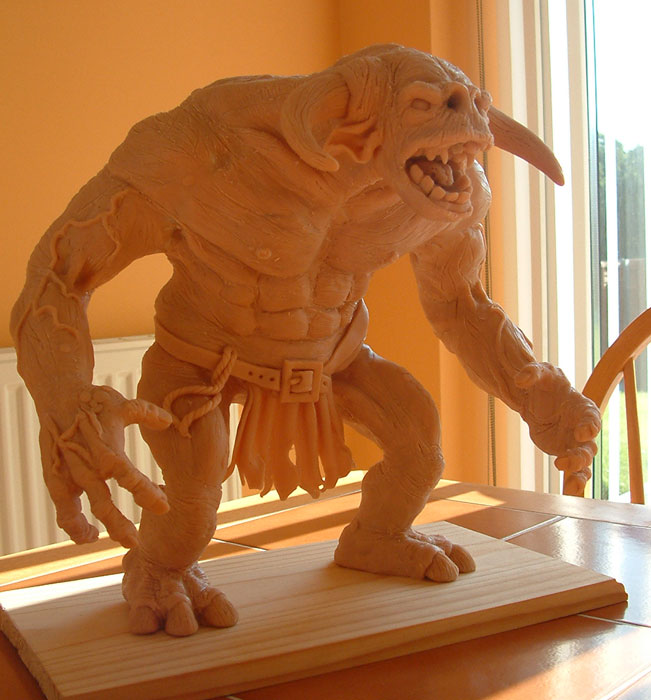
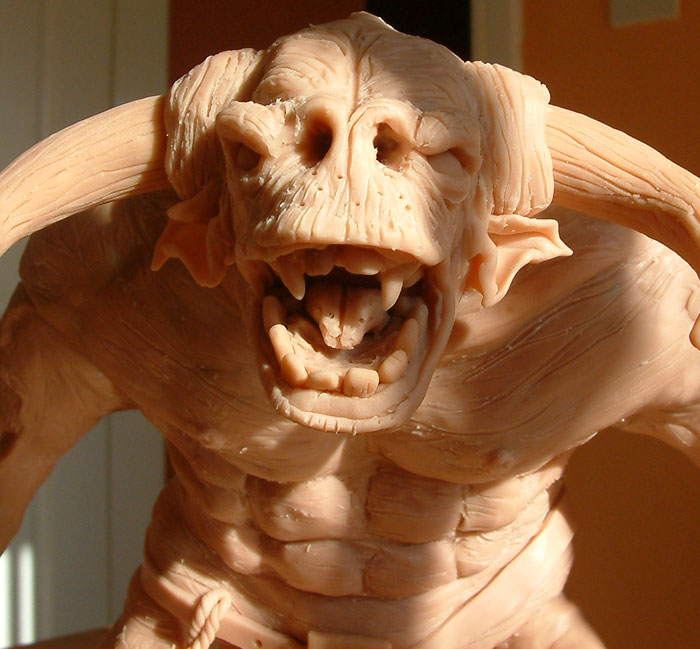
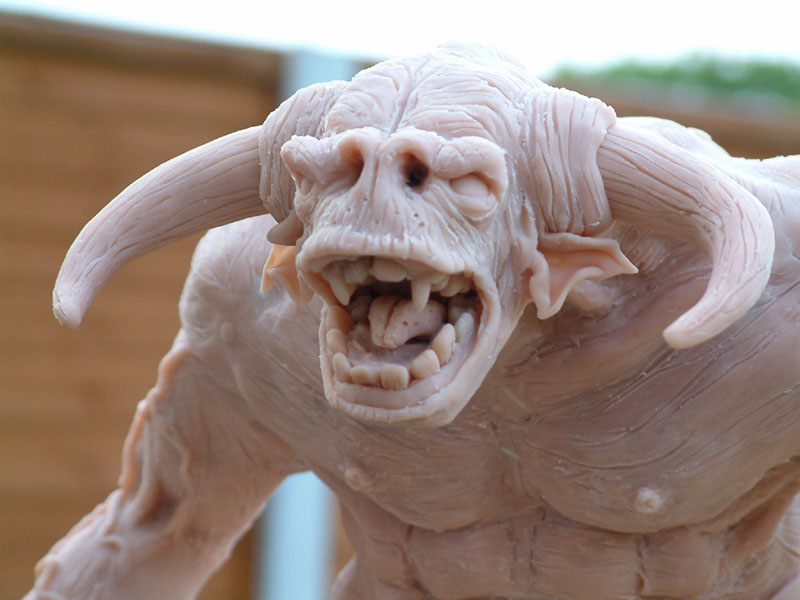
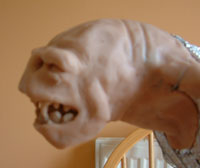 To create the head I made all the tongue, teeth and eyeballs and baked these off. Once set I added these parts to the head and added more clay around them. Because they were already baked they kept their shape which it ideal for areas like the mouth. I re-bake sculpey over and over again and never have a problem unless I use too high a heat in the oven. I have tried this with FIMO in the past and I find that it can easily burn. Super Sculpey seems fine. Whilst making the teeth I also made a set of toe claws and finger nails and some of the parts for a belt to be added at the end of the project.
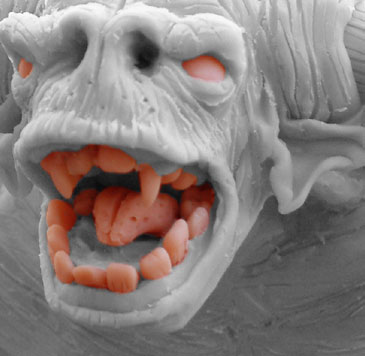
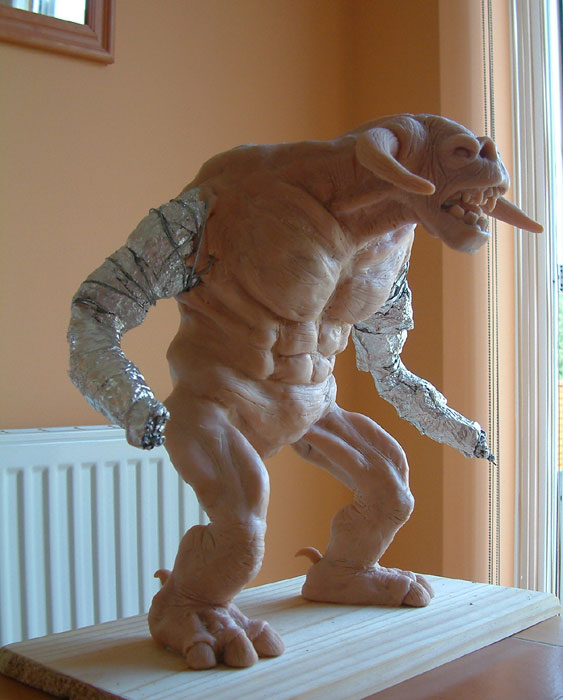
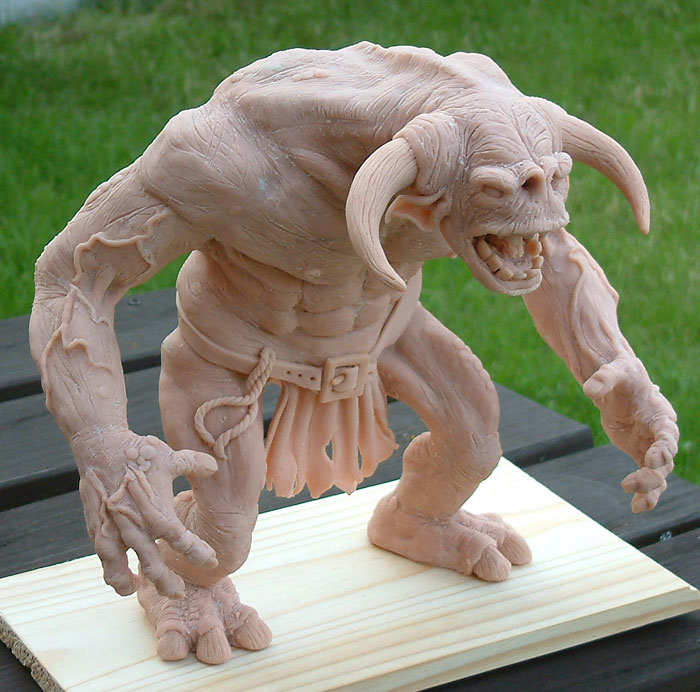
The image below shows has been digitally edited to show which parts were pre-baked. The red areas are pre-baked and the gray areas are sculpted around them.
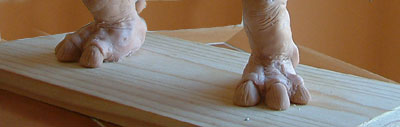
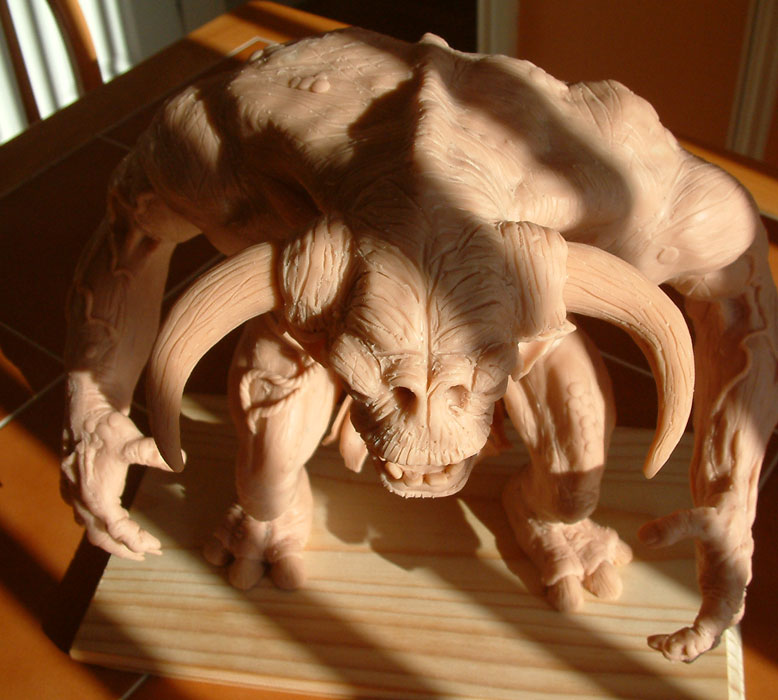
Once the head was complete I worked down the body adding and sculpting as I went. I added the pre baked toe claws to the feet and then sculpted the toes and feet around them.
3Dtutorials.sk recommendation:
To maximise the realism of your creatures we recommend to use high quality photo references from the #1 reference website www.human-anatomy-for-artist.com
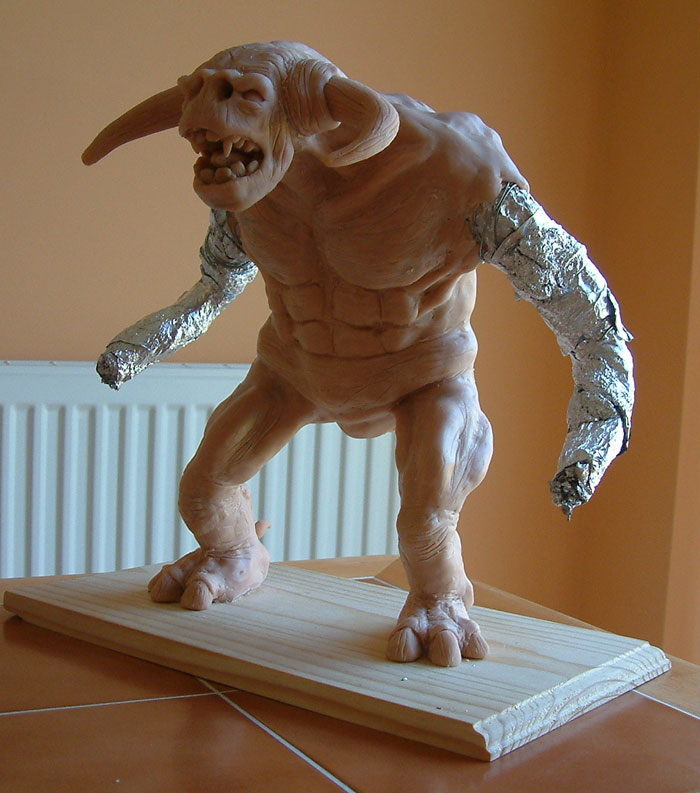
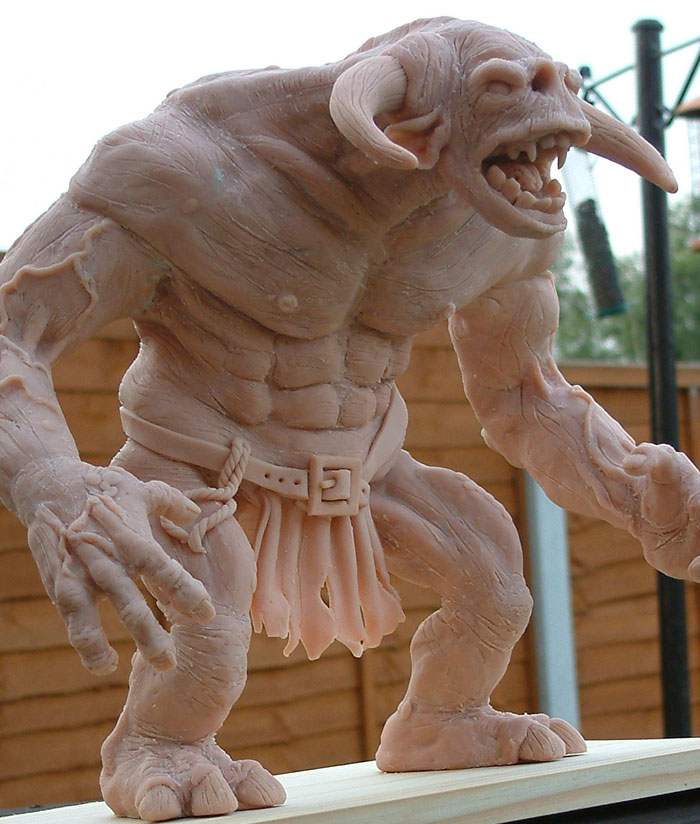
To be continued when he’s been baked………
(c) Glen Southern, glen@southerngfx.co.uk


Latest Comments