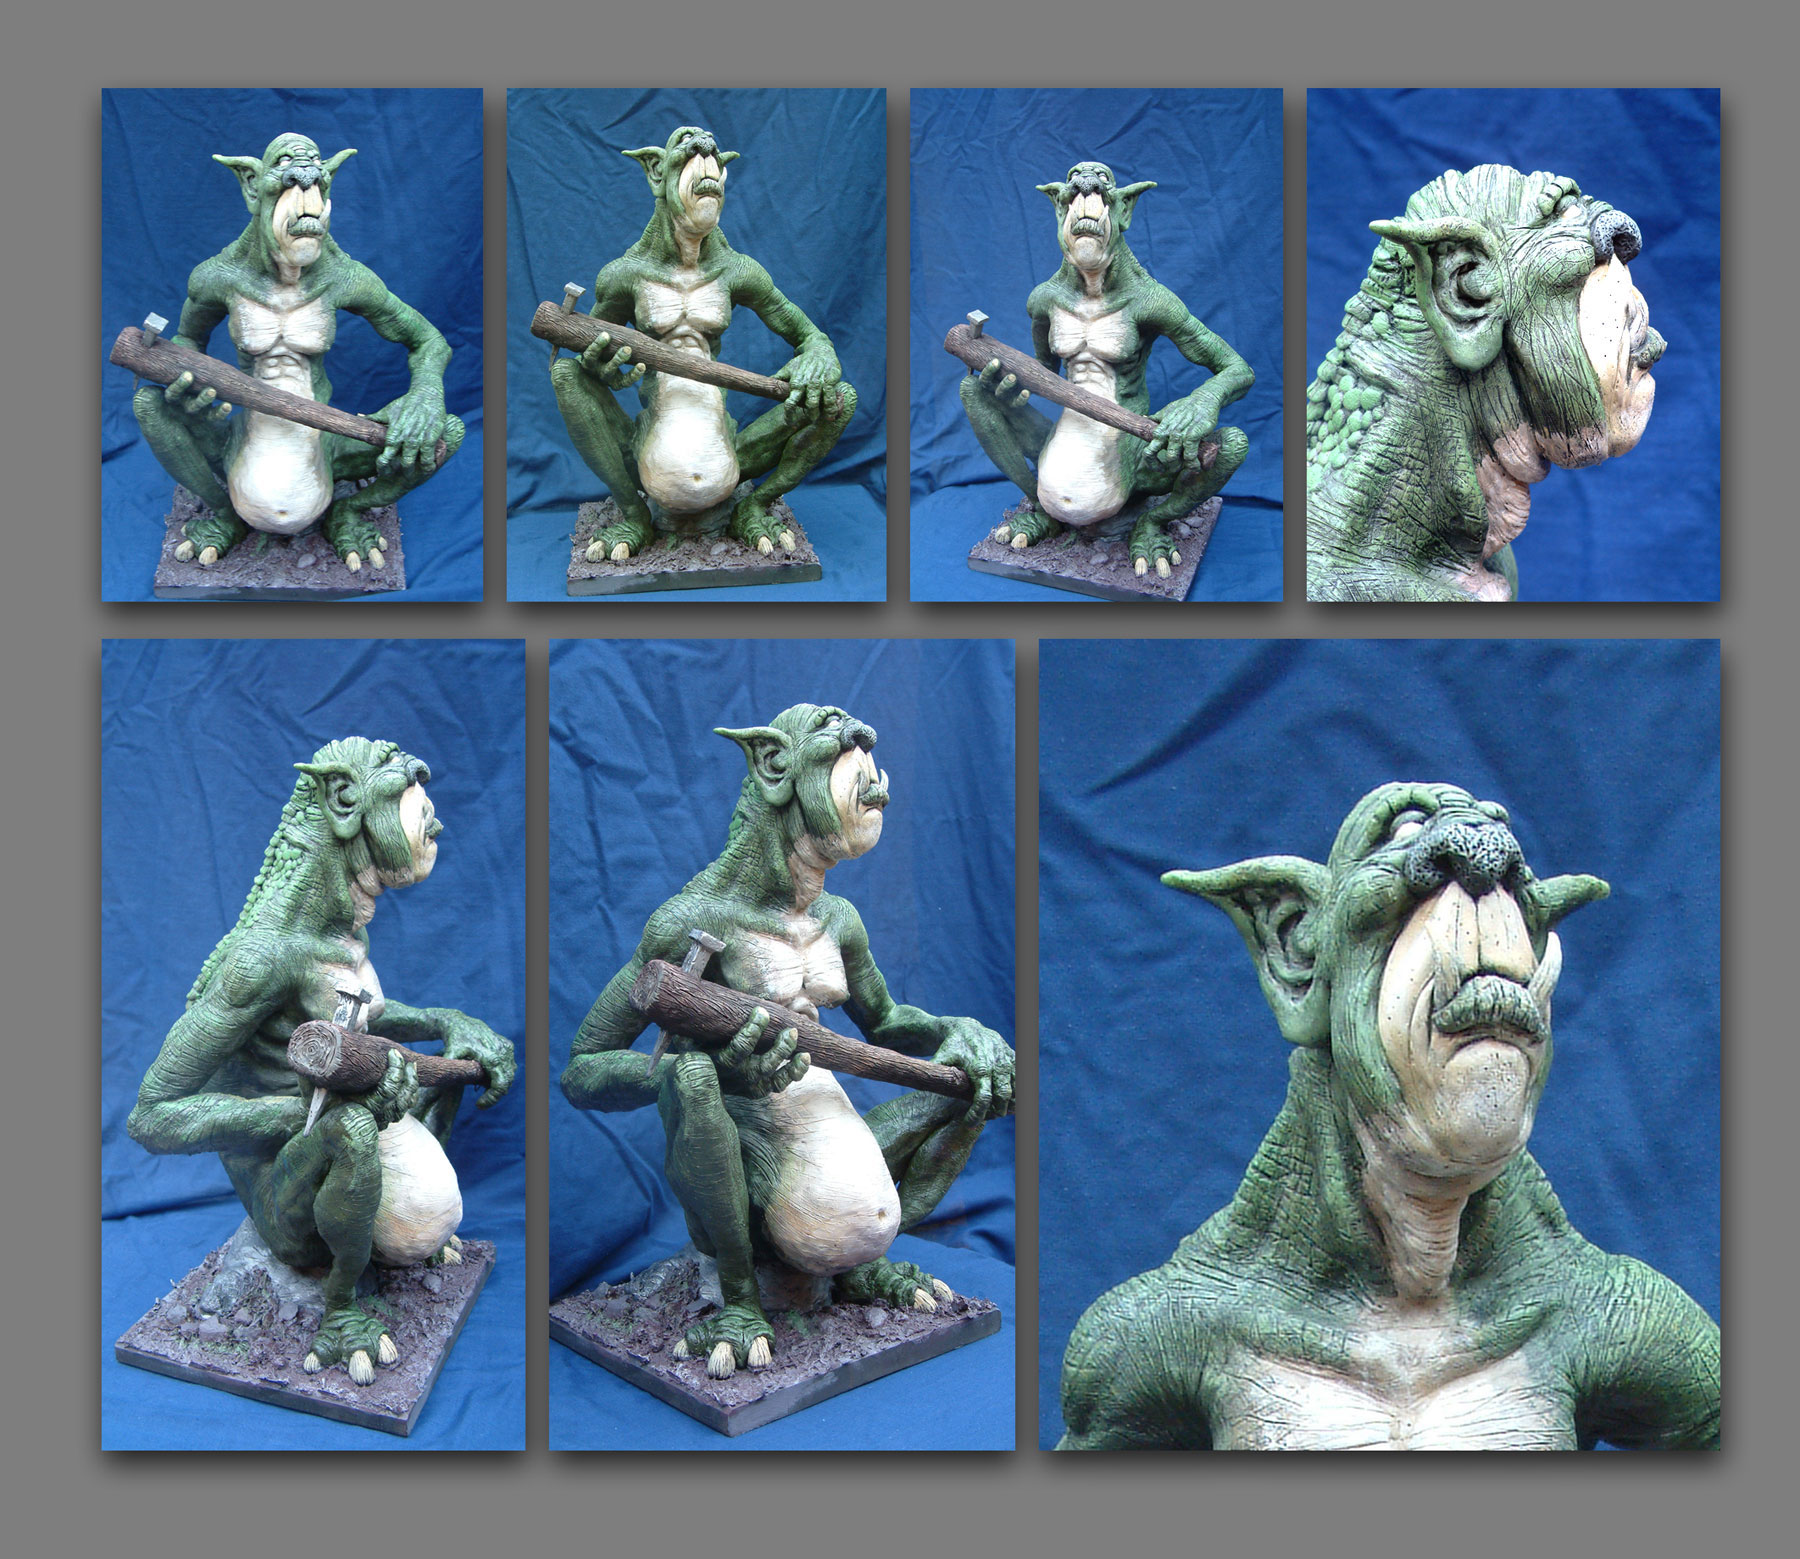
“King of the goblins” by Glen Southern

1. CONCEPT
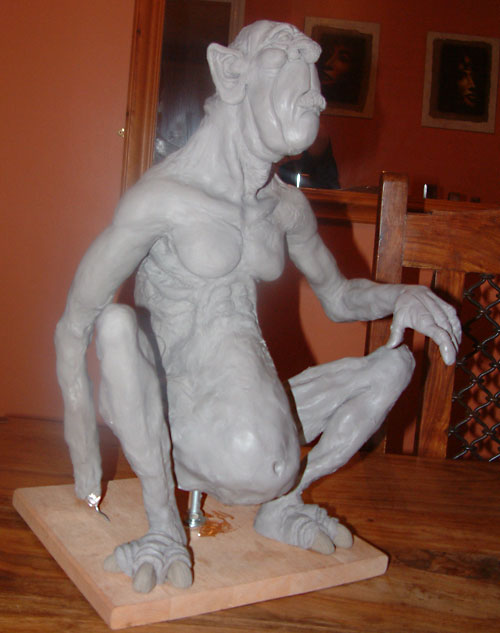
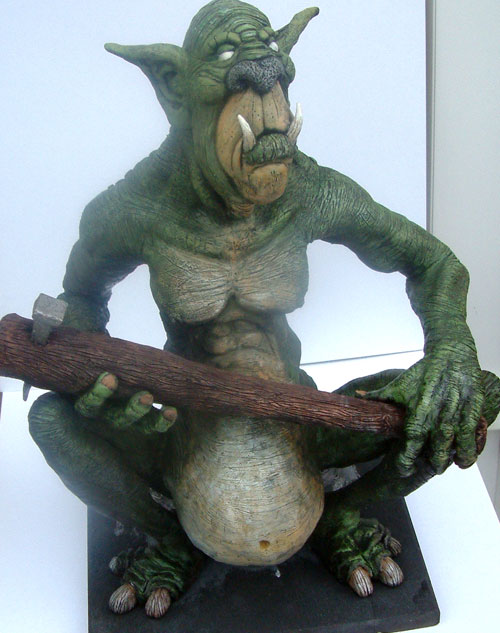
One character that I always wanted to model was the Goblin King from the Hobbit. This is the chief Goblin that is responsible for capturing Gandalf and the party of Dwarves and is eventually beheaded for his trouble. The Description in the big is little more than “A great big Goblin with a huge head”, so a I took a little poetic licence with the concept work. I wanted to steer clear of the LOTR Orc kind of character and spent some time on my concepts.
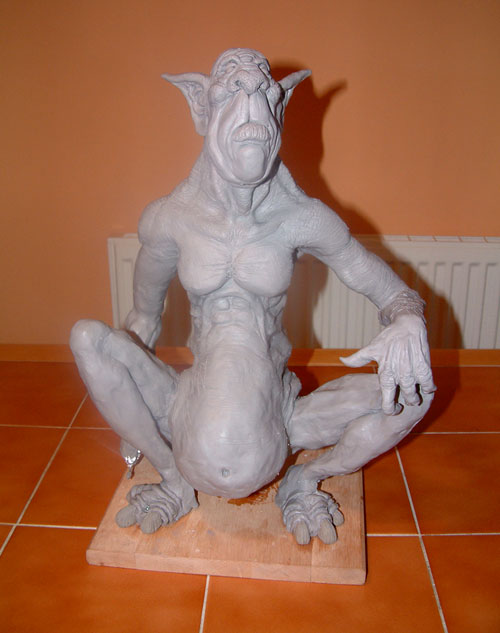
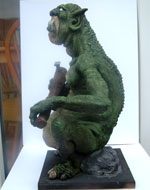
The concept below was my final choice:

3Dtutorials.sk recommendation:
To maximise the realism of your creatures we recommend to use high quality photo references from the #1 reference website www.human-anatomy-for-artist.com
2. MATERIALS AND TOOLS
In my earlier tutorials I have described how I started modeling in Sculpey and some of the tips and techniques I have been using. In recent months I have been studying other artists sculpey sculptures and having picked up a lot of new work processes I have collected my thoughts and the results are here in this work-through tutorial. This next section details the tools I use and some of the basic materials needed to achieve these results.
– Sculpey As it is a sculpey tutorial you would expect to find me using it. However, Taking smelly bugs tutorial advice I made a Super Sculpey and Sculpey three mix. My advice here is try different mixes and see which you prefer. Most of the Sculpey line of products can be mixed and the results will vary dramatically in both color and brittleness. In this project for every 1lb of Super Sculpey (Flesh colored) I added a 56g block of Sculpey III white and half that amount in black. The result was a very pliable light gray clay.
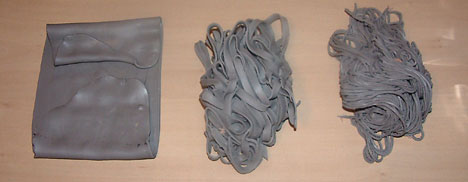
– Pasta Machine
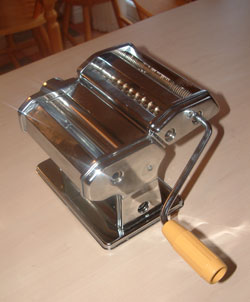
If you want to work with Sculpey and you want to avoid cramp in your hands then you need one of these little machines. A Pasta machine helps you to knead the sculpey to make it more pliable (the more times you run it through the softer the sculpey gets). You can also use it to mix in other sculpey products to get different consistencies.The pasta machine can can roll out flat sheets (lasagne) , shred strips (Tagliatelle) or produce a string like mass (Spaghetti). Using a combination of these settings you can mix and knead until you achieve the desired result.
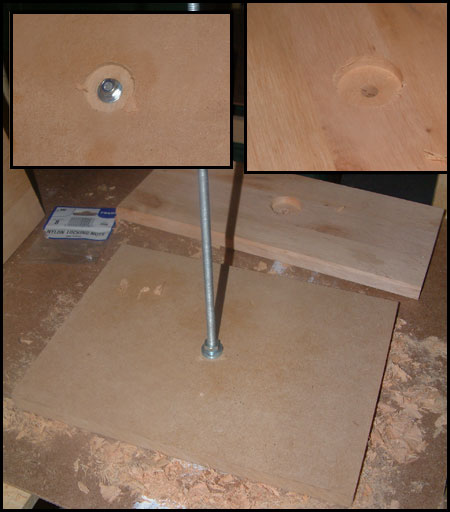
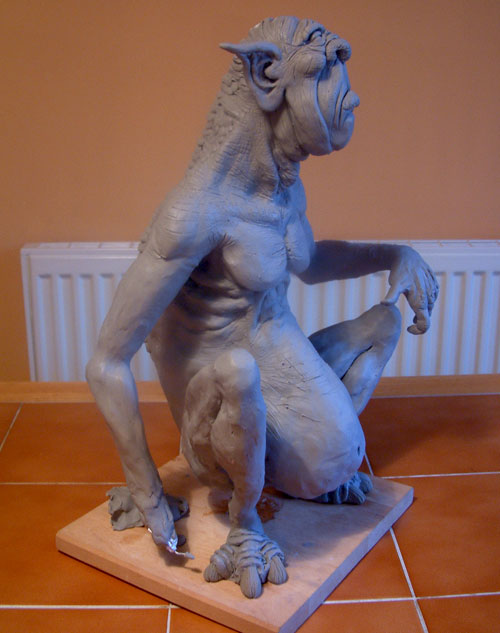
– Base and supportAgain, for this project I have adapted my usual work method in favour of new ideas. I took an MDF base and drilled a hole large enough to take a quarter inch threaded bolt. I counter sunk a larger bore hole to ensure the nut would be embedded into the base. I secured the center rod with two nuts and four washers, bottom and top. This gave me a very stable center rod to work from. I don’t have access to a large oven and this project was going to end up too large for my own houshold oven. I try not to use MDF if I am going to bake the sculpey. I hardened this model with my heat gun, not an ideal method I know but with patience I managed it
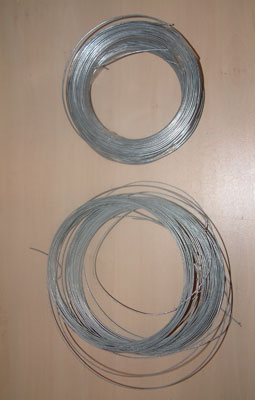
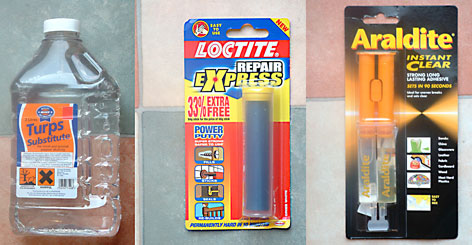
– ArmatureThe armature for our Goblin was created with two sizes of galvanised wire firmly attached to the threaded rod.I used the wire to make a basic humanoid shape (similar to that used in the Minotaur tutorial here) and then secured it with Araldite adhesive and a fast setting Epoxy putty.When it was all dry I added several layers of tinfoil around the whole figure. I use the foil to bulk out the model and as it is inert when baked it is an idea packing material for a sculpey model
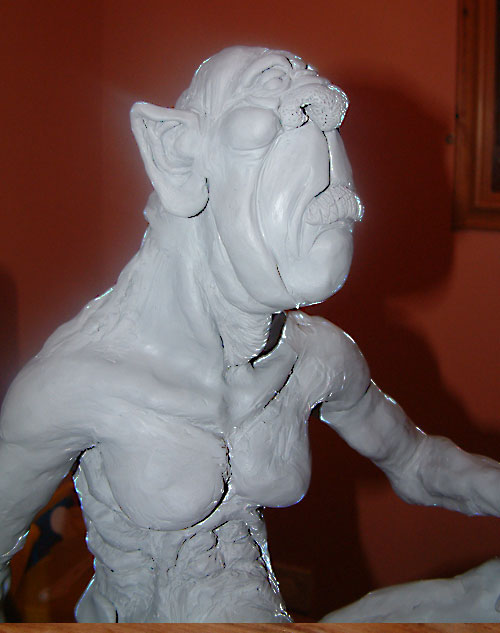
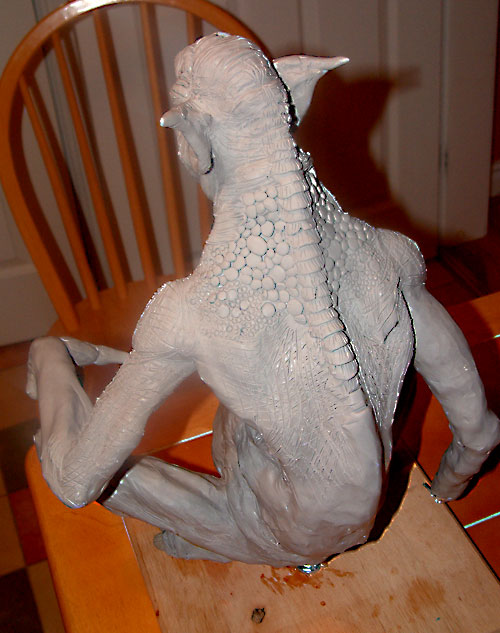
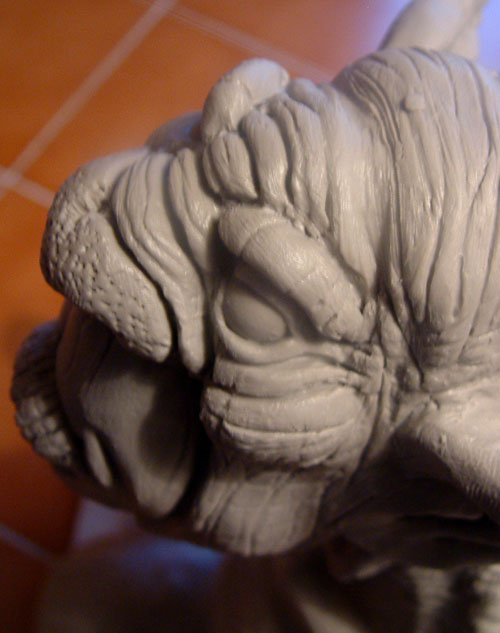
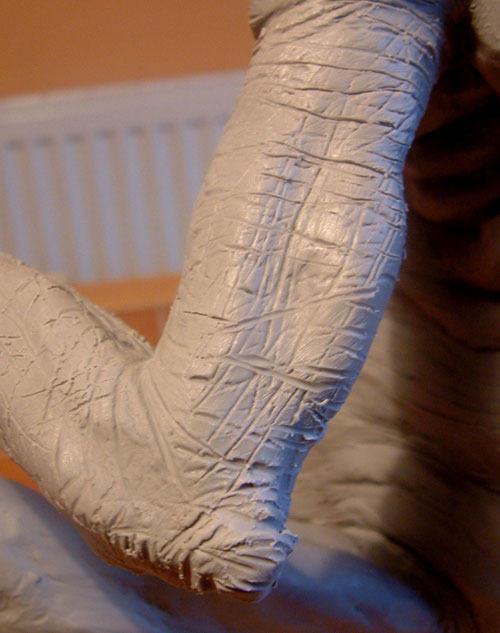
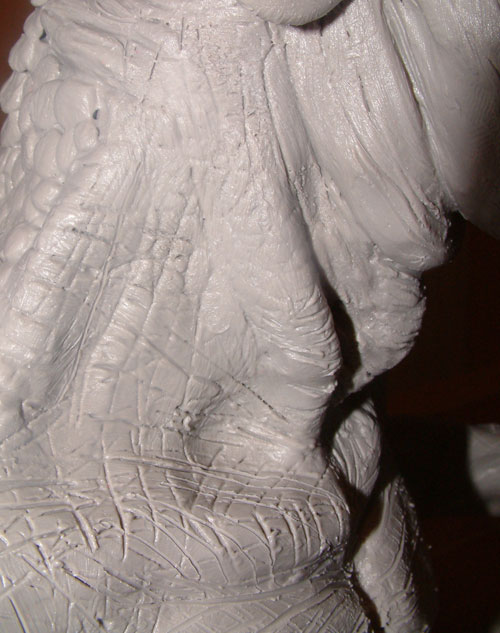
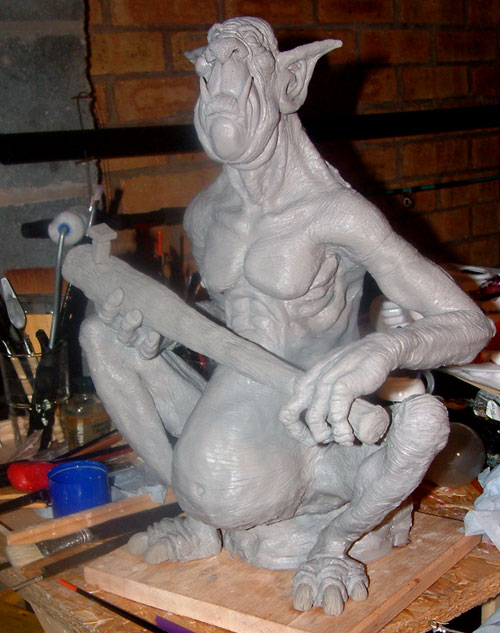
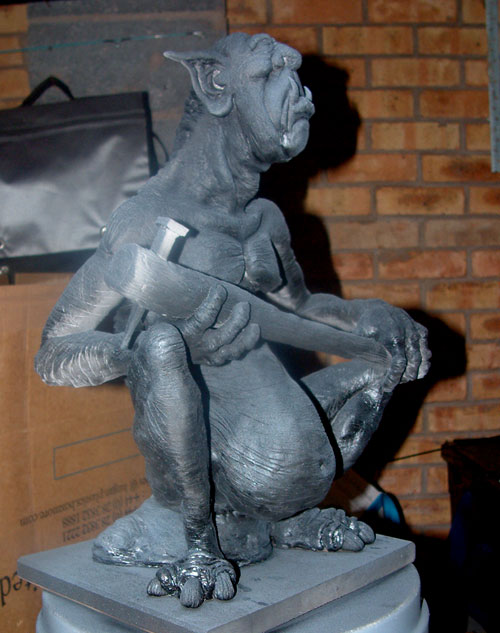
2. SCULPTING THE KING


(c) Glen Southern, glen@southerngfx.co.uk


Latest Comments