“Fiber brush settings” by Glen Southern

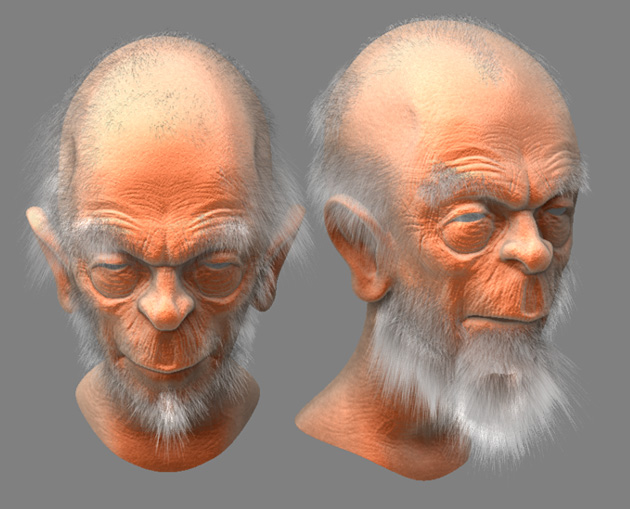
Get yourself a model that needs some hair.
3Dtutorials.sk recommendation:
To maximise the realism of your 3D characters we recommend to use high quality human photo textures from the #1 texture website www.3D.sk
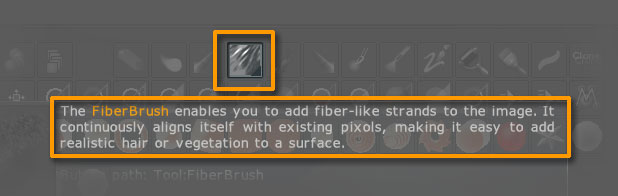
Render him out using BEST RENDER in the RENDER panel with whatever light/material/shadow settings you need for your scene. Once the scene is rendered go to the LAYERS panel and hit the BAKE button. Now go over to the TOOL panel and locate the FIBER BRUSH from the popup menu
Now to see how NOT TO DO IT just draw a stroke across the head without adjusting any settings. The result is a solid mass of dense hair that looks out of place.
To change the look of the FIBER brush hair there are a number things we can do. First is to change the Material to FLAT.
Then lower the RGB INTENSITY and the Z INTENSITY a little: experiment to achieve the desired effect. Vary the DRAW size to lengthen the strands as needed. Small DRAW size = short hair. All sorts of effects can be achieved with just these three before we even start to edit the FIBER BRUSH settings. If you are using a graphic tablet you will see that the FIBER brush is pressure sensitive, more pressure, more hair.
Next, go to the TOOL PANEL and take a look at the settings in the FIBRE BRUSH panel. Most of these are self explanatory and if you hold down CTRL whilst hovering over the item ZBrush will tell you what it does anyway:
Armed with the above info you can set about spraying hair onto just about anyone or anything in ZBrush.

(c) Glen Southern, glen@southerngfx.co.uk


Latest Comments