Step 1
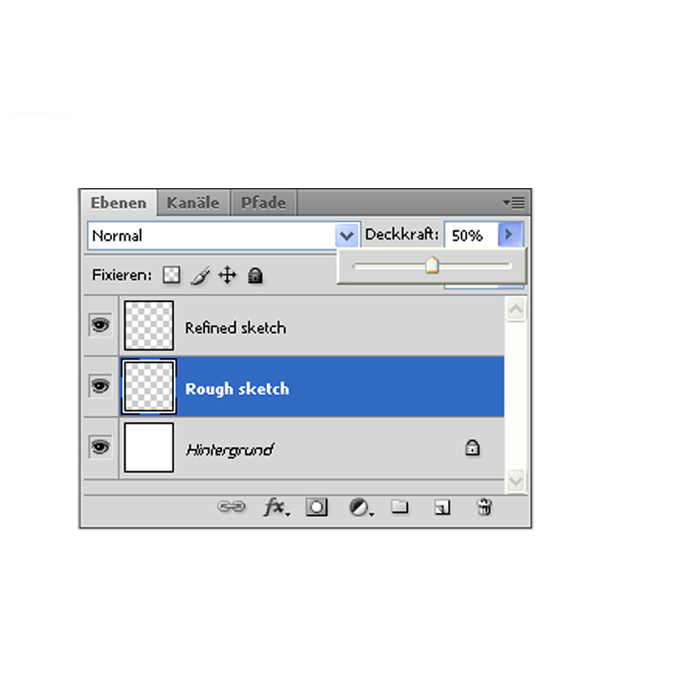
Draw a rough sketch to get an idea about the pose and proportions of your dragon. Do this on a separate layer above your background layer. Use a middle-dark grey here.


Step 2
Set opacity of your first sketch-layer to about 50% and make a new layer above. Now get a smaller brush size and zoom in to refine your sketch and add the basic features to your dragon. Use a dark grey here.


Step 3
Reduce your first two layers into one layer and set the opacity to 50% again. Make a new layer above and draw your final lineart with a small brush and a dark grey. Then erase the first layer and set your lineart layer to multiply.


Step 4
Make a new layer under your lineart layer and block in the flat main or basic colors. These basic colors shouldn’t be too saturated and bright.


Step 5
Again make a new layer above the lineart layer. Now take a brighter color than your basic color and carefully get the lighter parts of your dragon. Think of where the light comes from and try to picture the shape of your dragon. Don’t make the light too bright, since we will add the highlights later.


Step 6
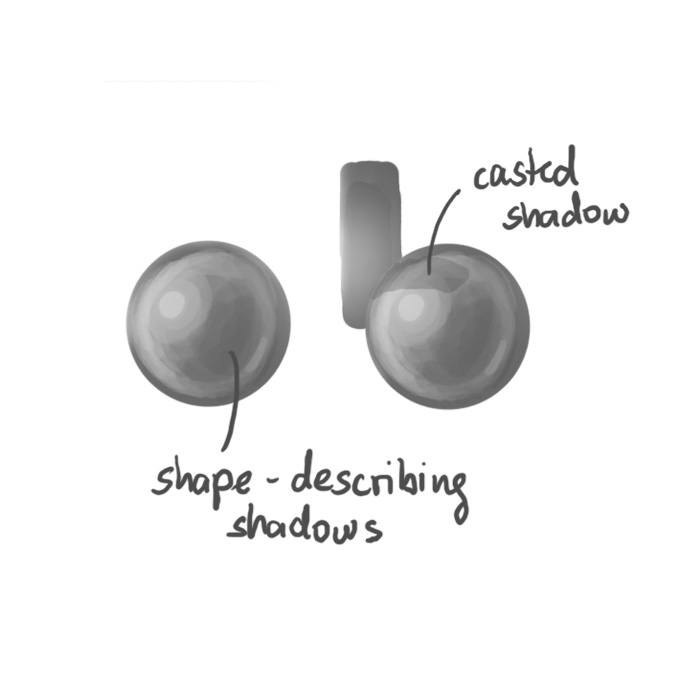
Make a new layer above your lightlayer. Then take a darker color than your basic color and draw the shadows. Think of shadows attributable to the dragon’s shape and shows, which are casted by dragon’s features, like his horns or his head.


Step 7
Now you can reduce your light layer and shadow layer to one. Then make a new layer above them. With the color-picker take the brightest color of your dragon and make it even brighter. Then paint in highlights and details. Again try to make it look smooth.


Step 8
In the last step draw the eyes, horns and fins of the dragon. You can also add some scales or texture, but I like this one without 🙂 Make some final touches and details and erase the lineart where necessary. Then edit your image with some color and tonal adjustments. Now you can add a background or another dragon/human/animal if you like. Else you are ready to share your dragon with community.


Here are some other useful tips on how to draw dragon scales and tails (click to open full image):


 web.de


thank you for your works