“Car mapping” by Onno van Braam
In this tutorial I’ll try to give an impression of how I apply textures to my cars. It’s very simple once you get it, really.As subject I’ll use my latest car, the Citroen C3 ‘Custom’. I could have picked any car, in fact I might as well have chosen a box, as long as the object you use has a couple of polygons. What is all comes down to is this:Create your car, plane, whatever, select parts of your mesh and assign a unique material ID to that part, repeat this step for all parts, then apply an UVW map for every ID, create a multi-sub-object material and voila, you’re done. Easy as that.
3Dtutorials.sk recommendation:
To maximise the realism of your vehicle textures we recommend to use high quality photo textures from the #1 texture website www.environment-textures.com
Here’s a screenshot of the car we’ll be working with:
Okay, now you should think by yourself how you are going to break it apart, so what pieces you’ll want. I want the front bumper to be one part, the side, the other side, the roof and the rear bumper (I detached the doors, hood and rear door, because I wanted them to be able to move separately, they’re all just planarly mapped since I only put one texture on those parts).So I select the front bumper, and set the material ID to 1, select one side, set that ID to 2, the other side: ID = 3, the roof: ID = 4 and the rear bumper: ID = 5.
![]()
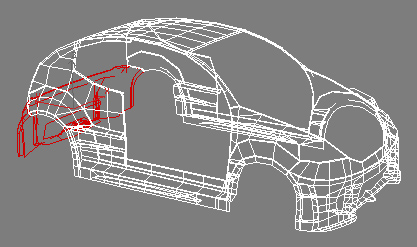
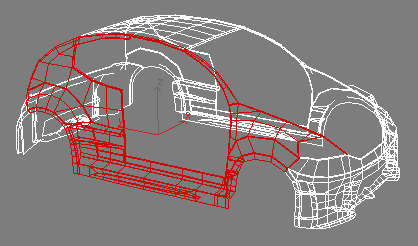
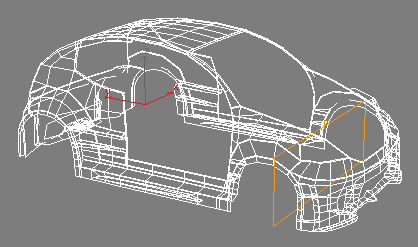
So far so good, and very easy, isn’t it? Now we’ll add all the UVW maps. I am only going to use planar UVW maps, so they need to be exactly the size of your selection, so use ‘Select by ID’, apply a new UVW modifier and click ‘Fit’, or fill in the size of the map manually, works just as good. So for the front bumper your UVW map would be like this (see the Gizmo?):


Latest Comments