“Art Nouveau room – texturing and lighting” by Crtomir Just
1. Texturing
Texturing played a huge part in making this image. I changed my mind a few times during texturing and replaced some of the textures I didn’t like, so this part took me, I believe, more than half of all the work.
The textures are mainly based on photo-reference, combined with custom made masks and lots of corrections in Photoshop. Similar textures and many others you can find at www.environment-textures.com The shaders are all basic Vray materials with corresponding bitmaps.
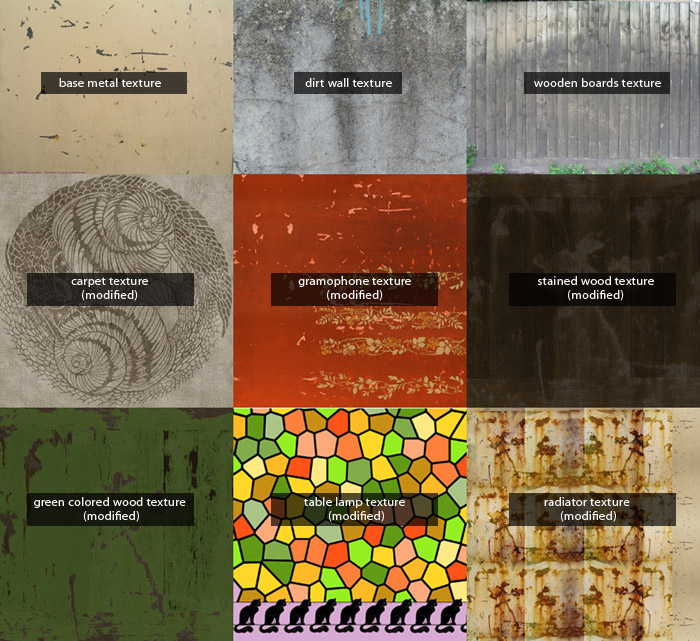
Almost every object in the scene is unwrapped and has it’s own material with textures applied to it. I think there are about 20 or so different shaders used for all the parts of the image. I had to put a lot of effort to make the textures exactly the way I imagined them in my head. The fact that the scene is an old room, made the task even harder, considering all the dirt and wear.
Preparing the images in photoshop
All the bitmaps are either high quality jpegs or tiffs with LZW compression to to keep the filesize smaller (LZW doesn’t affect the quality that much so it’s useful if you work with tiff files). The average filesize for a texture is about 1 – 1,5 mb at 72 dpi and around 1500 – 2000 size in pixels, but some of them are larger in resolution and size as noted below, so the maximum filesize for the textures was around 4 mb, I think.

The main textures (for example the wall and the floor) are in a bit higher resolution (about 120 dpi and 3000 x 3000 size in pixels), just to make sure the quality doesn’t decrease, when rendering a larger resolution. This also helps to keep all the small details in your bitmaps, for example the small differences in the bump maps which can make quite an impact on the final result.


Latest Comments