“Understanding Lights in Maya – part 4 ” by Aziz Khan
13-with these settings set hit render your result might be different then mine because i am using texture on the floor so this also cause to emit photon same as color of my floor texture,
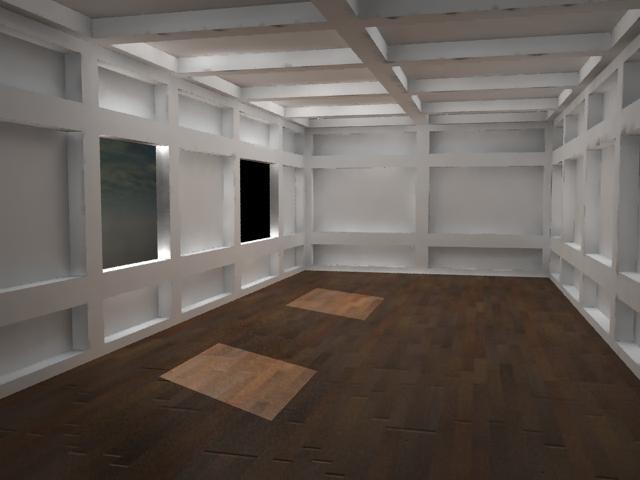
14-ok apply texture to all of your scene and if you hit render you will see a very very dark image if you deal with darker wood textures or something like this,
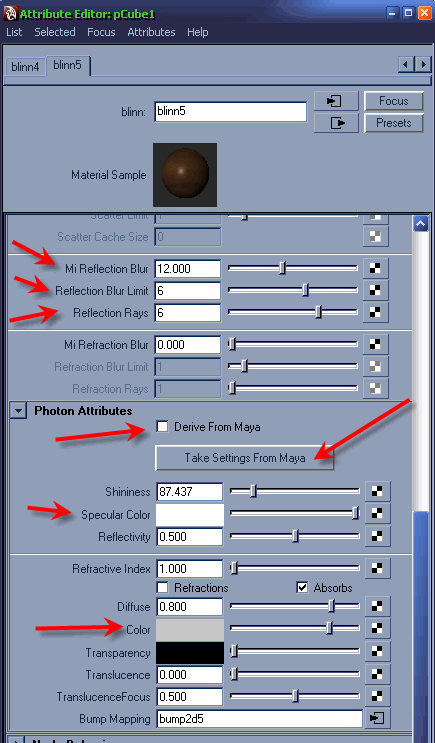
as you can see in the above image the wood texture for the floor is pretty dark if i apply the texture to all room i am sure i will get pretty dark result, you might be asking why is this and what cause this heck? well the answer is pretty simple, the texture which you are applying to the objects the material itself has Photonic Attributes, and then the material starts emitting Photons the same color as our texture in the scene that is why we are getting darker result, to solve this problem select your material where the texture is set for the walls in this case room, and then hit CTRL+A to open attributes editor, expand the Mental Ray tab scroll down a bit uncheck (Drive From Maya) check box, and then click on (Take Settings From Maya), now if you see in the (Color) slot our texture is connected that is why its emitting dark photons, right on right click and from popup menu chose break connections and set the color to something brighter as you can see in the image below,
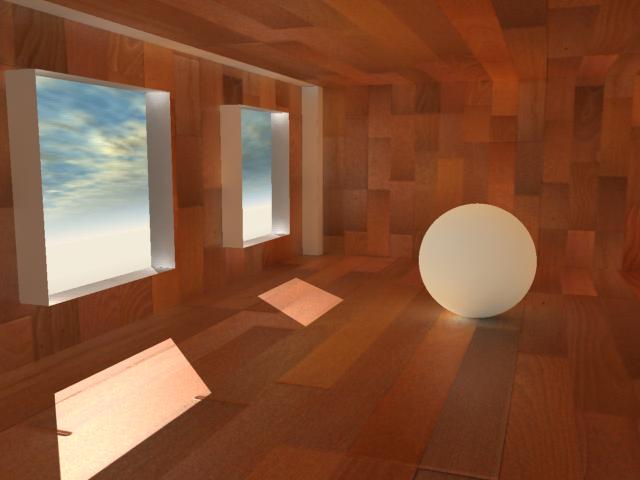
15- now hit render and this time you should see pretty nice and interesting result, here is my final rendered image,
if you like to see my settings here is my end scene Download
Congratulations guys you have successfully completed the series of the tutorials i hope this could helped you out to learn more about lights in Maya,
if you still have any comments, suggestions, feedbacks, questions please feel free to write me,
aziz3d@clubsrk.com
(c) Aziz Khan, aziz3d@clubsrk.com
Understanding Lights in Maya – part 4
Popular Tutorials
-
 Free set of photo references for our members
Posted on Nov 15, 2010
Free set of photo references for our members
Posted on Nov 15, 2010
-
 Photo References
Posted on Oct 6, 2010
Photo References
Posted on Oct 6, 2010
-
 Modeling Competition
Posted on Dec 10, 2010
Modeling Competition
Posted on Dec 10, 2010
-
 Modeling a High Definition Building – part 1
Posted on Dec 9, 2010
Modeling a High Definition Building – part 1
Posted on Dec 9, 2010
-
 FREE photo reference sets for you – only for registered members
Posted on Oct 2, 2011
FREE photo reference sets for you – only for registered members
Posted on Oct 2, 2011
Try something new

Latest Comments