
This a part two of the sky tutorial. I’ll try to show You how to create “evening/early morning sky” and some stormy sky.
Evening – Early Morning Sky
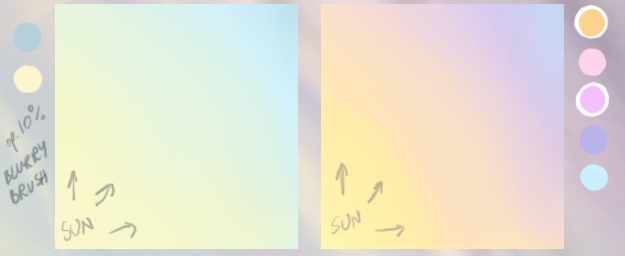
Step 1
Firstly, as always, You have to create new layer and fill it with a light colour. Can be blue, yellow , violet, pink etc.
Step 2
Now think about how does the sky look like in the morning… near the Sun it is pale yellow, then it smoothly becoming blue. In the evening this part of sky which is the closiest of the Sun is yellow/orange then becoming pink/purple. Can be also added blue (at the end).
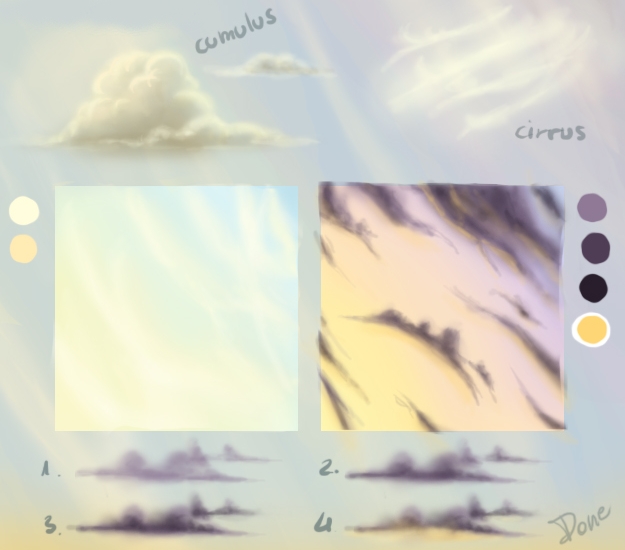
Step 3
Now it is time to create clouds. There are plenty of shapes which You can use to create them. The easiest to draw are clouds type cumulus. They look more or less like a white bubbles. But early in the morning I’d rather prefer to draw cirrus clouds.
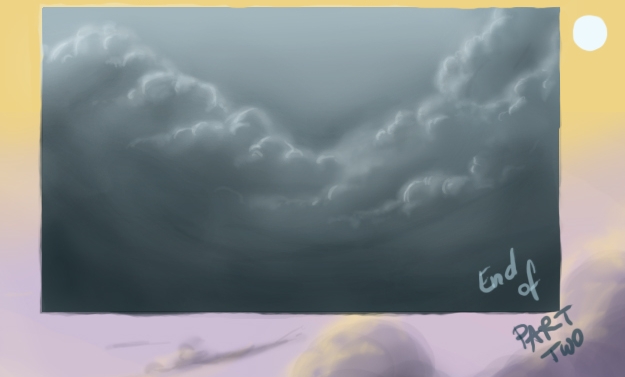
Stormy Sky
Step 1
Fill Your new layer with a main colour. This will be Your sky so choose colour carefully. Take a darker tone of this colour and draw on the bottom of the picture some smudges.

Step 2
Take a light colour, set the opacity to 10% and draw using the blurry brush Your cloud. Storm clouds are always big and “heavy”
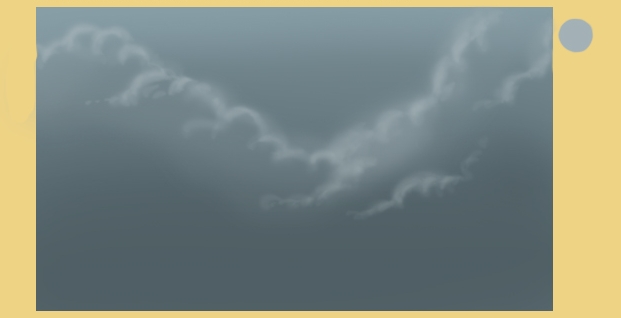
Step 3
When the “sketch” of the cloud is done, take some dark colour and draw more smudges on the bottom of the cloud.
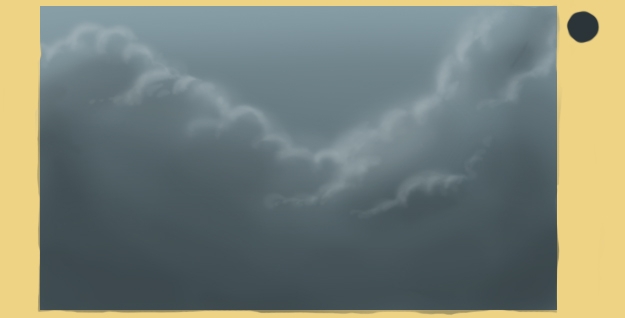
Step 4
Pick the lighter colour again and draw more detailed shape of the cloud. Then use dark colour to give the bottom a texture.
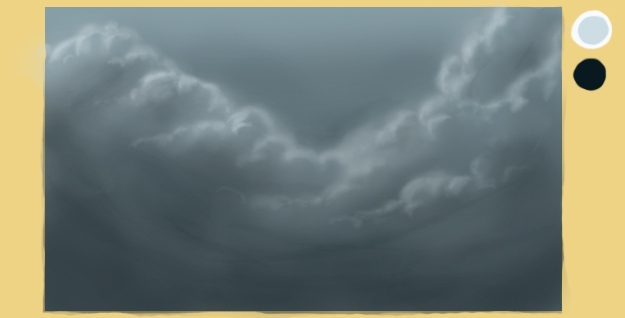
Step 5
To finish this cloud. You need to use a sharp brush and high opacity and draw in some places of the cloud’s outline highlights.
To get more SKY textures, We recommend visit environment-textures.com site.


Latest Comments