“Landscape” by Dan LuVisi
Step 6:
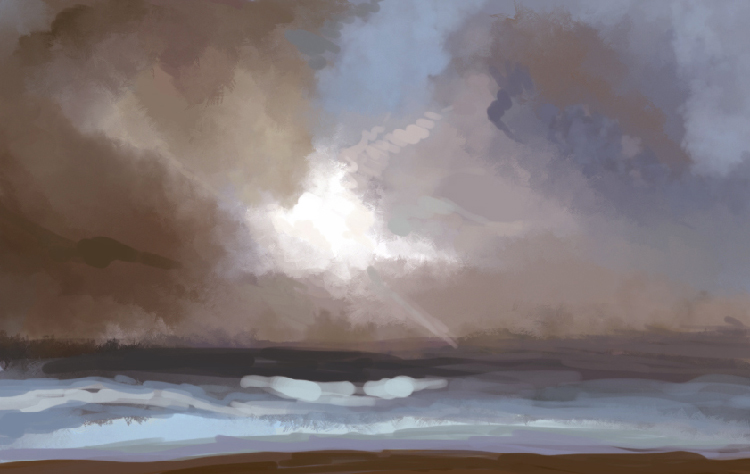
In step six, we’ll take a larger leap than before. This is a lot more of drawing than blending in this one. I used a size 9 brush, with pen pressure on and would eye drop colors from the image while marking lines and strokes over my clouds. Some will be for rays of light; others will just be for the lighter part of the cloud breaking through. As you can see though, I put some hard blues and light blues in there to break up the sky. Mostly near the focal point, I put some baby blue blobs up on top. At the bottom, I blended some of the colors together, while adding some new hues to the image. What those will be will basically break up the browns from the outer sky and cause a wall between the clouds and the soon to be landscape, which is painted dark brown at the bottom.
Step 7:
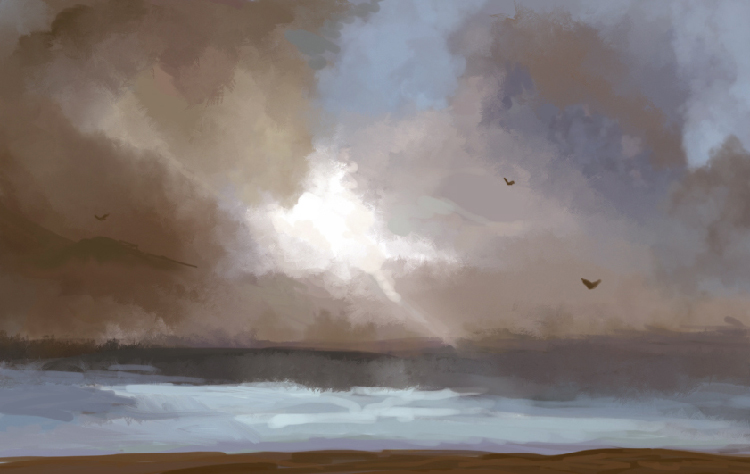
Now we can go back to the blending tool and fix up the bottom of the clouds some more. And also, you can start to blend the other colors that you added in Step 6. Remember, as the distance fade, your colors should become smoother as if they’re hit with a Depth of Field look. Once you have the achieved look that you’re aiming for, you can start to touch up the clouds some more. What helps is if you have an already made Cloud brush, which I have a few and just blob in some random cloud colors to give more definition. When finished with the touching up, it’s your choice to add some birds to give it more of a lively feel.
Step 8:
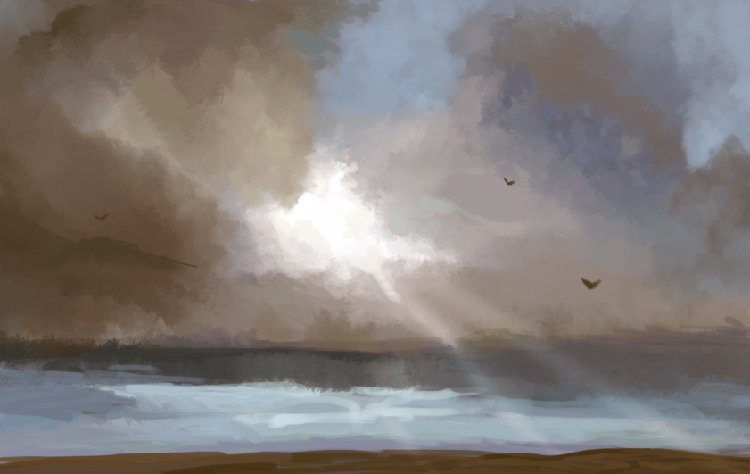
Real easy step, just use a soft brush, with a yellow-almost white color, set it to overlay, low opacity and just brush in a few strokes to make your light beams.


Latest Comments