Step 6
Next step is UV layout for texture. After UV layout in max i exported the image in Photoshop as PNG format. Here is my UV layout.
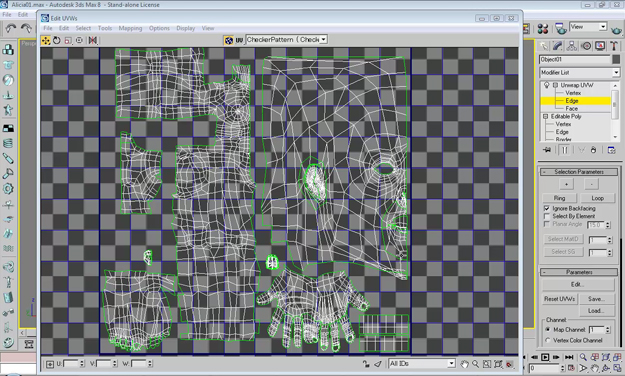
fig 23
Step 7
Texturing in Photoshop and adjusting it with UV layout.
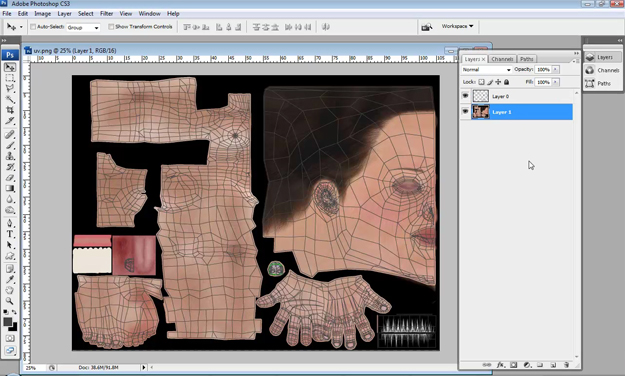
fig 24
Step 8
Applying material in Max. Open the file in max and press M for material select the material slot give it a name Main_body_texture. In diffuse slot pick the diffuse material. I also created the specular and bump map from the main texture. I assume you all knew how to make the specular and Transparency Map.
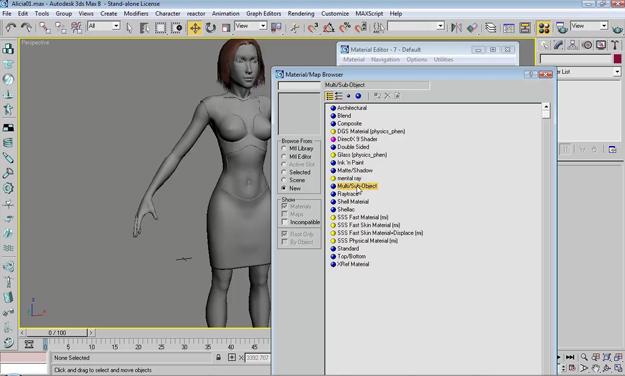
fig 25
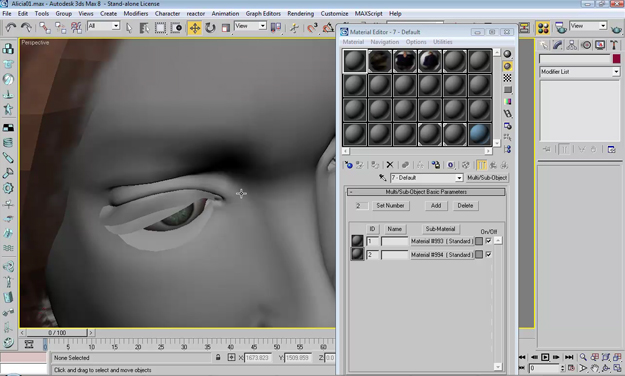
fig 26
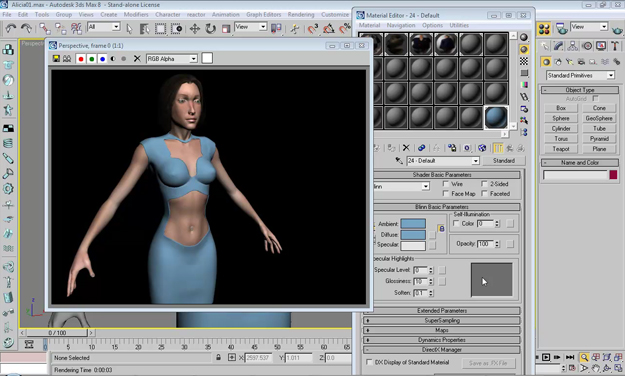
fig 27
Here is the final image after light setup and rendering the scene.
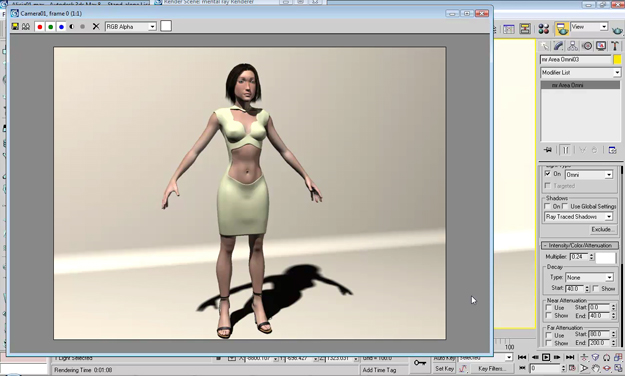
fig 28


It’s me again
Fred Caravetta
Am I the only one who doesn’t have a clue as to understanding what the (blank) to do
with these tutorials.
I’ve been sculpting animals for years in metal http://www.caravetta.com but in the dark as to how to get started sculpting the human figure in clay
How does one learn how to sculpt a womens head using these tutorials, pages 1 to 12?