“Adding photorealistic hedges to your renderings ” by Alex Mincinopschi
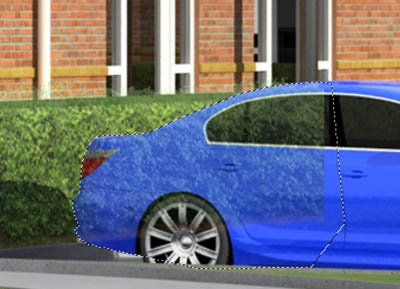
7) In the next step, crop the part where it intersects with other elements (in this case, the car) and simply press delete
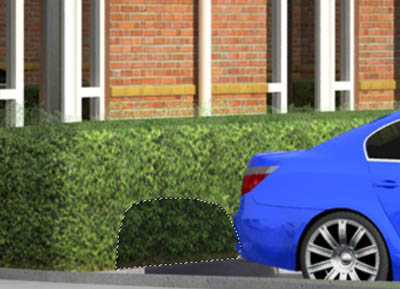
8) It is now time to take care of the shadows that are projected on the hedge. A basic way to do this would be to simply select the area where the shadow is and lower the brightness value. However, I prefer to use a similar method to the one explained above (with 2 layers – a dark one below, and the original above). I find it easier to fine tune it this way.
9) Ok, you are almost there! This is actually the final step, and again depending on the angle and on how far is your hedge placed from the camera you may skip it. In this last step you should correct the shadow projected by the hedge; the initial one that came directly from the render, is a straight line and it is not correct. The easiest way to “brake” it either by using a clone tool with a leaf brush or something similar
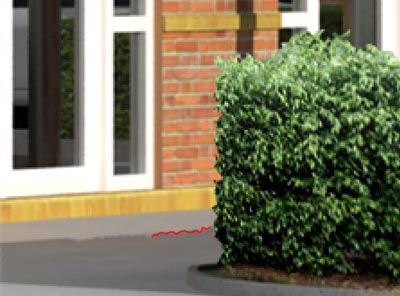
10) No more steps! You are done
Even if this may seem a little ambiguous at a first glace, once you get the hang of it becomes really easy and may be a real life saver (I know for me it has been more than once). The shorter version of the tutorial would be:
-Render the scene with a 3d textured box instead of a 3d hedge model or an opacity map
-Crop a photo of a hedge in photoshop and paste it over the original rendering.
-Skew it and crop it so it matches the perspective of all the face of the 3d textured box in the rendering
-Adjust the shadows projected and received by the 3d box and you are done.
If you have any questions don’t hesitated to ask!
(c) Alex Mincinopschi , mincialx@yahoo.com
Pages: 1 2


Latest Comments