"WW2 pilot" by Michor Lu
Introduction
3Dtutorials.sk recommendation:
To maximise the realism of your CG character we recommend using high quality photo references from the #1 reference website www.human-anatomy-for-artist.com
Before I begin, I’d just like to say that I’ve laid out this tutorial in a very general manner and is not really aimed at beginners. I haven’t gone into detail with regards to techniques and methods. If you have any questions with regards to the tutorial then feel free to let me know (michor.lu (at) gmail.com)
Reference gathering
Before you start pushing vertices or pixels around, the first and most important thing is to gather good quality reference. You’ve probably heard this before but this is one of the things that will help you produce high quality work.
Modeling
Basically, I use a hybrid of Box modeling, Retopologising and poly to poly. My modeling workflow usually consists of the following:
Build enough geometry for sculpting in Zbrush.Sculpt in ZbrushRetopologise in XSISculpt hi frequency details in ZbrushGenerate Normal/Displacement map
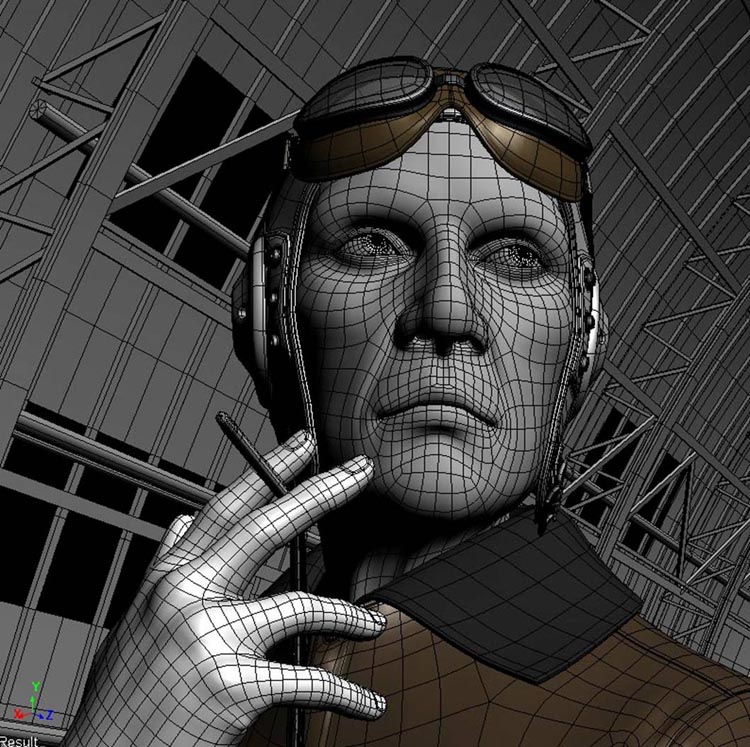
The head I used the method described above and for the rest, I just used normal box modeling and poly to poly. Here are the wireframes: Нравиться смотреть на красивых девчонок, которые полные надежд приходят на эротический кастинг и там трахаются в анальные дырки за гроши, лишь бы потешить продюсеров? Тогда смотрите возбуждающее порно кастинг видео . Здесь девчонки выкладываются по полной программе, дабы удовлетворить озабоченных продюсеров и знаменитых актеров, чтобы наконец-то прославиться и разбогатеть, благодаря своим пизденкам и задницам.

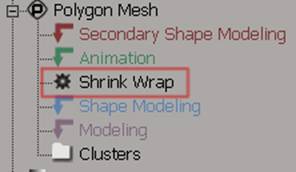
Tip: When retopologising in XSI, apply shrinkwrap (choosing “closest surface”) in any of the construction modes other than Modeling. This will allow you to perform any modeling operations on your mesh and still retain the shape of the hirez zbrush mesh. It also helps to do a polyreduction the hirez mesh.

Texturing, shading and fur
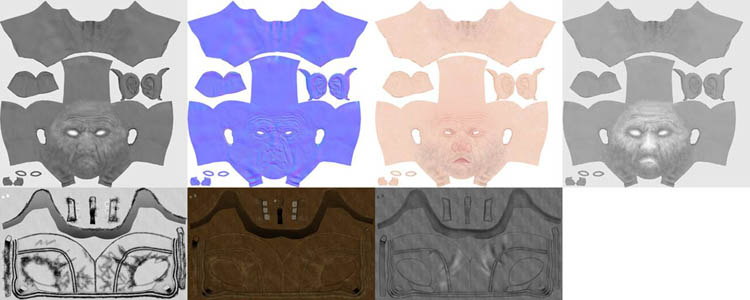
As for texturing, I just used a classical method to create my colour, specular and reflection maps. I UV unwrap then paint my various textures in Photoshop. I then sculpt my bump details in Zbrush after which I generate a normal map.


Fantastic