“A look at the Victorian freak” by Merlyn Lear
*Tip*
After cylindrically mapping the head I had to fix its mapping. 3ds max is not 100% accurate in the way it maps and can leave broken areas that require moving and stitching.
It’s a good idea to check through your UV mapping if your generating 3d models or using Texporter to create reference textures,
as texporter wont pick up these flaky parts as they are outside the area and some 3d engines have issues with dodgy mapping.


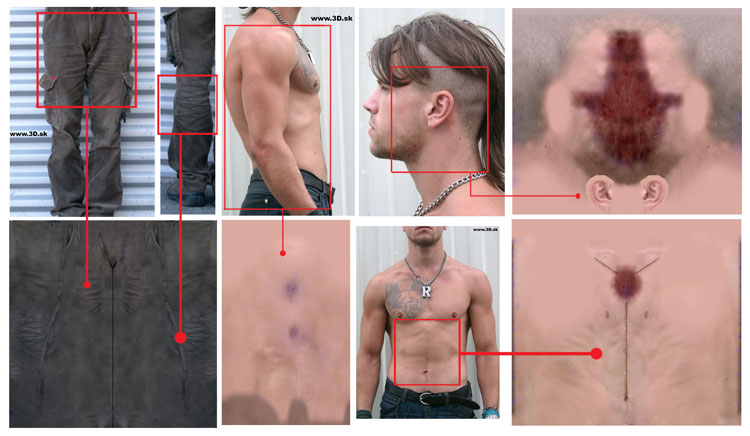
6. Texturing
Once I completed all the UV mapping I used Texporter to generate reference textures, which I could then use in Photoshop to give me an idea what I’m texturing onto.

After getting the reference textures done I then created the finished textures. Making use of the photos supplied with 3d.sk and rusty metal textures.
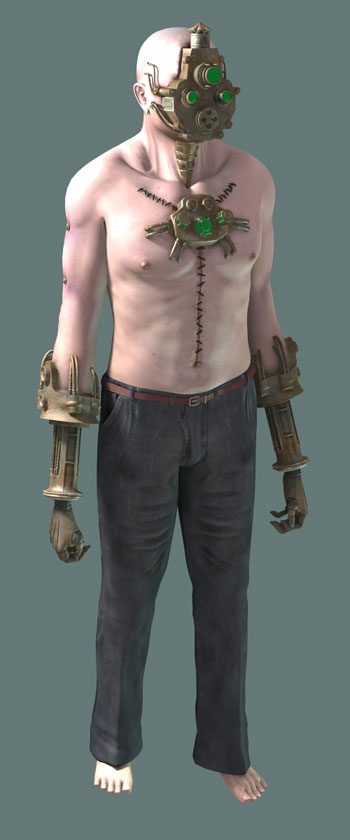
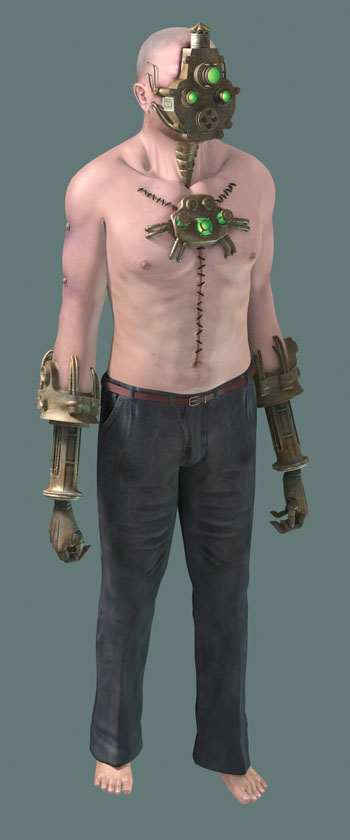
Fall-offs
After creating the textures I needed the skin to look right. Skin will absorb light being made of hundreds of layers of transparent skin, blood, muscle and bone.So it needs a diffused look.
For this I opted for a cheap affective fall-off material applied to the self-illumination map.
I also used the fall-off material for the lens to generate a green glowing affect.
No fall-off
Added fall-off to the self-illumination maps


Latest Comments