“The Making of The Tower ” by Manuel Molnar
Now let’s create a camera in the scene. I added camera on the front viewport, move it to zero point and set the z axis to an average human height about 150cm. off the ground. I turn on the show horizon on my camera so I can align it well with the reference image horizon by rotating the camera. Now I need to know what kind of lens is to be use in my camera so I started out by using 35mm lens and since the reference image doesn’t have any tapering effect on its z axis I assumed that it is a 2 point perspective so I need to add a camera correction. Select the camera, click the right button of the mouse and the quad menu will appear then you will find the camera correction in the tools 1.
The next thing to do is to find a measuring reference, in this case I chose the man inside the tower and the car, why? because it will be easier for me to get the standard dimension of this two. Going back to 3ds max I created two primitive boxes and type in the standard measurement of the two scale references. Select each box and move it along the x and y axis until it aligns the reference image. Now that I have my scale references I can already determine the dimension and distance of the tower.

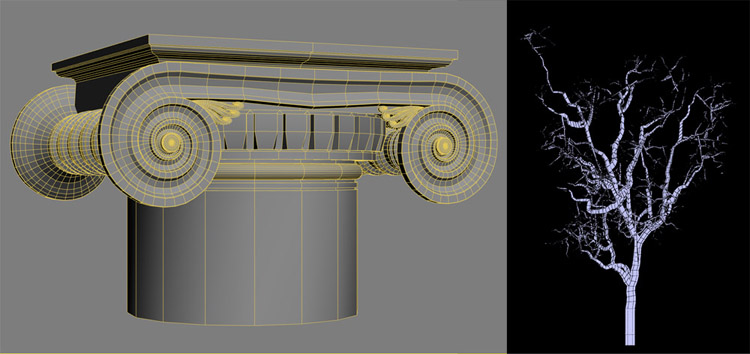
So everything is set let’s start the modeling. All of the geometry was created using polygonal modeling except for the human model which I took from my library, I wanted everything to be simple and as low faces as possible to have better rendering time and it will save me a lot of time painting the textures.


Latest Comments