J
“Modeling A Salsa Dress in Hexagon for Poser” by John D. Johnson
Grab the bottom edge-loop and edge-extrude it down creating a second row of polygons.
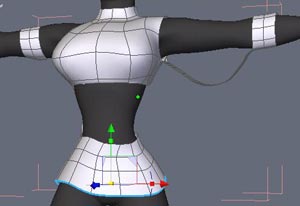
Repeat making a third row of polygons. Resize them to fit the shape of her legs and butt.
Note! I changed the transparency of my material back to ‘0’ a little while ago so I could see the dress model better.
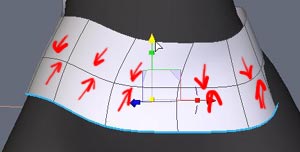
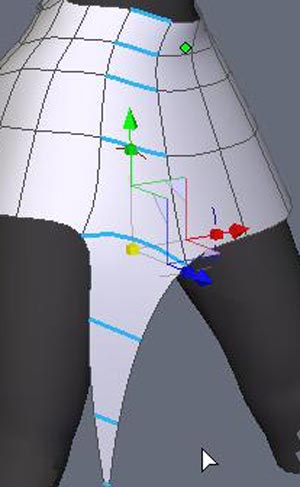
Make another row of polygons using the edge-loop / edge-extrude method. Reposition these polys to fit as well.
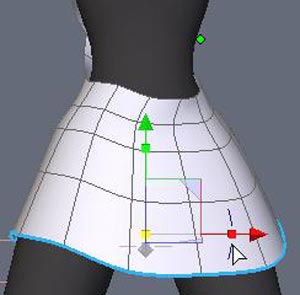
To make the “tails” on the skirt, I edge-extrude where I want them to hang down from, scaling them down with the universal scale on the gizmo as I go.
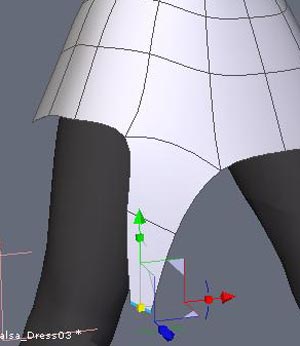
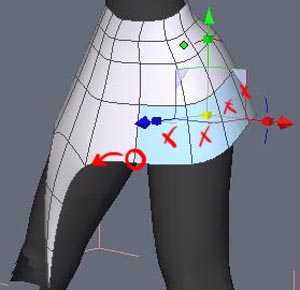
To make the “tail” bend well during animation, I add a new edge down its center. Ring select all the edges shown and then tessellate them by pressing the ‘X’ key.
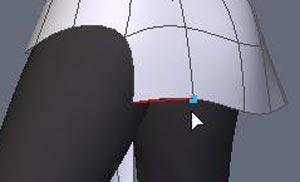
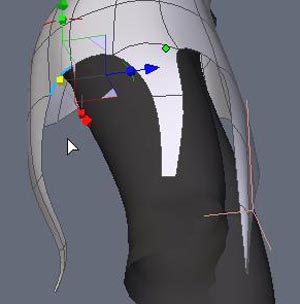
Select the faces marked by a red ‘x’ and delete them. Target weld the point circled in red to the point the arrow is pointing at.
Target weld the “floating point” in the back to the point highlighted in blue.
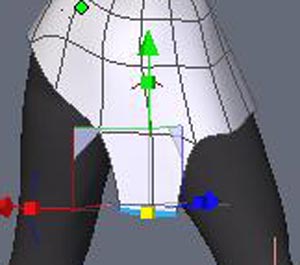
Edge-extrude the selected edges in the back to make another “tail”. I made this one with two edges instead of one so we won’t have to create a new edge for it to bend well.
Another tail on the right side.

The dress is done! At least.. the start of the dress is done. 🙂 You can easily go on from here adding things (or deleting them) as you want. I did.
I hope you enjoyed this tutorial and found it informative. Hexagon is a great modeling program for this sort of work. Be sure to check out my next tutorial, Basic UV Mapping with Hexagon.
(c) John D. Johnson, webwyvern@gmail.com


Latest Comments