“Rifleman” by Robin Benes
Hi, my name is Robin Benes and my internet nickname is Tes. In this article, I would like to present to you the process of making my picture “Rifleman”.
(admin’s note: Robin’s “Rifleman” was awarded with CG Choice Gallery on cgtalk.com)
I will show you how I proceeded with the modelling, texturing,postproduction.
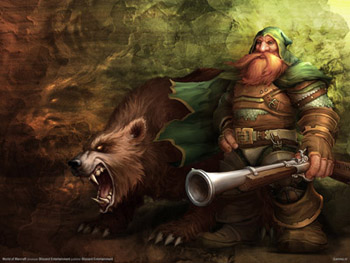
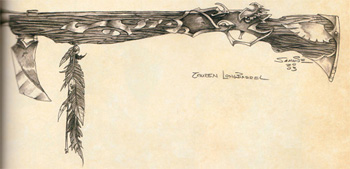
The most inspiring thing for me is art by Blizzard entertainment and becouse I´m a big fan of Warcraft i have started work on “my” Rifleman.
Some reference images:


Software used: 3DsMAX,Photoshop,Zbrush,Brazil R/S
This was my plan how to work:1.)get reference images2.)character modelling3.)unwrapping4.)texturing + shader testing 5.)adding details with Zbrush for displacement maps6.)rigging and posing7.)camera placement,lighting and rendering8.)postproduction
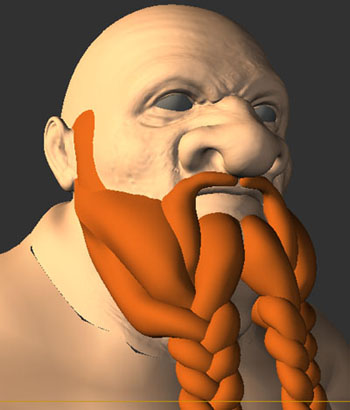
2.) CHARACTER MODELLING Head modelling: I´ve started with head – i think that it´s the most important part of every character.Everytime I try to keep my polycage fairly simple and lowpoly, then export it into zbrush as .obj format and do a lot of tweaking and then import it back in Max.


Rifleman
Popular Tutorials
-
 Free set of photo references for our members
Posted on Nov 15, 2010
Free set of photo references for our members
Posted on Nov 15, 2010
-
 Photo References
Posted on Oct 6, 2010
Photo References
Posted on Oct 6, 2010
-
 Modeling Competition
Posted on Dec 10, 2010
Modeling Competition
Posted on Dec 10, 2010
-
 Modeling a High Definition Building – part 1
Posted on Dec 9, 2010
Modeling a High Definition Building – part 1
Posted on Dec 9, 2010
-
 FREE photo reference sets for you – only for registered members
Posted on Oct 2, 2011
FREE photo reference sets for you – only for registered members
Posted on Oct 2, 2011
Try something new

Latest Comments